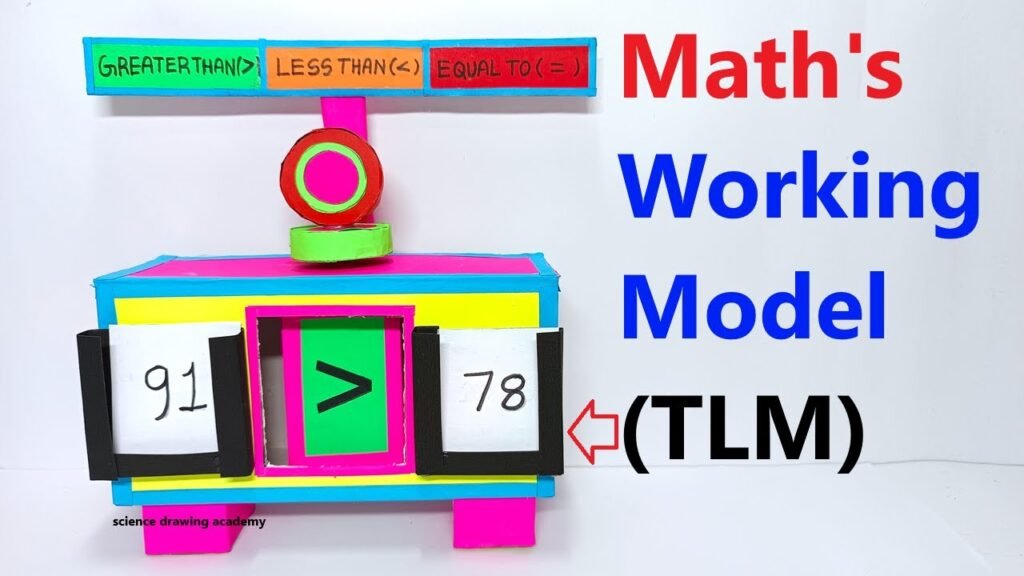
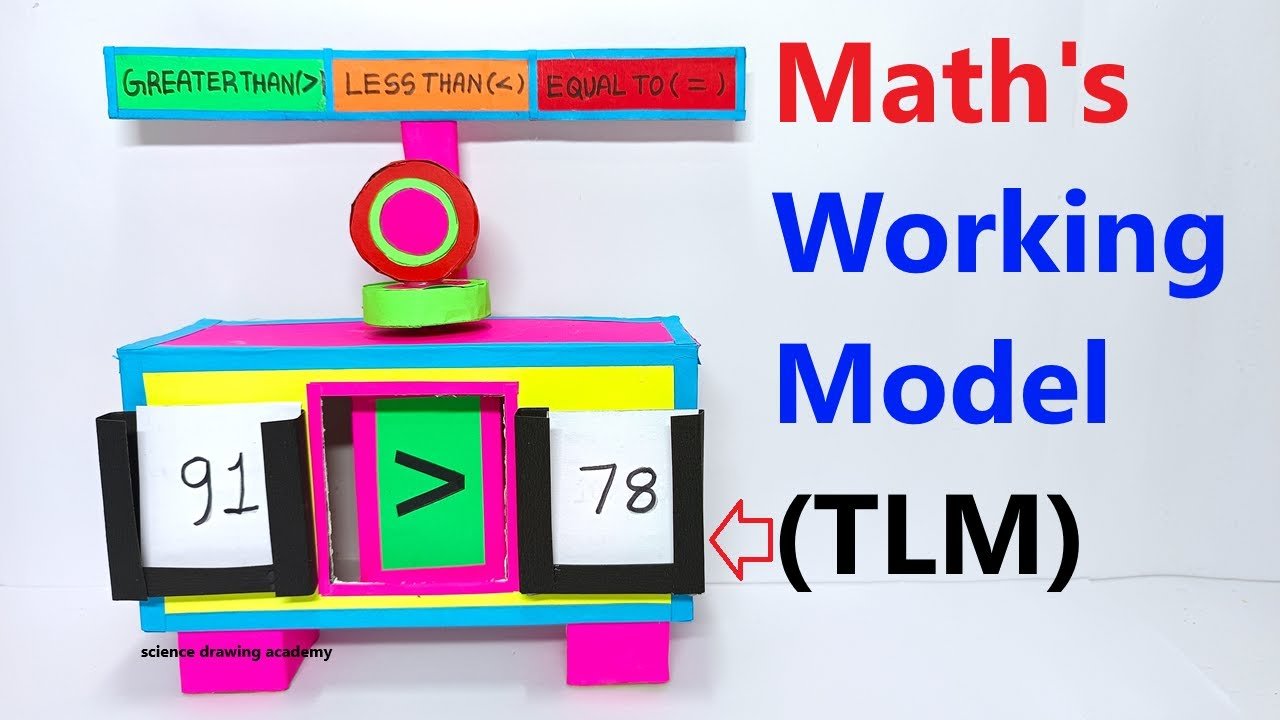
Creating a maths working model (TLM) to teach the concepts of greater than (>), less than (<), and equal to (=) can be a highly effective way to help students understand comparison of numbers.

This interactive model will allow students to physically engage with these concepts and make learning more visual and fun.
Objective:
To create a working model that visually demonstrates the concepts of greater than, less than, and equal to using numbers and interactive tools.
Materials Needed:
- Cardboard or foam board (for the base)
- Markers or colored pens (for writing numbers and symbols)
- Scissors (to cut shapes)
- Paper or colored paper (for creating numbers and comparison symbols)
- Velcro strips or magnets (for attaching removable numbers and symbols)
- Glue (for assembly)
- Small objects (like buttons, beads, or pom-poms) for counting
- Scale or balance model (optional, for comparison visualization)
Step-by-Step Guide for Greater Than, Less Than, and Equal To Model:
1. Prepare the Base:
Take a large cardboard or foam board (about 30 cm x 40 cm) as the base for the model.
- Divide the board into three sections with markers or a ruler:
- Greater than (>)
- Less than (<)
- Equal to (=)
2. Create the Number Cards:
Objective: To create movable number cards that students can use to compare values.
- Cut out rectangular cards from colored paper (around 5 cm x 5 cm each).
- Write different numbers on these cards using markers (e.g., 1, 2, 3, 5, 10, 15, 20). You can create a variety of numbers ranging from small single digits to larger two-digit numbers.
- Add Velcro or magnet strips to the back of the cards so that they can be easily attached and removed from the board.
3. Create the Comparison Symbols:
Objective: To make the greater than, less than, and equal to symbols interactive.
- Cut out large comparison symbols from colored paper:
- Greater than (>)
- Less than (<)
- Equal to (=)
- Make these symbols large and bold so they are easy to see. Attach Velcro strips or magnets to the back of these symbols so they can be placed on the board between the numbers.
4. Set Up the Model:
- On the left side of the board, create an area where students can attach one number card.
- In the middle section, allow for placement of one of the comparison symbols (> or < or =).
- On the right side, leave space to attach another number card.
- You can label these sections:
- Left number
- Comparison sign
- Right number
- Now, students can place any two numbers on either side and choose the correct symbol to compare the two numbers.
5. Interactive Element – Counting Objects:
Objective: To provide a hands-on approach for comparing numbers.
- Add small buckets or boxes on either side of the comparison area, where students can place small objects like beads, pom-poms, or buttons.
- If the left number is 5, students can place 5 objects in the left bucket, and if the right number is 8, they can place 8 objects in the right bucket. This visual representation helps them see which side has more or fewer objects.
- After placing the objects, they can select the correct comparison symbol based on their observations (greater than, less than, or equal to).
6. Optional Feature – Balance Scale Comparison:
Objective: To give a more visual and physical representation of greater than, less than, and equal to.
- You can create a simple balance scale using a hanger or a stick with two small cups attached at either end.
- When students compare two numbers, they can place objects representing those numbers (e.g., 5 marbles on one side and 8 on the other side) on the balance.
- The balance will tilt to the side with the larger number, giving a clear demonstration of greater than and less than.
- If the balance remains level, the numbers are equal.
7. Labeling:
- Add clear labels for each section to remind students of the concepts:
- “Greater Than (>)”
- “Less Than (<)”
- “Equal To (=)”
- You can also add small labels showing real-world examples, such as:
- “5 < 10 means 5 is less than 10.”
- “7 > 3 means 7 is greater than 3.”
- “8 = 8 means 8 is equal to 8.”
8. How the Model Works:
- Step 1: Students choose two numbers from the number cards and place them on the board in the left and right sections.
- Step 2: They then compare the numbers using the counting objects or the balance scale to visually see which number is greater, less, or equal.
- Step 3: After comparing, they select the appropriate symbol (>, <, or =) and place it between the two numbers.

