Creating a hydraulic press working model using syringes is an excellent hands-on project that demonstrates the principle of Pascal’s Law in fluid mechanics.
This project shows how hydraulic systems use fluid pressure to multiply force. In this case, you will use a tomato to illustrate how the press applies pressure.

Objective:
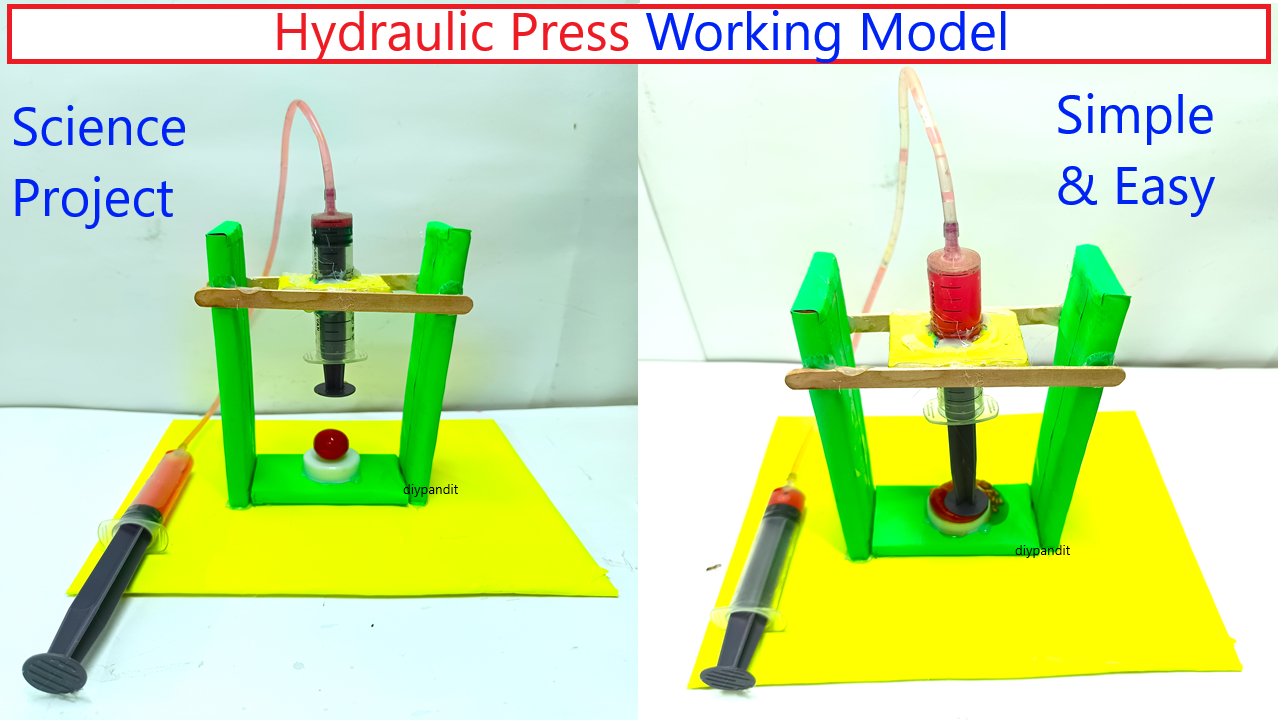
To build a simple hydraulic press working model using syringes, which demonstrates how hydraulic systems can apply force and crush objects, such as a tomato.
Materials Needed:
- Two large syringes (preferably 10-20 ml syringes)
- Plastic tubing (flexible and fits tightly on the syringe nozzles)
- Cardboard (for the base and platform)
- Glue (hot glue gun or super glue)
- Scissors or cutter (for cutting cardboard)
- Water (as the hydraulic fluid)
- Small wooden blocks or pieces of thick cardboard (for support and stability)
- Tomato (for demonstration)
- Rubber bands or tape (for securing connections)
- Ruler (for measurements)
- Optional: Clamps or small weights (for added force)
Steps to Create the Hydraulic Press Model:
1. Build the Base:
- Cut a piece of cardboard (approximately 20 cm x 15 cm) to serve as the base of the hydraulic press.
- This base will support the entire structure.
2. Create the Platform for Pressing:
- Cut two pieces of cardboard (approximately 10 cm x 10 cm) to serve as the press platforms: one will be fixed on the base, and the other will move up and down.
- The fixed platform should be glued to the base using wooden blocks or thick cardboard to create a sturdy support that is raised slightly off the base (about 4-5 cm high).
3. Set Up the Syringes:
- Fill Syringes with Water:
- Fill both syringes halfway with water, leaving some air at the top to avoid overpressurizing the system.
- Connect the Syringes:
- Attach one end of the plastic tubing to the nozzle of one syringe and secure it tightly with tape or glue.
- Attach the other end of the tubing to the second syringe. Make sure the connection is secure and there are no leaks.
4. Attach the Moving Platform:
- Glue the second syringe (the output syringe) to the base so it is positioned directly under the moving platform (the second cardboard piece).
- Ensure that when the plunger of the second syringe is pushed up (by applying pressure with the first syringe), it will raise the platform.
5. Prepare for Pressing:
- Place the tomato on the fixed platform.
- Align the moving platform above the tomato. When the syringe system is activated, this platform will push down on the tomato.
6. Test the Hydraulic Press:
- Press the Syringe:
- Push down on the plunger of the input syringe. This will create pressure in the fluid inside the tubing, forcing the plunger of the output syringe to rise.
- Observe the Movement:
- As the output syringe pushes the moving platform upward, it will press against the tomato.
- The force generated by the hydraulic system should crush or squeeze the tomato, demonstrating how hydraulic presses work.
How It Works:
- Pascal’s Law: The hydraulic press works based on Pascal’s Law, which states that pressure applied to a confined fluid is transmitted undiminished throughout the fluid.
- When you push the plunger of the first syringe (input), it forces water through the tubing to the second syringe (output), which moves the platform upward. Since liquids are incompressible, the pressure created in the first syringe is transmitted to the second syringe, amplifying the force.
This hydraulic press model is an interactive and visually engaging way to explore the mechanics of hydraulic systems using simple household materials!