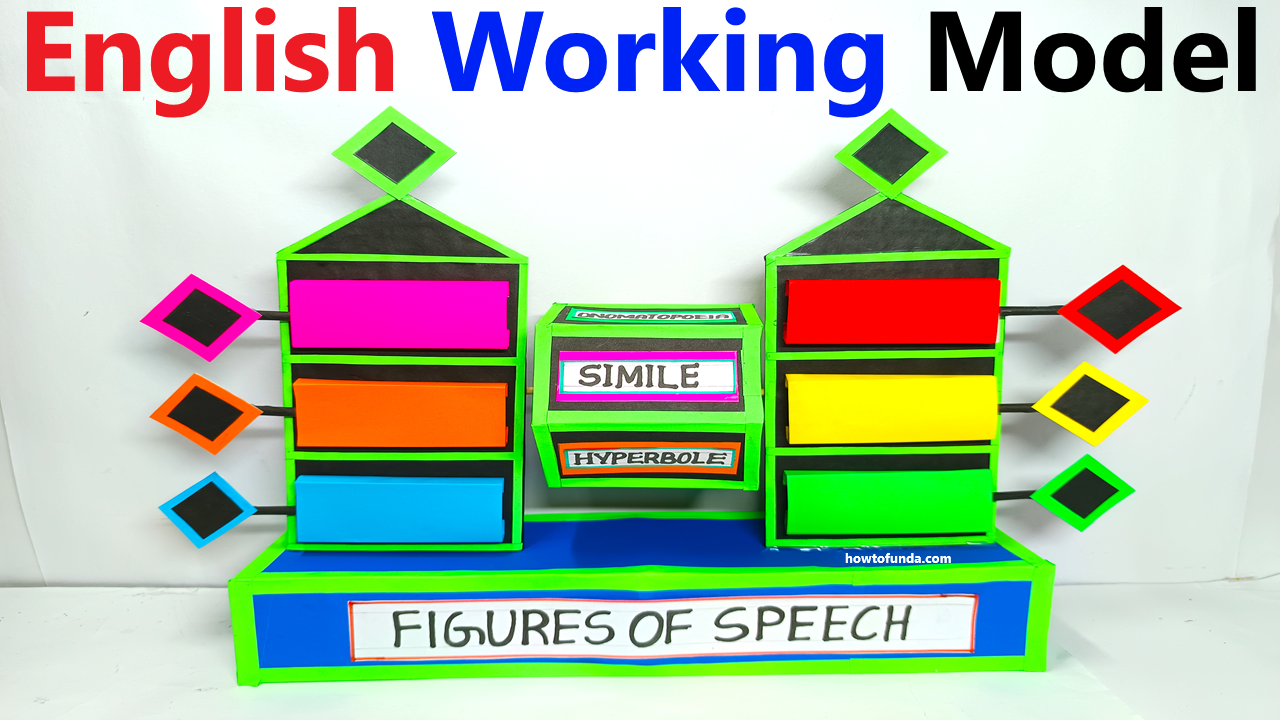
Objective:
To create a visually appealing, educational working model using cardboard and colored paper that explains different figures of speech, along with their definitions and examples.

Materials Required:
- Cardboard sheet (for the base)
- Colored paper (various colors for decoration and categorization)
- Markers or sketch pens (for writing)
- Printed or handwritten examples of figures of speech
- Glue, scissors, and tape
- Images or illustrations (optional, to make the model attractive)
- Small title cards for headings
- Chart paper or foam sheets (for extra durability)
Steps to Build the Model:
- Prepare the Base:
- Create Sections:
- Add Titles:
- At the top of each section, place a title card with the name of the figure of speech written in bold letters.
- Include Definitions:
- Write or print the definition of each figure of speech on a colored paper strip and attach it below the title.
- Provide Examples:
- Write or print 1–2 examples for each figure of speech on separate paper strips.
- Add small illustrations or clip art to make examples more engaging (e.g., a sun for “Her smile was as bright as the sun”).
- Decorate the Model:
- Add creative elements like arrows, stickers, or themed images (e.g., a comparison icon for simile, a speech bubble for metaphor).
- Use vibrant colors to distinguish each section and make the model visually appealing.
- Add Interaction (Optional):
- Create flaps or sliders. For example, write the figure of speech on the flap, and when lifted, the definition and examples are revealed.
- Alternatively, create pockets where examples can be inserted or pulled out.
Final Touch:
- Add a title at the top: “Figures of Speech: Learn with Fun.”
- Decorate the edges with borders or colorful tape.
- Place it upright using a stand or display it flat for presentations.