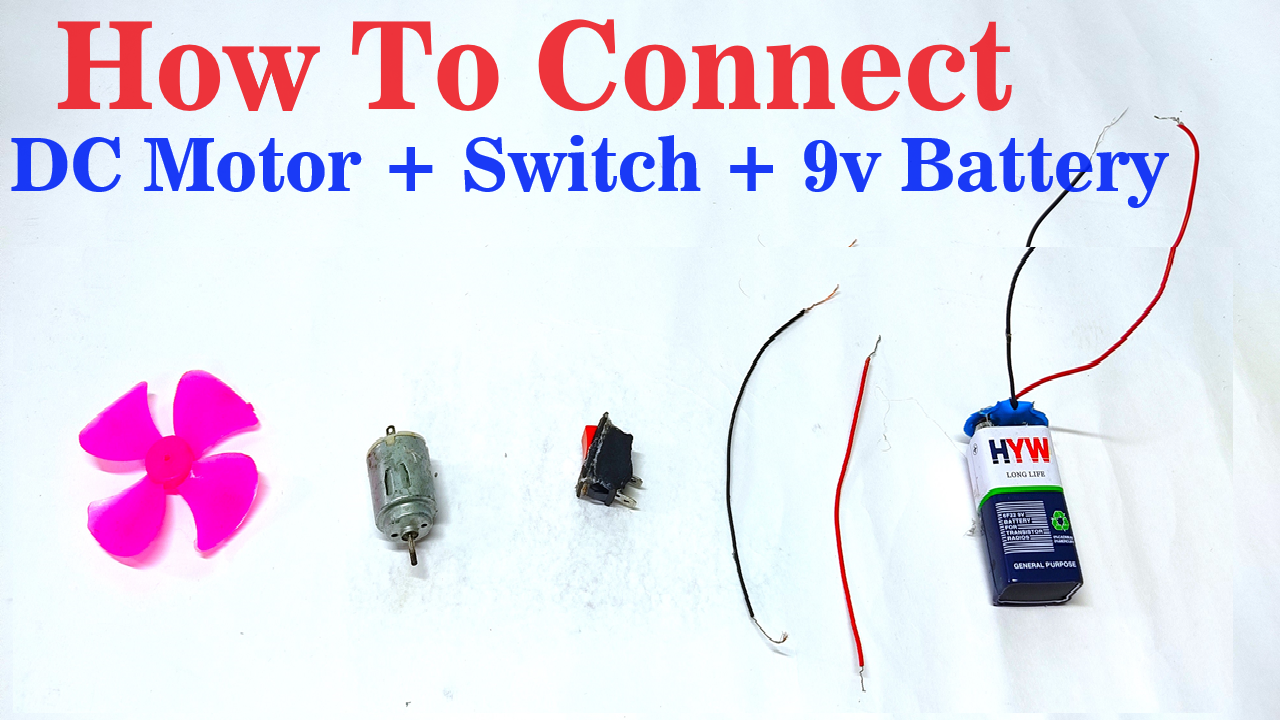
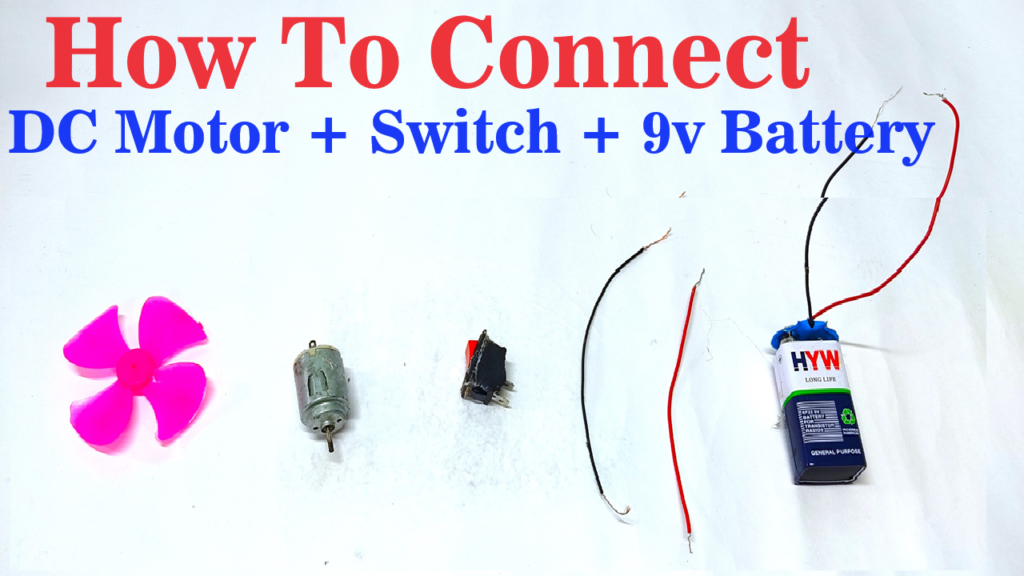
To connect a DC motor with a switch and a 9V battery, you’ll need the following components:
- DC motor
- Switch
- 9V battery
- Wires
- Battery clip or holder
Here’s how you can connect them:
Steps by Step Video Instructions :
- Prepare Your Components:
- Make sure your DC motor, switch, and battery are ready to use.
- Connect the Battery Clip:
- Attach the battery clip or holder to the 9V battery.
- The clip usually has a red wire (positive) and a black wire (negative).
- Connect the Motor:
- Identify the terminals of the DC motor. Usually, there are two terminals: positive (+) and negative (-).
- Connect the red wire from the battery clip to the positive terminal (+) of the motor.
- Connect the black wire from the battery clip to the negative terminal (-) of the motor.
- Add the Switch:
- Cut a piece of wire long enough to reach from the positive terminal of the battery clip to one terminal of the switch.
- Strip the insulation from the ends of the wire.
- Connect one end of the wire to the positive terminal of the battery clip.
- Connect the other end of the wire to one terminal of the switch.
- Cut another piece of wire to reach from the other terminal of the switch to the positive terminal (+) of the motor.
- Strip the insulation from the ends of this wire.
- Connect one end of this wire to the other terminal of the switch.
- Connect the other end of this wire to the positive terminal (+) of the motor.
- Test Your Setup:
- Make sure the switch is in the off position.
- Connect the battery to the battery clip.
- Turn the switch on.
- The motor should start running.
- Turn the switch off to stop the motor.
This simple setup allows you to control a DC motor with a switch and a 9V battery, making it easy to create simple projects or demonstrations.