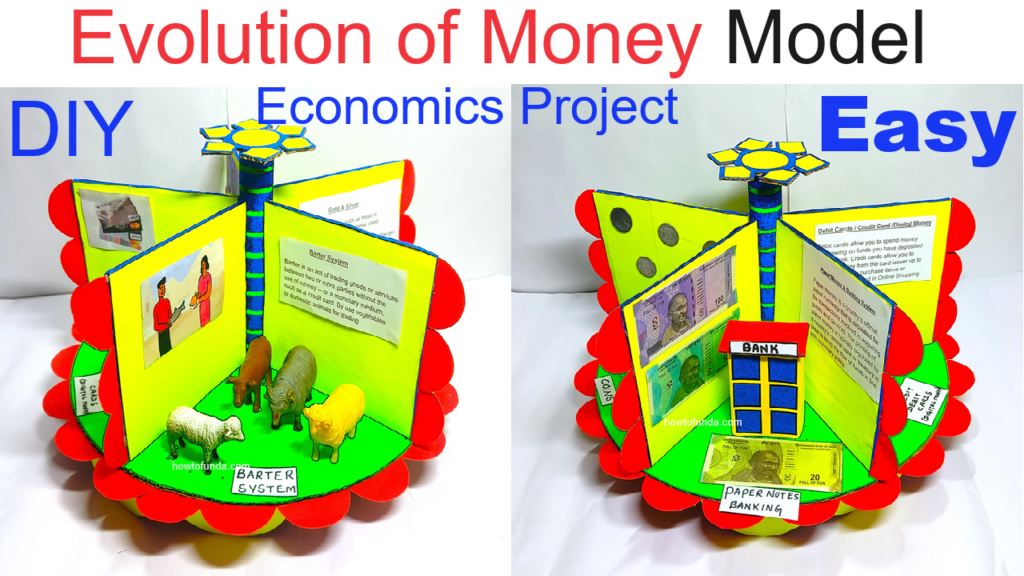
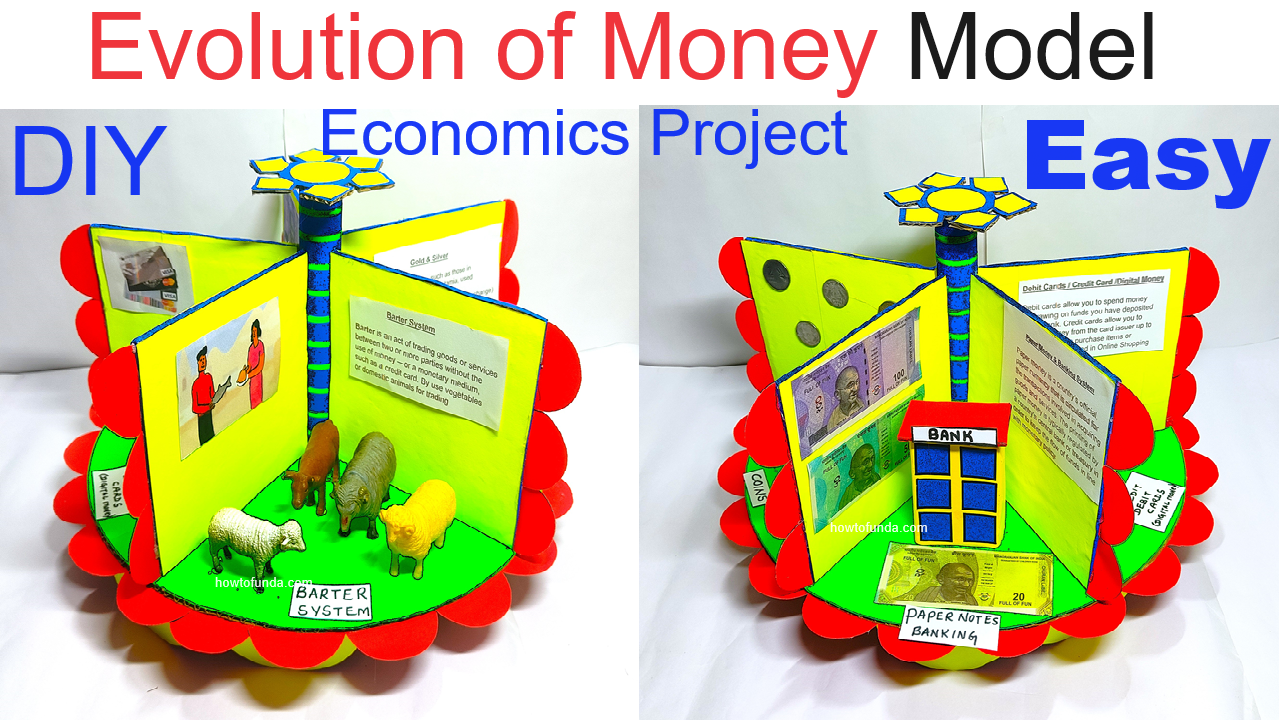
Creating a rotating cardboard model that illustrates the evolution of money through different stages (barter system, gold and silver, coins, paper currency and banking, credit and debit cards) can be a fascinating and educational project.

Here’s a step-by-step guide on how to create this model using cardboard, colored paper, printouts, and some crafting supplies:
Materials Needed
- Large piece of cardboard (for the base)
- Smaller pieces of cardboard (for partitions and rotating disk)
- Colored paper
- Printed images and text explanations
- Brass fastener (split pin) or a small bolt and nut (for the rotating mechanism)
- Glue
- Scissors
- Markers or pens
- Ruler
- Compass (for drawing circles)
Step-by-Step Instructions of Evolution of Money Working Model
- Prepare the Base
- Cut a large circular piece of cardboard as the base of your model. This will hold all the partitions and the rotating disk.
- Divide the base into five equal sections using a ruler and a marker. Each section will represent a stage in the evolution of money.
- Create the Rotating Disk
- Cut a smaller circular piece of cardboard that will rotate on top of the base.
- This disk should be large enough to cover the sections and be able to rotate easily without covering the entire base.
- Attach the Rotating Mechanism
- Poke a hole in the center of both the base and the rotating disk.
- Use a brass fastener or a small bolt and nut to attach the rotating disk to the base. Ensure the disk can rotate freely.
- Design the Partitions
- For each of the five sections, create a partition from smaller pieces of cardboard.
- Attach these partitions to the base, ensuring they are evenly spaced and fixed securely.
- Decorate Each Section
- Barter System:
- Cover the section with colored paper.
- Print out images depicting bartering (e.g., people exchanging goods like grain for tools).
- Glue the images and a brief explanation of the barter system in this section.
- Gold and Silver:
- Cover the section with gold or silver-colored paper.
- Print out images of gold and silver items used as money.
- Glue the images and an explanation of how gold and silver were used for trade.
- Coins:
- Cover the section with metallic-colored paper.
- Print out images of ancient and modern coins.
- Glue the images and a description of the introduction of coins as currency.
- Paper Currency and Banking:
- Cover the section with colored paper that represents paper money.
- Print out images of different paper currencies and banks.
- Glue the images and an explanation of how paper currency and banking systems developed.
- Credit and Debit Cards:
- Cover the section with colored paper.
- Print out images of credit and debit cards.
- Glue the images and a description of how these cards work and their impact on transactions.
- Barter System:
- Assemble the Model
- Attach each partition to the base, ensuring they are fixed securely and divide the sections clearly.
- Place the rotating disk on top of the base and secure it with the brass fastener or bolt and nut.
- Ensure the rotating disk can be turned to reveal each section of the evolution of money.
- Final Touches
- Use markers or pens to label each section clearly.
- Add any additional decorations or details to enhance the visual appeal of the model.
Explanation of Each Stage
- Barter System: The earliest form of trade where goods and services were exchanged directly without any standardized currency.
- Gold and Silver: Precious metals were used as a medium of exchange due to their intrinsic value and divisibility.
- Coins: Standardized pieces of metal were minted and used as currency, simplifying trade and ensuring consistent value.
- Paper Currency and Banking: Paper money was introduced as a more convenient form of currency, backed by banks and governments.
- Credit and Debit Cards: Modern financial instruments that allow for electronic transactions and provide a secure and convenient way to manage money.
This rotating model will provide a comprehensive and interactive way to learn about the evolution of money, making the concepts more engaging and easier to understand.

