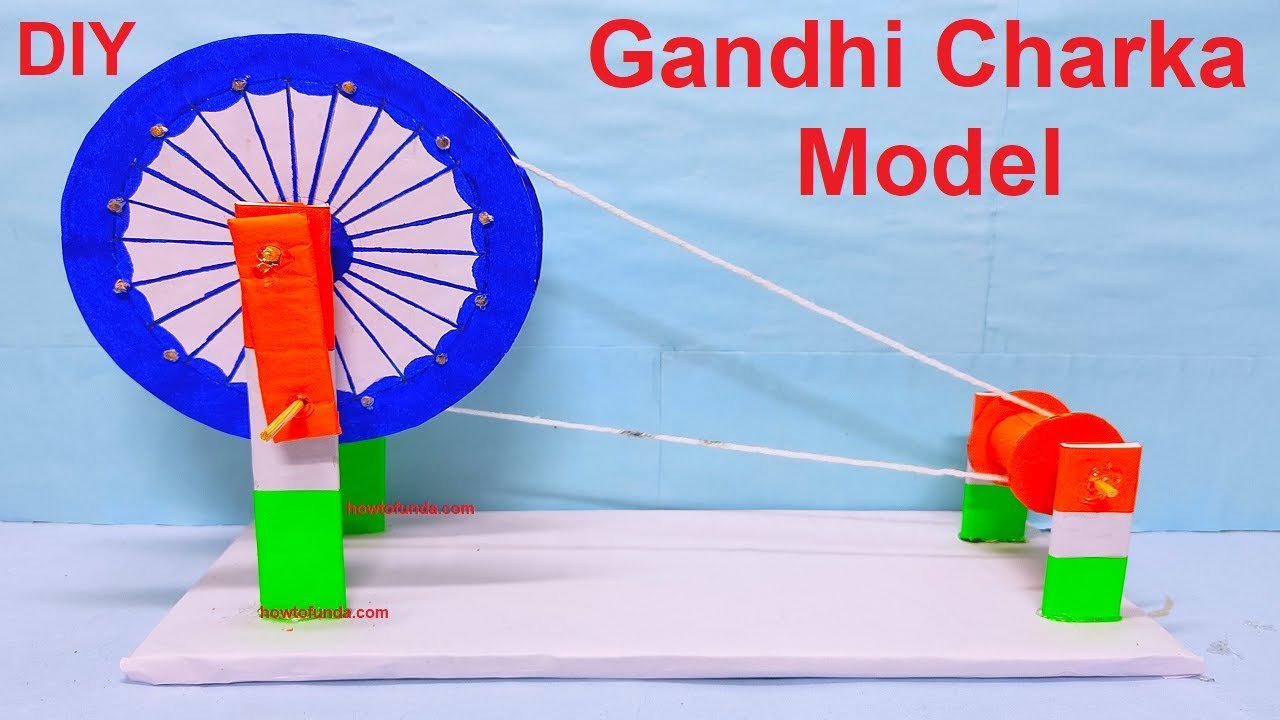
Creating a DIY Gandhi Charkha (spinning wheel) project using cardboard can be a great way to celebrate Gandhi Jayanti.

Here’s a step-by-step guide to making a circular Charkha using cardboard:
Materials Needed:
- Cardboard sheets
- Colored paper (optional for decoration)
- Scissors
- Glue or adhesive
- Markers or pens (for detailing)
- Thread or yarn
- Toothpicks or small wooden sticks (for the spindle)
- Compass (for drawing circles)
- Ruler (for precise measurements)
- Brass fasteners (split pins) or small nails (for rotating mechanism)
- Decorative items (optional, like beads or glitter)
Step by Step Video Instructions:
1. Prepare the Base and Stand:
- Base: Cut a rectangular piece of cardboard to serve as the base of your Charkha. Make sure it’s large enough to support the wheel and stand.
- Stand Legs: Cut two rectangular strips from the cardboard for the legs. Fold each strip into a triangular shape to provide stability.
2. Create the Spinning Wheel:
- Drawing the Wheel: Use a compass to draw two large circles on a piece of cardboard. One will be for the front of the wheel, and one for the back. Make them identical in size.
- Wheel Structure: Cut out both circles carefully. Draw and cut out smaller circles or triangular shapes within the large circles to create the spokes of the wheel.
- Connecting the Wheels: Use small strips of cardboard to create a 3D effect by spacing the two large circles about 1 inch apart. Glue the strips around the edge to form the thickness of the wheel.
- Decorate the Wheel: Cover the wheel with colored paper or paint it. You can add details using markers to mimic the traditional Charkha.
3. Create the Spindle:
- Spindle Preparation: Take a toothpick or small stick and wrap it with colored paper or paint it. Insert it through the center of the wheel.
- Spindle Support: Use small pieces of cardboard to create a support structure for the spindle. Ensure it is stable and allows the wheel to spin freely.
4. Assemble the Charkha:
- Attach the Stand Legs: Glue the triangular stand legs to the base, positioning them to support the spindle and wheel at a comfortable height for spinning.
- Attach the Wheel: Insert the spindle through the supports, ensuring it fits snugly but allows the wheel to spin.
- Rotation Mechanism: Use brass fasteners or small nails to attach the spindle to the supports, enabling the wheel to rotate.
5. Add Thread:
- Thread Attachment: Wrap a piece of thread or yarn around the spindle and across the wheel to simulate the spinning process.
- Detailing: Use markers or pens to add additional details on the wheel and stand, such as lines to represent the threads on the wheel.
6. Tricolor Decorations:
- Saffron, White, and Green Paper: Incorporate the tricolor theme by adding small strips or shapes of saffron, white, and green colored paper to the base, wheel, and stand.
- Optional Decorations: Add beads, glitter, or other decorative items to enhance the appearance of your Charkha.
Final Assembly and Display:
- Assembly: Ensure all parts are securely glued and the wheel can spin freely on the spindle.
- Labels: Create a small label that reads “Gandhi Charkha” and attach it to the base.
- Display: Place your finished Charkha craft in a prominent location where it can be admired during Gandhi Jayanti celebrations.