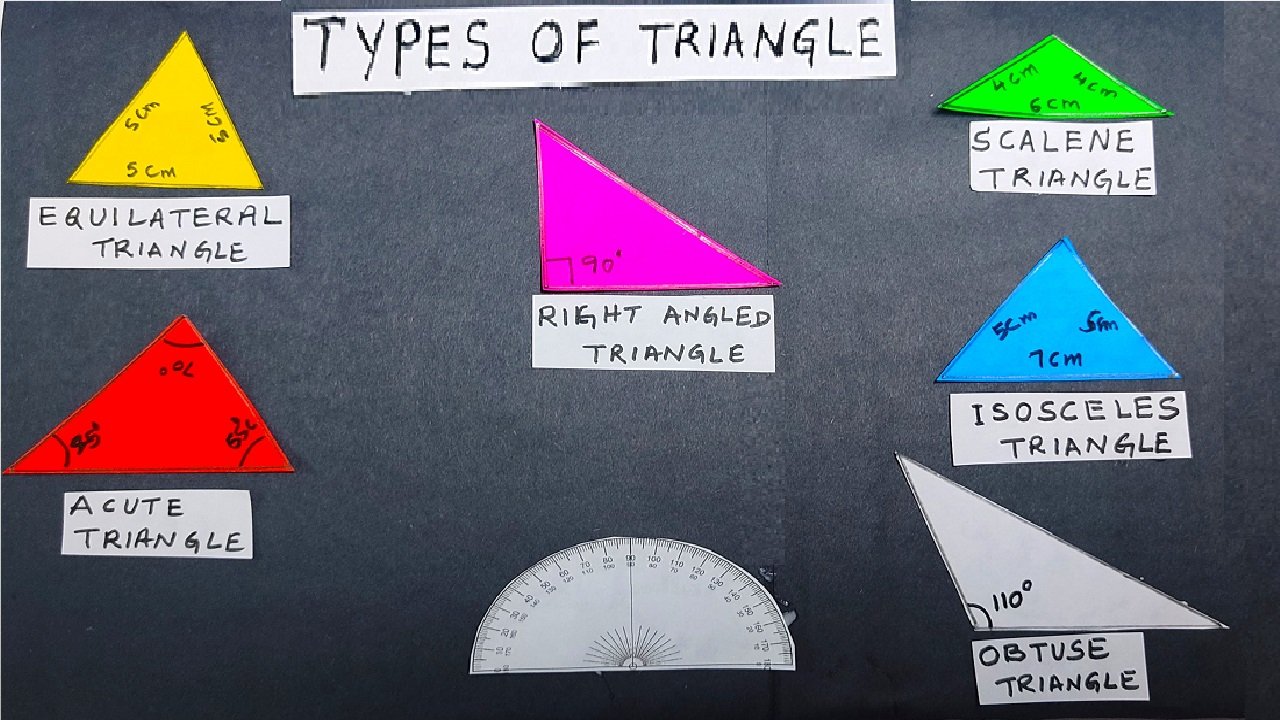
Creating a model to represent different types of triangles using cardboard and colored paper can be a simple yet effective project.

Here’s a step-by-step guide:
Materials Needed:
- Cardboard
- Colored paper
- Ruler
- Pencil
- Scissors
- Glue or tape
- Markers
Types of Triangles to Represent:
- Equilateral Triangle
- Isosceles Triangle
- Scalene Triangle
- Right Triangle
- Acute Triangle
- Obtuse Triangle
Steps to Create the Triangle Model:
Step 1: Prepare the Base:
- Cut a large piece of cardboard to serve as the base for your model.
Step 2: Draw and Cut Triangles:
- Draw and cut out each type of triangle from colored paper. Make sure to create triangles with distinct characteristics.
Step 3: Label the Triangles:
- Label each triangle with its respective type. You can use markers or cut out labels from colored paper.
Step 4: Arrange the Triangles:
- Arrange the triangles on the cardboard base. Leave enough space between them.
Step 5: Glue or Tape:
- Use glue or tape to attach each triangle to the cardboard base. Ensure that they are securely fixed in place.
Step 6: Decorate (Optional):
- If you’d like, you can decorate the triangles with additional patterns or colors. This step is optional but can enhance the visual appeal of your model.
Step 7: Display and Explain:
- Set up your triangle model at the exhibition table or in your classroom.
- Explain the characteristics of each type of triangle, pointing to the corresponding triangles on the model.
This triangle model provides a clear visual representation of the various types of triangles, making it an excellent tool for teaching and learning geometry.
It’s a simple yet effective project suitable for math classrooms, educational exhibitions, or as a DIY learning aid.