The purpose of creating a working model of algebraic expressions is to provide a tangible representation of abstract mathematical concepts.
Algebraic expressions are fundamental in algebra and mathematics, serving as the building blocks for solving equations, analyzing patterns, and describing relationships between variables.
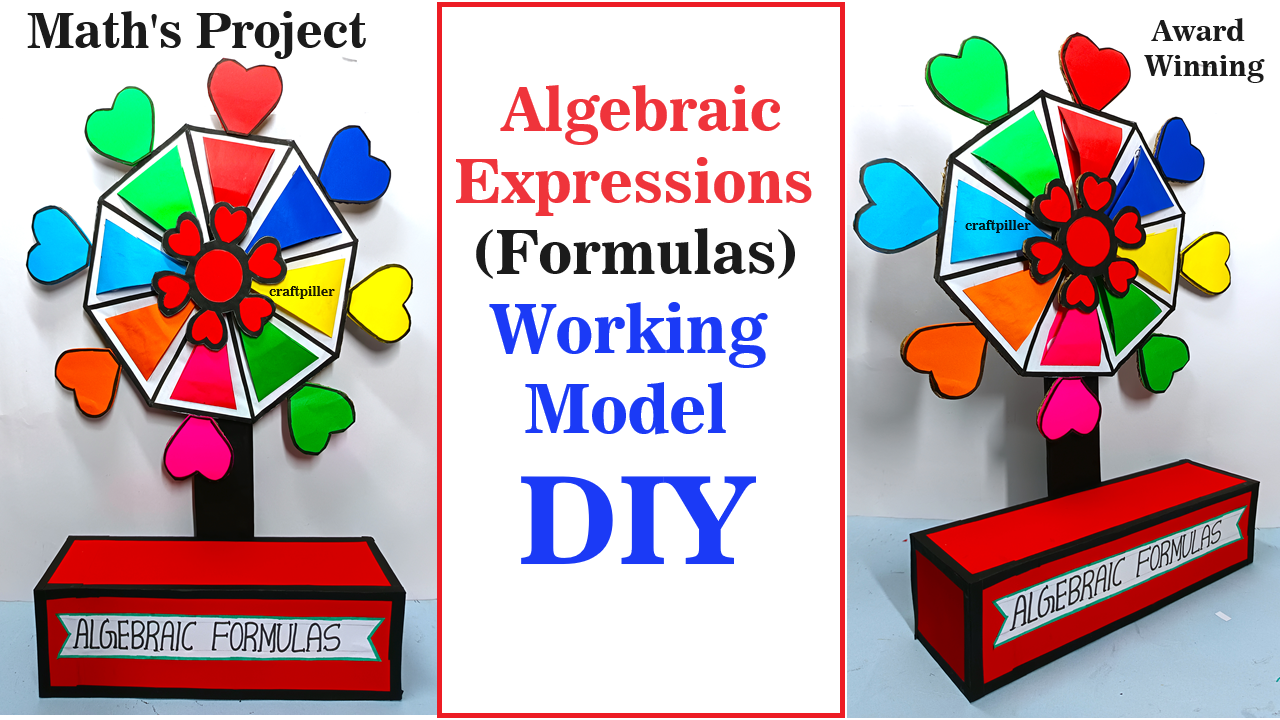
Creating a working model to demonstrate algebraic expressions using cardboard and colored paper is a great hands-on learning project. A rotating wheel can be an effective way to show how different variables and coefficients interact in an algebraic expression.


Here’s a step-by-step guide to creating this model:
Materials Needed:
- Cardboard
- Colored paper
- Scissors
- Glue
- Marker pens
- Brass fasteners (or any other rotating wheel attachment)
- Ruler
- Compass (for drawing circles)
- Pencil
- Protractor (optional, for precise angles)
Steps by Step Video Instructions on Algebraic Expressions Formulas:
- Prepare the Base and Wheel:
- Base: Cut a large rectangular piece of cardboard to act as the base of your model. This will hold the rotating wheel and other components.
- Wheel: Use a compass to draw a large circle on a piece of cardboard. This will be your rotating wheel. Cut out the circle carefully.
- Divide the Wheel:
- Divide the circle into equal sections (like slicing a pizza). The number of sections depends on how many different coefficients or terms you want to display.
- Use a protractor for precise divisions (e.g., 6 sections would each be 60 degrees).
- Create Rotating Mechanism:
- Poke a hole through the center of the wheel and the base where the wheel will be attached.
- Insert a brass fastener through the hole in the wheel and attach it to the base. Ensure it’s tight enough to hold but loose enough to allow the wheel to rotate freely.
- Decorate the Sections:
- Use colored paper to cover each section of the wheel. You can use different colors to make it visually appealing.
- Label each section with different variables and coefficients. For example, you can write “2x,” “3x,” “4y,” “-x,” etc., in each section. You can also use algebraic symbols like x,y,zx, y, zx,y,z, or even constants like 1, 2, 3, etc.
- Create Expression Display:
- On the base, below the rotating wheel, draw or attach a small window or frame where the resulting algebraic expression will be displayed.
- This window will show the part of the wheel that corresponds to the selected term.
- Add Fixed Components:
- Around the wheel, you can add fixed components representing other parts of the algebraic expressions, such as constant terms or additional variables.
- These can also be made from colored paper and attached to the base.
- Finalize and Test:
- Rotate the wheel to ensure it moves smoothly.
- Test the model by rotating the wheel to different sections and checking how the algebraic expressions change.