
Introduction
A microscope is an optical instrument used to observe objects that are too small to be seen clearly with the naked eye. It is widely used in biology, medicine, research, and science laboratories. A microscope helps us study cells, microorganisms, plant structures, fibers, and many other tiny objects.
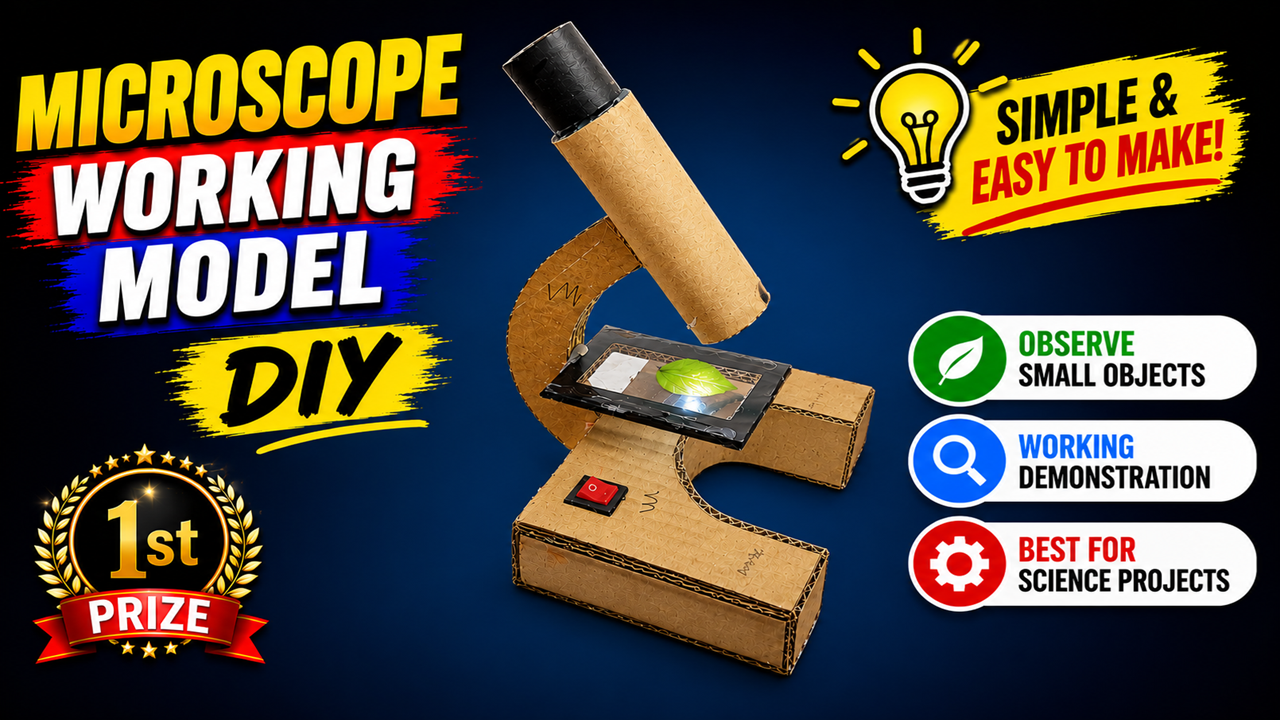
This project demonstrates a simple DIY Microscope Working Model made mainly from cardboard and easily available materials. The model includes an eyepiece, tube, stage, specimen holder, light source, and base. It helps students understand the basic structure and working principle of a compound microscope in a simple and attractive way.
Main Concept of the Model
A real compound microscope uses a combination of lenses to magnify a specimen. The objective lens is positioned close to the specimen and produces a magnified image. The eyepiece lens then magnifies this image further so that the observer can see the specimen clearly.
The model represents this arrangement using a cardboard microscope tube. A small object, such as a leaf, is placed on the stage. Light from below illuminates the specimen, making its details easier to observe through the optical system.
The basic process is:
Light Source → Specimen → Objective Lens → Magnified Image → Eyepiece → Observer
The magnification of a compound microscope is approximately determined by multiplying the magnification of the objective lens by the magnification of the eyepiece lens.
Materials Required
For making this model, you will need corrugated cardboard, cardboard tubes, colored paper, glue, scissors, a cutter, ruler, pencil, marker, tape, and a small transparent plastic sheet or glass-like piece for the specimen stage.
For the optical section, you can use inexpensive magnifying lenses or suitable transparent lenses. A small LED light, battery, wires, and an ON/OFF switch can be added to illuminate the specimen. You may also use a small printed picture, leaf, flower petal, or other safe specimen for demonstration.
How to Make the Model
First, prepare a strong rectangular cardboard base. Cut several pieces of corrugated cardboard and glue them together to make a thick and stable base. Cover the outside with brown or colored paper if desired.
Next, make the microscope arm. Cut curved cardboard pieces and join them together to form a strong support connecting the base to the upper tube. Make sure the arm is firmly attached to the base.
For the microscope tube, use a cardboard cylinder or roll several layers of cardboard into a tube. Cover it neatly with paper. Attach a small black cardboard tube or bottle cap at the upper end to represent the eyepiece. If you have a suitable magnifying lens, carefully fix it at the eyepiece.
At the lower end of the tube, add a small lens or cardboard representation of the objective lens. Position the tube at an angle above the stage, similar to the microscope shown in the project.
Now construct the stage using a flat rectangular piece of cardboard. Cut a small opening in its center and cover it with transparent plastic. This is where the specimen will be placed. Add small clips made from cardboard strips to hold the specimen in position.
Place a small LED underneath the stage and connect it to a battery and ON/OFF switch. When the switch is turned on, the LED illuminates the specimen from below.
Finally, decorate the model and add labels such as Eyepiece, Microscope Tube, Objective Lens, Stage, Specimen, Light Source, Arm, and Base. You can place a leaf or printed specimen on the stage for demonstration.
Conclusion
This microscope working model is an excellent science project for understanding magnification, lenses, illumination, and observation. It shows how a microscope is constructed and how light and lenses work together to help us observe very small objects.
The project is inexpensive, environmentally friendly, and can be made using recycled cardboard. For a school demonstration, the LED and specimen stage can be used to show how proper illumination helps in observing small objects.