
Introduction
Sequences and progressions are important concepts in mathematics used to identify patterns in numbers. This project demonstrates two common types of progressions: Arithmetic Progression (A.P.) and Geometric Progression (G.P.).
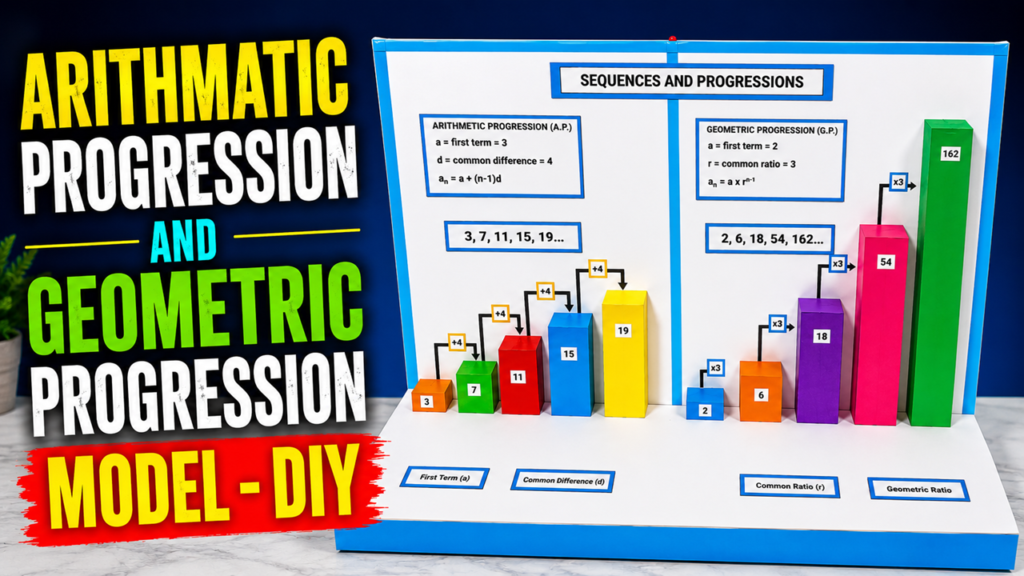
The model uses colorful blocks and arrows to make the mathematical patterns easy to understand visually. It shows how numbers change from one term to the next using a fixed addition or multiplication.
Arithmetic Progression (A.P.)
An Arithmetic Progression is a sequence in which the difference between two consecutive terms remains constant. This fixed value is called the common difference (d).
In this model, the A.P. sequence is:
3, 7, 11, 15, 19, …
Here, the first term is a = 3 and the common difference is d = 4, because:
3 + 4 = 7
7 + 4 = 11
11 + 4 = 15
15 + 4 = 19
The nth term of an arithmetic progression is calculated using:
aₙ = a + (n − 1)d
For example, the fifth term is:
a₅ = 3 + (5 − 1) × 4
a₅ = 3 + 16 = 19
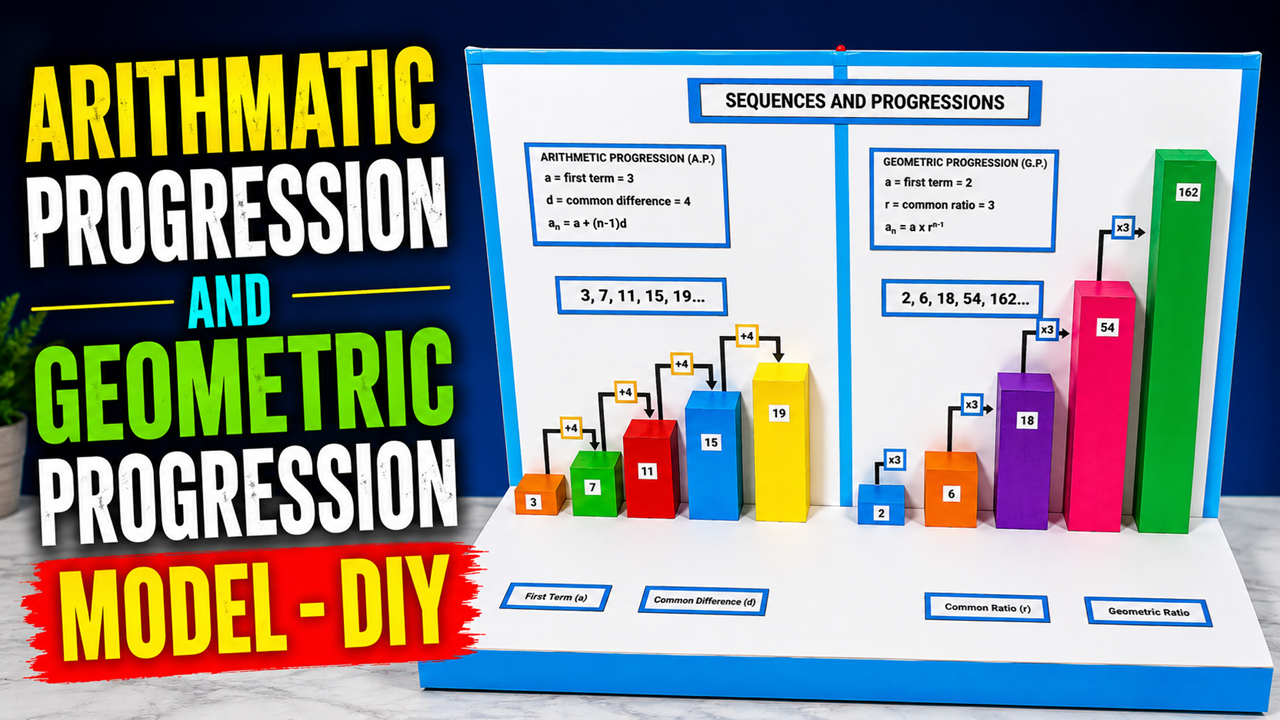
The increasing blocks in the model represent these terms, while the arrows marked +4 show the common difference.
Geometric Progression (G.P.)
A Geometric Progression is a sequence in which each term is obtained by multiplying the previous term by a fixed number. This fixed number is called the common ratio (r).
The model shows the G.P. sequence:
2, 6, 18, 54, 162, …
Here, the first term is a = 2 and the common ratio is r = 3.
The pattern is:
2 × 3 = 6
6 × 3 = 18
18 × 3 = 54
54 × 3 = 162
The nth term of a geometric progression is:
aₙ = a × rⁿ⁻¹
For example:
a₅ = 2 × 3⁴
a₅ = 2 × 81 = 162
The colorful blocks on the right represent the increasing terms, while the arrows marked ×3 show the common ratio.
Materials Required
To make this model, you will need a large cardboard or foam-board sheet, colored chart paper, cardboard pieces, thermocol or foam sheets, glue, scissors, a cutter, ruler, pencil, markers, paints, wooden sticks, and printed labels. Small pieces of cardboard can be used to create the numbered blocks. Use different colors to distinguish the A.P. and G.P. sections.
How to Make the Model
First, take a large rectangular cardboard sheet and cover it with white paper. Use blue paper around the edges to create a neat border. Make an upright rectangular background and attach it firmly to the base.
Divide the display board into two sections. Label the left section “ARITHMETIC PROGRESSION (A.P.)” and the right section “GEOMETRIC PROGRESSION (G.P.).” Add the formulas and definitions at the top of each section.
For the A.P. section, make five cardboard blocks of gradually increasing height. Write 3, 7, 11, 15, and 19 on the blocks. Arrange them from shortest to tallest. Connect the blocks with arrows and label each arrow +4.
For the G.P. section, make five blocks with a much greater increase in height. Label them 2, 6, 18, 54, and 162. Connect the blocks with arrows labeled ×3. Because 162 is much larger than 2, the final block should be significantly taller.
Finally, add labels such as First Term (a), Common Difference (d), Common Ratio (r), and Geometric Ratio. Use clear arrows to show the direction of the sequence. Check that every number and formula is correct.
Conclusion
This working model makes the concepts of A.P. and G.P. simple and visually attractive. It clearly demonstrates that an arithmetic progression changes by a constant addition or subtraction, while a geometric progression changes by a constant multiplication or division. The project is useful for mathematics exhibitions because students can explain both the formulas and the numerical patterns using the physical blocks.