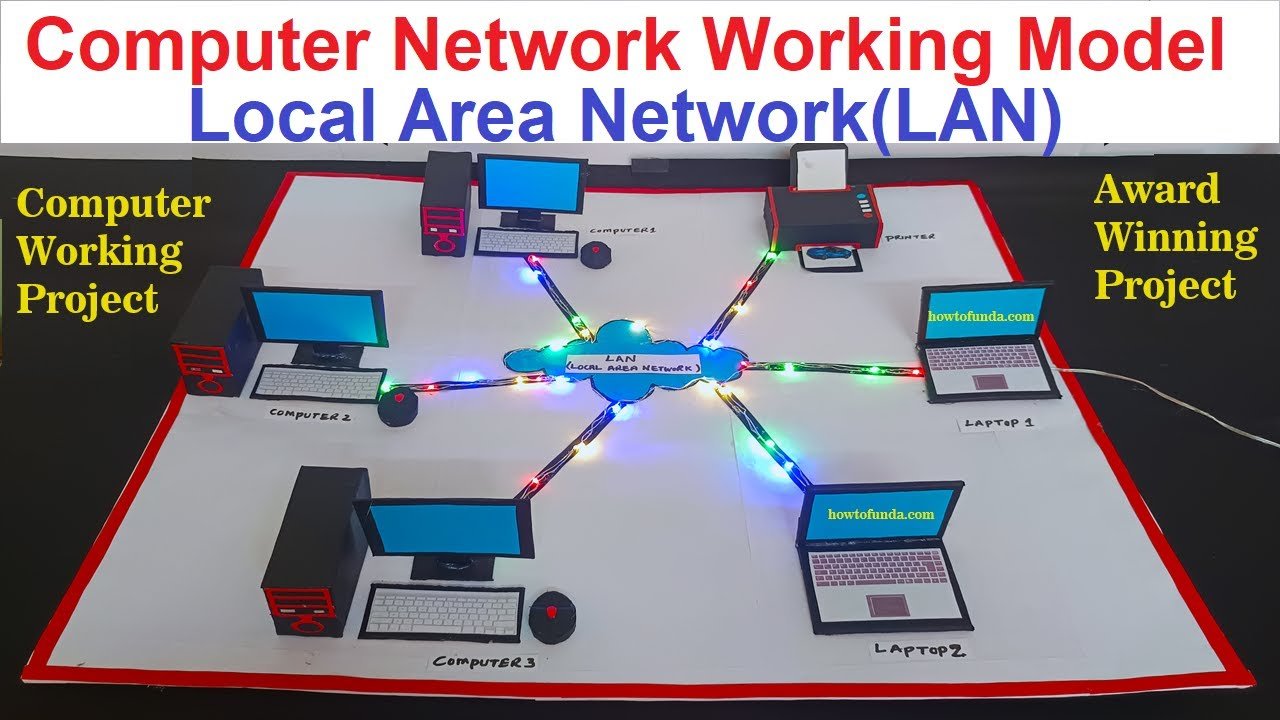
Creating a local area network (LAN) model using cardboard, color paper, and serial lights can be a fun and educational project.
Here’s a step-by-step guide to help you build a basic LAN model:

Materials Needed:
- Cardboard (for the base and structures)
- Color paper (for detailing and decoration)
- LED lights (to represent network connections)
- Wires or string (to connect LEDs)
- Small switches or hubs (optional, for realism)
- Markers, scissors, glue, ruler, and other crafting tools
Steps to Build the LAN Model:
- Prepare the Base:
- Take a large piece of cardboard as the base for your LAN model. This will serve as the foundation where you’ll build your network layout.
- Create Building Structures:
- Use smaller pieces of cardboard to create structures representing different buildings or rooms within your LAN. You can make rectangular shapes for simplicity.
- Decorate with Color Paper:
- Cover the cardboard structures with color paper to add visual appeal and differentiate between different parts of the LAN. Use different colors for different buildings or rooms.
- Install LED Lights:
- Determine where each computer or device (represented by LEDs) will be placed within the LAN model. Poke small holes in the cardboard to insert the LED lights.
- Connect each LED with wires or string to simulate network connections. You can use different colors of wires to represent different types of connections (e.g., Ethernet cables).
- Set Up the Network Layout:
- Arrange the cardboard buildings on the base to represent the physical layout of your LAN. Place LED lights inside each building to represent connected devices.
- Use markers to label each building or room (e.g., Office A, Office B, Server Room).
- When presenting your LAN model, explain how LANs work, the benefits of local networking, and how devices communicate within the network.

