
Quadrilaterals are a fundamental category of polygons in geometry, consisting of four sides (edges) and four vertices (corners).
These shapes come in various forms, each with its unique properties and characteristics. Common types of quadrilaterals include squares, rectangles, parallelograms, trapezoids, and rhombuses.
Understanding quadrilaterals is crucial as they form the basis for more advanced geometric concepts and have numerous applications in real-world contexts, such as architecture, engineering, and design.
A math exhibition on quadrilaterals offers an opportunity to explore these shapes in a detailed and interactive manner, allowing participants to grasp their properties, classifications, and significance in a comprehensive and engaging way.
Creating a working model of quadrilaterals for a math exhibition can be both educational and engaging.
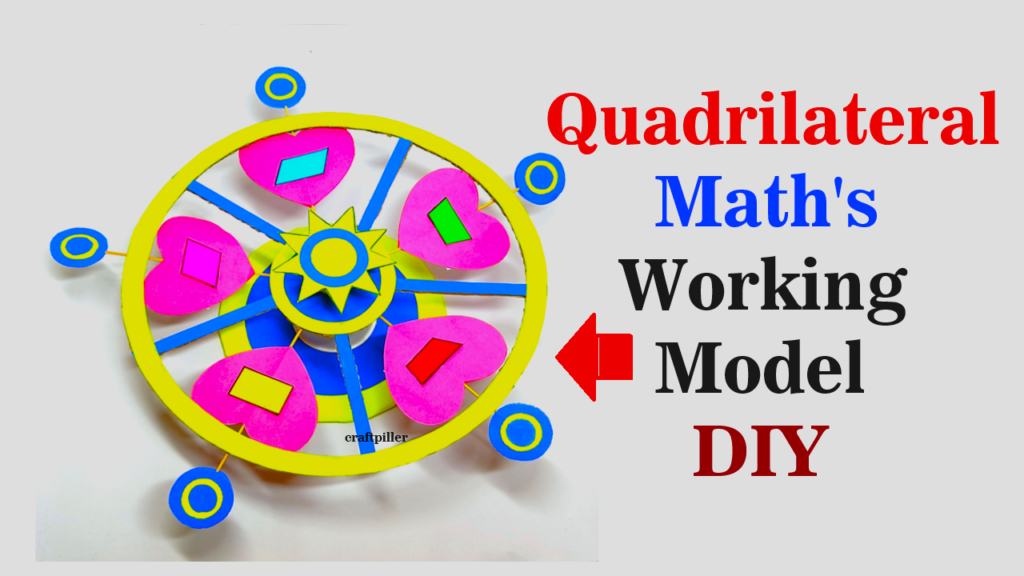
Here’s a step-by-step guide to making a model using cardboard and color paper:
Materials Needed:
- Cardboard or foam board
- Colored paper (different colors)
- Ruler
- Pencil
- Scissors
- Glue or tape
- Markers
- Protractor (optional)
- String or yarn (optional)
Steps by Step Video instructions:
1. Prepare the Base:
- Take a piece of cardboard or foam board as the base for your model.
- Cut it into a large square or rectangle to serve as the display area.
2. Draw Quadrilaterals:
- Use a ruler and pencil to draw different types of quadrilaterals on the base.
- You can draw squares, rectangles, parallelograms, rhombuses, trapezoids, and kites.
- Ensure the sides and angles of each quadrilateral are accurately drawn.
3. Cut Out Quadrilaterals:
- Use colored paper to trace and cut out each quadrilateral shape.
- Choose different colors for each type of quadrilateral to distinguish them easily.
4. Label Quadrilaterals:
- Write the name of each quadrilateral next to its corresponding shape on the base.
- For example, label a square as “Square”, a rectangle as “Rectangle”, etc.
5. Decorate:
- Optionally, you can decorate the quadrilaterals with patterns or designs using markers or colored paper.
- This step makes the model more visually appealing and engaging.
6. Create Angles:
- Use a protractor to measure and draw angles on each quadrilateral.
- Label the angles with their measurements if desired.
- Ensure the angles are labeled correctly (e.g., right angles in squares and rectangles).
7. Attach Quadrilaterals:
- Use glue or tape to attach each colored paper quadrilateral onto its corresponding shape drawn on the base.
- Ensure the shapes are positioned accurately and securely attached.
9. Explain and Demonstrate:
- Once completed, display your quadrilateral model at the exhibition where students and visitors can easily see it.
- Use the model to explain the properties of each type of quadrilateral, such as sides, angles, diagonals, and symmetry.
- Encourage students to interact with the model by identifying shapes and discussing their properties.
By following these steps, you can create an informative and visually appealing quadrilateral working model for your math exhibition.