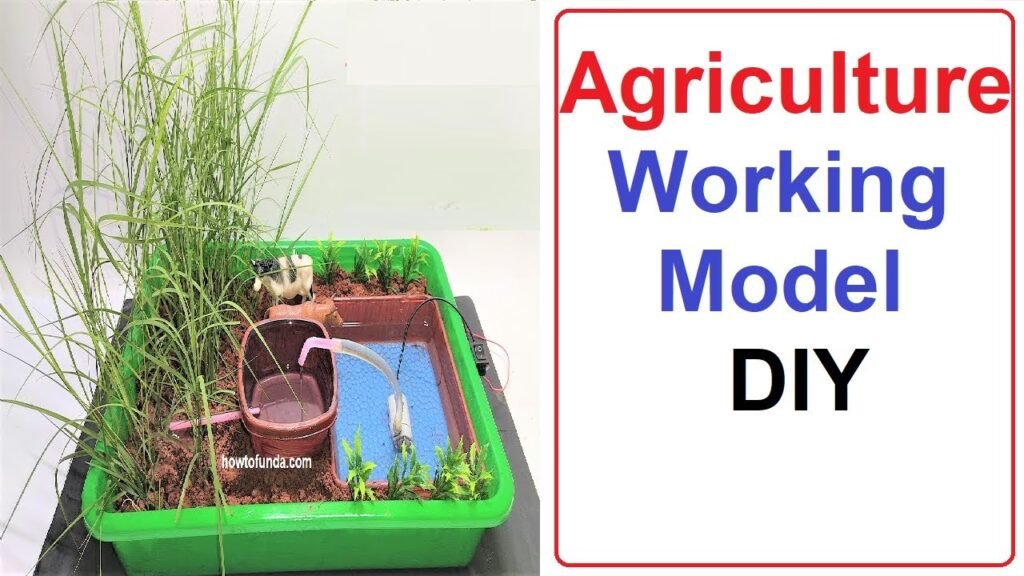
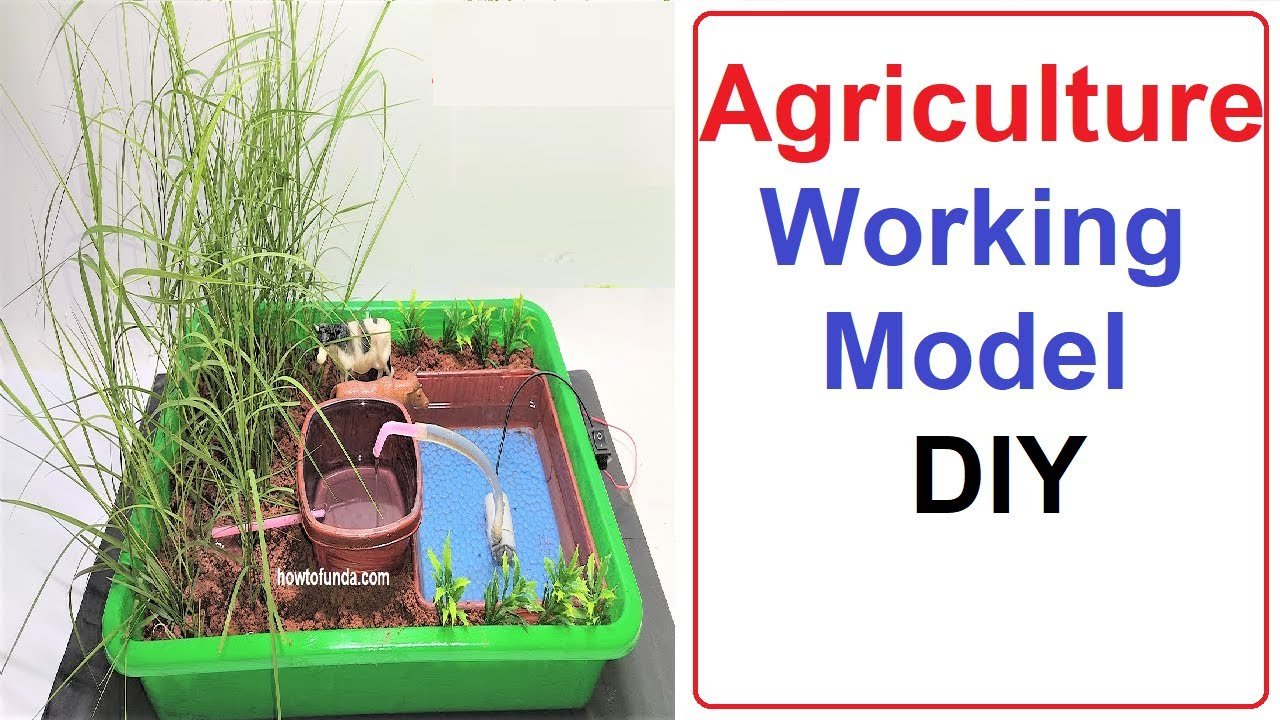
In this post I will be explaining the simple way of implementing the agriculture working model

Creating a simple agriculture working model using a plastic tray with plants and a water tray to pump water to the plants can be a fun and educational project.
Here’s a step-by-step guide to help you set it up:
Materials Needed:
- Plastic Tray for Plants: This will hold the soil and plants.
- Water Tray: This will hold the water and be placed below the plant tray.
- Submersible Water Pump: Small and low-power pump suitable for small-scale projects.
- Tubing: Flexible plastic tubing to connect the pump to the plant tray.
- Soil: Suitable for the type of plants you are growing.
- Plants or Seeds: Choose plants that are suitable for your model.
- Power Supply for Pump: Ensure it matches the specifications of your pump.
- Timer (optional): To automate the watering process.
- Supporting Structure: To hold the plant tray above the water tray.
Step by Step Video Instructions:
1. Set Up the Trays:
- Plant Tray: Fill the plastic tray with soil and plant your seeds or seedlings.
- Water Tray: Place this tray below the plant tray. Ensure the plant tray is elevated using a supporting structure so that the water can be pumped up from the water tray.
2. Install the Water Pump:
- Place the submersible water pump inside the water tray.
- Connect one end of the tubing to the outlet of the pump.
3. Set Up the Watering System:
- Lay the tubing along the top of the plant tray, ensuring it reaches all plants.
- You may want to poke small holes along the tubing to create a drip irrigation system, ensuring water is evenly distributed.
4. Connect the Pump:
- Attach the power supply to the pump. If you are using a timer, connect the pump to the timer to control the watering schedule.
5. Test the System:
- Fill the water tray with water.
- Turn on the pump and check the water flow through the tubing to ensure it reaches all parts of the plant tray.
- Adjust the tubing and pump settings if necessary.

