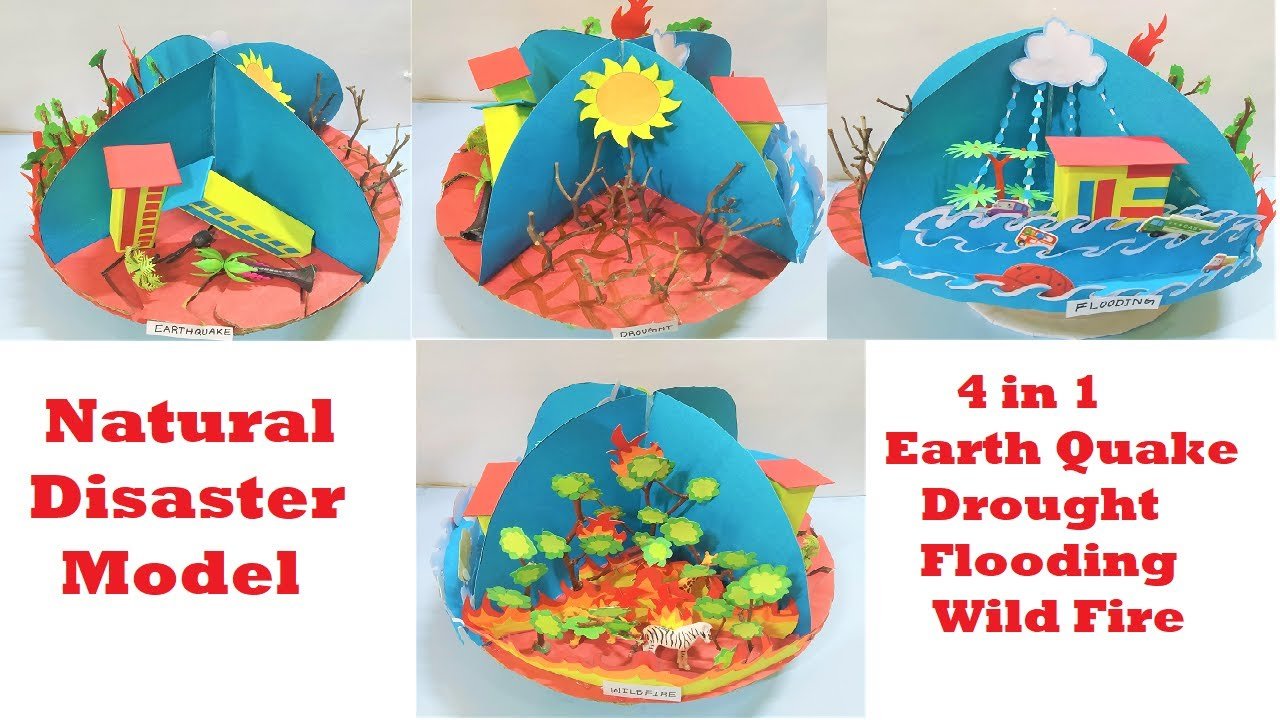
Creating a 3D working model of multiple natural disasters (flooding, forest fire, drought, and earthquake) using cardboard and colored paper can be an engaging and educational project for a social science exhibition.
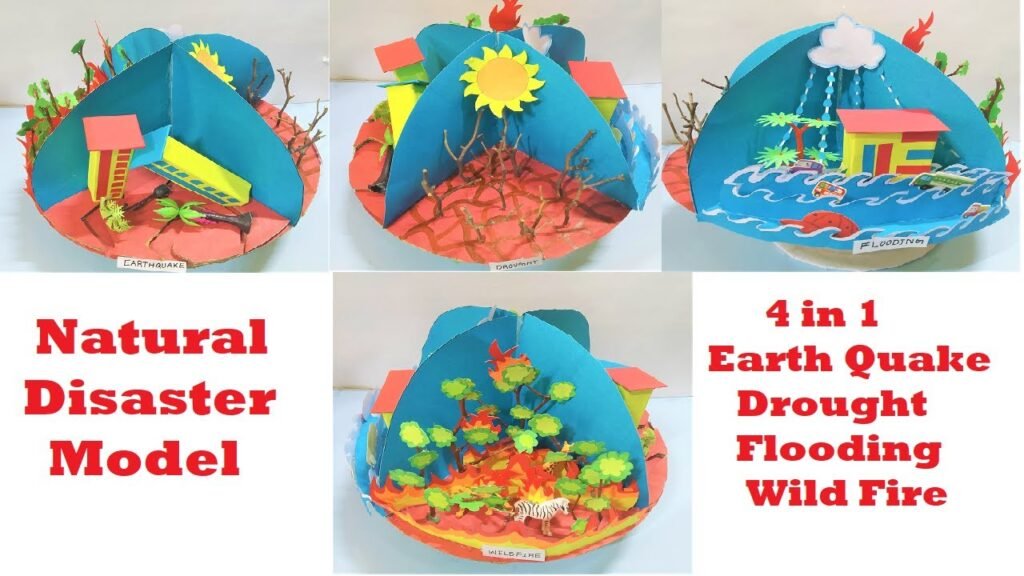
Here’s a step-by-step guide to help you create each disaster scenario on a shared base:
Materials Needed:
- Cardboard sheets (for the base and structures)
- Colored paper or paint (for decorating)
- Scissors
- Glue or adhesive
- Markers or pens (for detailing)
- Small toy figures, trees, and houses (optional)
- Cotton balls or white paper (for smoke and clouds)
Step by Step Video Instructions:
1. Prepare the Base:
- Cut out a large piece of cardboard to serve as the base of your model. Divide it into four sections, one for each disaster: flooding, forest fire, drought, and earthquake.
2. Flooding Scenario:
- Ocean and Land: Paint a section of the base blue to represent water and the adjacent area brown/green for land.
- Buildings: Use small cardboard pieces to create houses and buildings, and place them near the edge of the water.
- Water: Cut strips of blue-colored paper to represent rising water and place them on the land to show flooding. You can add waves and ripples to depict movement.
- Details: Add toy figures and trees, some of which can be partially submerged to show the impact of flooding.
3. Forest Fire Scenario:
- Forest: Cut out tree shapes from green and brown paper, and place them closely together to form a dense forest.
- Fire: Cut flame shapes from red, orange, and yellow paper. Glue them around the trees to represent the fire spreading through the forest.
- Smoke: Use cotton balls or tear pieces of white paper to create smoke rising from the fire.
- Details: Add figures of animals and people to show evacuation efforts.
4. Drought Scenario:
- Ground: Paint or cover this section with brown or yellow paper to represent dry, cracked earth.
- Vegetation: Cut out shapes of withered plants and trees from brown and dark green paper. Scatter them sparsely around the area.
- Water Source: Create a dried-up riverbed with brown paper and place cracked earth pieces around it.
- Details: Add toy animals and people to show the impact of water scarcity on life.
5. Earthquake Scenario:
- Ground: Paint or cover this section with brown or gray paper.
- Cracks: Cut zigzag shapes from black paper to represent cracks in the earth and place them on the ground.
- Buildings: Create small cardboard buildings and cut them in half or make them look damaged to show the impact of the earthquake.
- Details: Add figures of people and emergency response vehicles to show rescue operations.
Assembling the Model:
- Positioning: Arrange each section on the base in a way that they are clearly distinct but also connected, showing that different disasters can affect similar regions.
- Labels: Use markers or pens to create labels for each section: “Flooding”, “Forest Fire”, “Drought”, and “Earthquake”.
- Educational Elements: Add brief descriptions or facts about each disaster, its causes, effects, and safety measures.
Display and Explanation:
- Place the model in a visible area where viewers can easily see and interact with it.
- Use the model to explain the different types of natural disasters, their impact on the environment and communities, and the importance of disaster preparedness and response.