The purpose of creating a working model of a volcano eruption is to simulate the geological processes that lead to volcanic eruptions and to provide a visual and interactive way to understand these natural phenomena.
This model helps students and observers grasp the dynamic forces at play beneath the Earth’s surface and the impact of volcanic activity on the environment.
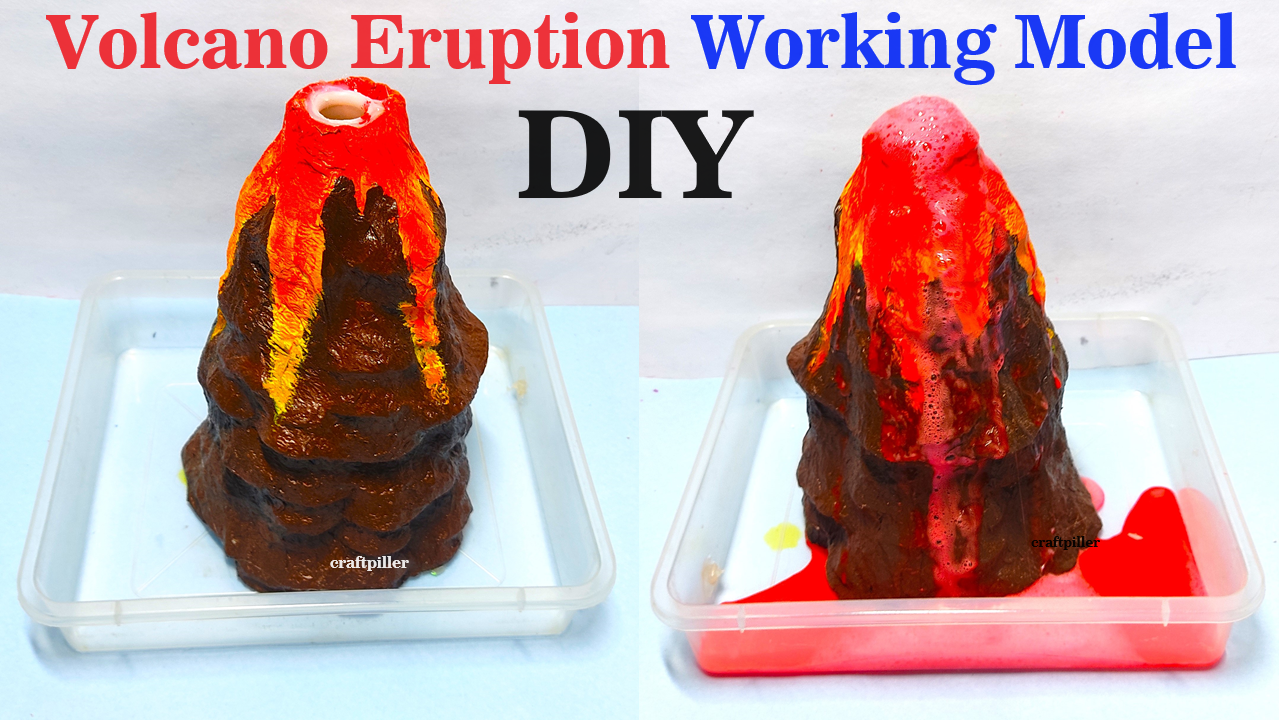
Creating a 3D volcano eruption model for a science exhibition project using a plastic bottle, old newspaper, and paint is a fantastic idea.
Here’s how you can do it:

Materials Needed:
- Plastic bottle (2-liter soda bottle works well)
- Old newspapers
- White glue or flour and water mixture (for paper mache)
- Acrylic paints
- Paintbrushes
- Scissors
- Tape
- Baking soda
- Vinegar
- Dish soap (optional, for foaming effect)
- Red food coloring (optional, for lava color)
Step by Step Video Instructions:
1. Building the Volcano Structure:
- Prepare the Bottle:
- Remove the bottle cap and cut off the bottom of the plastic bottle. This will be the top of your volcano.
- Create the Base:
- Cut out a round base from cardboard or a sturdy material to support your volcano.
- Tape or glue the bottle onto the base, making sure it’s secure.
2. Making the Volcano Shape:
- Wad Up Newspaper:
- Crumple up old newspapers to create the basic shape of the volcano around the bottle.
- Leave the bottle opening exposed at the top.
- Paper Mache:
- Mix white glue with a little water to create a thin paste. Alternatively, you can make a flour-water mixture.
- Dip strips of newspaper into the paste and apply them to the newspaper mound around the bottle.
- Continue layering until you have a sturdy volcano structure.
- Let it dry completely.
3. Painting the Volcano:
- Base Coat:
- Paint the entire volcano structure with a base coat of brown or gray paint to resemble rock.
- Let it dry completely.
- Detailing:
- Add details like cracks, crevices, and texture using darker and lighter shades of brown or gray.
- Use a sponge or brush to create a realistic rock texture.
- Lava Flow:
- Paint the inside of the volcano cone with bright red or orange paint to represent lava.
- Add streaks of yellow to simulate flowing lava.
- Let it dry completely.
4. Creating the Eruption:
- Baking Soda “Lava”:
- Pour some baking soda into the bottle (about 1-2 tablespoons).
- Adding Color (Optional):
- Add a few drops of red food coloring into the baking soda to give the “lava” a more realistic appearance.
- Vinegar “Eruption”:
- Mix vinegar with a little dish soap (for a foaming effect, if desired).
- Pour the vinegar into the bottle over the baking soda.
- Watch as the chemical reaction causes an eruption, simulating a volcano!
5. Presentation:
- Display your volcano model on the base at your science exhibition.
- Explain the process of building the model and how the eruption works using the chemical reaction between vinegar and baking soda.
- Demonstrate the eruption to engage the audience.
This project not only demonstrates the structure of a volcano but also the chemistry behind its eruption, making it an educational and visually exciting exhibit for a science exhibition.