
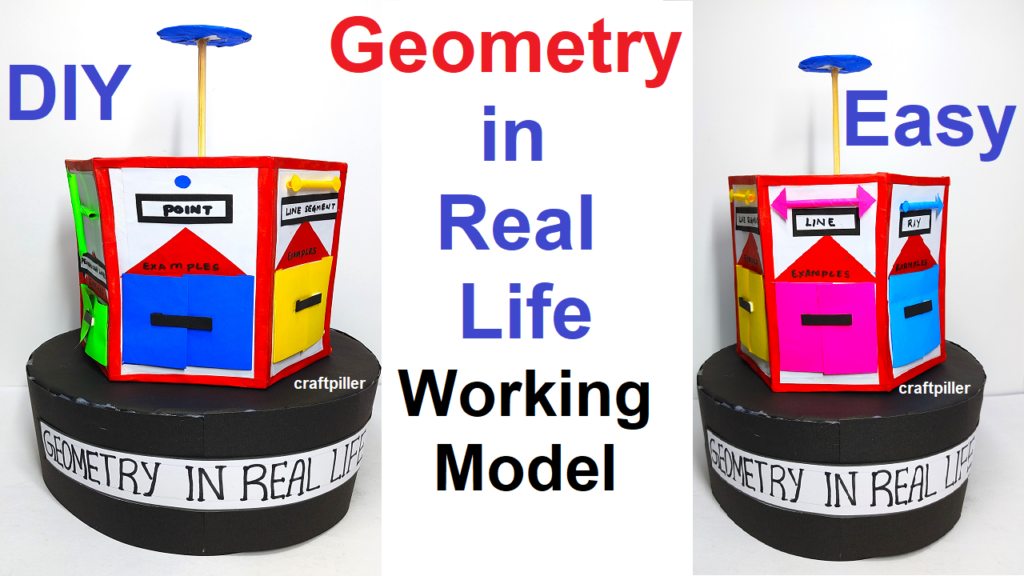
Creating a working model that demonstrates various geometry concepts like points, rays, lines, intersecting lines, perpendicular lines, and segments using cardboard and colored paper is an excellent educational project.
Here’s a step-by-step guide:
Materials Needed:
- Cardboard (for the base and shapes)
- Colored paper (for decoration and shapes)
- Pencil and ruler
- Craft glue or hot glue gun
- Scissors
- Markers or pens
- Toy cars, buildings, and other small objects for real-life examples
- Labels and descriptions
Step-by-Step Instructions:
- Plan Your Model:
- Decide on a specific scenario that effectively showcases the geometry concepts. For example, a city intersection, a building facade, or a road network.
- Prepare the Base:
- Cut out a large, sturdy base from cardboard. This will be the foundation for your model.
- Create Points:
- Cut out small circles from colored paper to represent points. These could be used to mark key locations in your model.
- Design Rays, Lines, and Segments:
- Use colored paper to create rays, lines, and segments. For example, a ray could be a starting point for a road, a line could represent a street, and segments could be various parts of a building.
- Construct Intersecting Lines:
- Arrange your lines and segments on the base to create intersections. Use points to mark where lines meet.
- Add Perpendicular Lines:
- Integrate lines that meet at right angles to represent perpendicular lines. These could be roads intersecting at right angles or building corners.
- Real-Life Examples:
- Integrate toy cars on the roads, small buildings, and other objects to represent real-life examples of intersecting streets, buildings, and more.
- Label and Describe:
- Attach labels and descriptions to different elements of your model to explain the geometry concepts at play. For example, label points, rays, lines, segments, and perpendicular lines.
- Incorporate Scale:
- Include a scale on your model to demonstrate how real measurements translate to the model. This can be particularly useful for understanding segments.
- Examples in Real Life:
- Provide small labels or descriptions next to the real-life objects (e.g., “Toy Car at Intersection” or “Building Facade”).
- Presentation Board (Optional):
- Create a presentation board with additional information about the geometry concepts being demonstrated. Include diagrams and explanations.
- Set Up Your Exhibition Display:
- Arrange your model on a table with clear signage and any supporting materials you’ve prepared.
Your “Geometry in Real Life” working model is now ready for exhibition! This project effectively showcases how basic geometry concepts are applied in everyday scenarios. It provides an interactive and engaging learning experience for viewers.