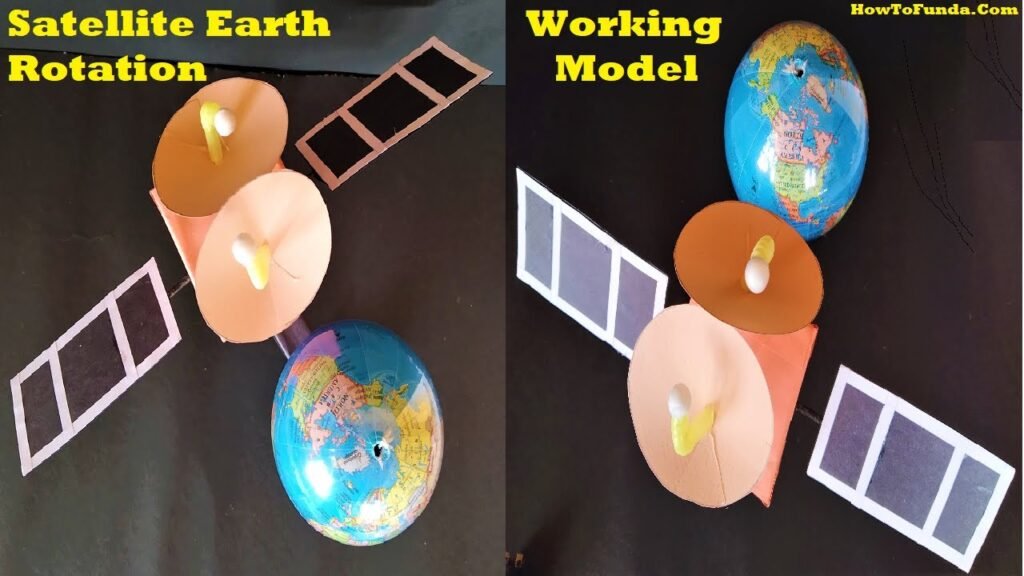
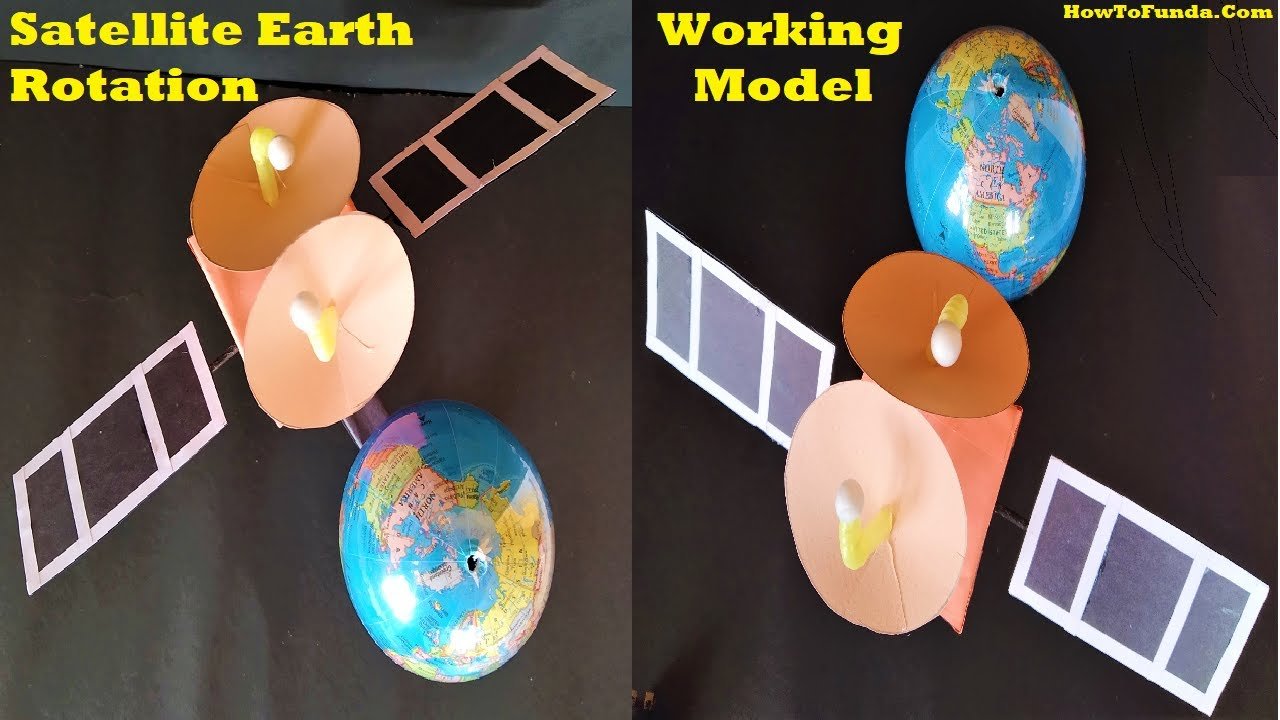
Creating a working model of a satellite rotating around Earth using cardboard and thermocol (styrofoam) balls can be both educational and visually appealing.

This project will demonstrate the concept of satellites orbiting a planet. Here’s a step-by-step guide:
Materials Needed:
- Cardboard sheets
- A large thermocol ball (for Earth)
- A smaller thermocol ball (for the satellite)
- A wooden dowel or metal rod (for the satellite’s orbit path)
- String or thin wire
- Glue or adhesive
- Scissors
- Colored paper
- Paints and brushes (optional for decorating the balls)
- Markers or pens (for detailing)
- Ruler
- Brass fasteners or split pins (for rotating parts)
Step by step video Instructions:
1. Prepare the Base:
- Base Platform: Cut a large rectangular piece of cardboard to serve as the base. This will support the entire model and ensure stability.
2. Create the Earth:
- Earth Ball: Take the large thermocol ball and paint it to resemble Earth. Use blue for the oceans and green/brown for the continents. Allow the paint to dry.
- Mounting Earth: Attach the Earth ball securely to the center of the cardboard base using glue. Ensure it is stable and does not wobble.
3. Create the Satellite:
- Satellite Ball: Take the smaller thermocol ball and paint it to resemble a satellite. You can use gray or metallic colors to make it look realistic. Allow the paint to dry.
- Satellite Details: Use colored paper to add details like solar panels or antennas to the satellite ball.
4. Create the Orbit Path:
- Orbit Arm: Take the wooden dowel or metal rod and cut it to the desired length. This will be the path along which the satellite will orbit Earth.
- Mounting the Arm: Attach one end of the dowel or rod to the smaller satellite ball using glue. Ensure it is securely attached.
5. Attach the Orbit Arm to Earth:
- Rotation Mechanism: Create a small hole through the center of the large thermocol ball (Earth) and insert the other end of the dowel or rod through this hole. Use brass fasteners or split pins at the top and bottom to allow the dowel to rotate around the ball.
- Stabilization: Ensure that the dowel or rod is securely fixed but can rotate freely around the Earth ball. You might need to use a small piece of cardboard at the top and bottom to keep the dowel in place and allow smooth rotation.
6. Final Assembly:
- Positioning: Adjust the dowel or rod so that the satellite ball is at the desired distance from the Earth ball.
- Testing Rotation: Rotate the dowel to ensure the satellite moves smoothly around Earth.
Demonstration and Explanation:
- Satellite Orbit: Explain that the model demonstrates how a satellite orbits Earth. The satellite moves in a circular path around the planet due to the gravitational pull of Earth.
- Rotation Mechanism: Show how the satellite rotates smoothly around Earth using the dowel or rod. Explain the importance of a stable orbit path.
- Real-World Applications: Discuss real-world applications of satellites, such as communication, weather forecasting, GPS, and scientific research.

