
This simple water fountain project provides a hands-on experience in creating a basic water feature.
It’s a great way to explore the principles of fluid dynamics and mechanics in a DIY setting.
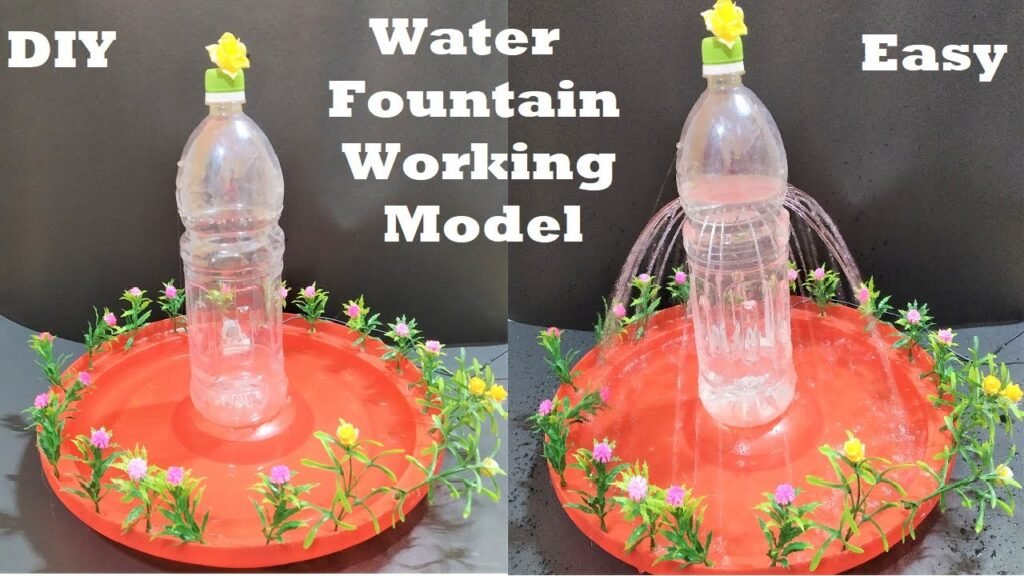
Creating a simple water fountain using a water bottle and a DC motor pump is a fun and educational DIY project. This project involves using basic materials to build a miniature water feature.
Here’s a step-by-step explanation of how you can make a water fountain using a water bottle and a DC motor pump:
Materials Needed:
- Empty plastic water bottle
- DC motor pump (submersible)
- Plastic tubing (transparent, flexible)
- Small plastic container (to hold water)
- Hot glue gun or waterproof adhesive
- Decorative stones or pebbles
- Small waterproof container or tray (optional, for base)
- Battery pack or power source for the DC motor pump
- Drill or hot nail (to make holes)
- Waterproof sealant (optional)
Steps by step instructions water fountain working model :
- Prepare the Water Bottle:
- Remove the label from the plastic water bottle and ensure it is clean and dry.
- Drill Holes in the Water Bottle:
- Use a drill or a hot nail to carefully make small holes in the bottom of the water bottle. These holes will allow water to flow out and create the fountain effect. You can experiment with hole size and placement for different fountain patterns.
- Attach the Tubing to the DC Motor Pump:
- Connect one end of the plastic tubing to the outlet of the DC motor pump. Ensure a secure connection, and use a hot glue gun or waterproof adhesive to seal the joint.
- Insert the Tubing into the Water Bottle:
- Insert the other end of the tubing through the top opening of the water bottle and guide it to the bottom. The tubing should reach near the holes you drilled.
- Secure the Tubing in Place:
- Use hot glue or waterproof adhesive to secure the tubing inside the water bottle, ensuring a watertight seal around the entry point.
- Prepare the Water Container:
- Place the small plastic container or tray at the base of the water bottle. This container will catch the water and prevent spillage. You can also use a decorative container or tray for added aesthetics.
- Secure the DC Motor Pump:
- Place the DC motor pump in the water container, ensuring it is fully submerged. Use hot glue or waterproof adhesive to secure the pump in place.
- Add Decorative Stones or Pebbles:
- Place decorative stones or pebbles around the base of the water bottle to conceal the plastic container and create a visually appealing display.
- Power the DC Motor Pump:
- Connect the DC motor pump to a battery pack or power source. Ensure that the power source is safe for use with the pump.
- Adjust and Test:
- Turn on the power source and observe the water fountain. Adjust the water flow and experiment with different configurations to achieve the desired fountain effect.
- Optional Waterproof Sealant:
- If needed, apply waterproof sealant around joints and connections to ensure a secure and water-resistant fountain.