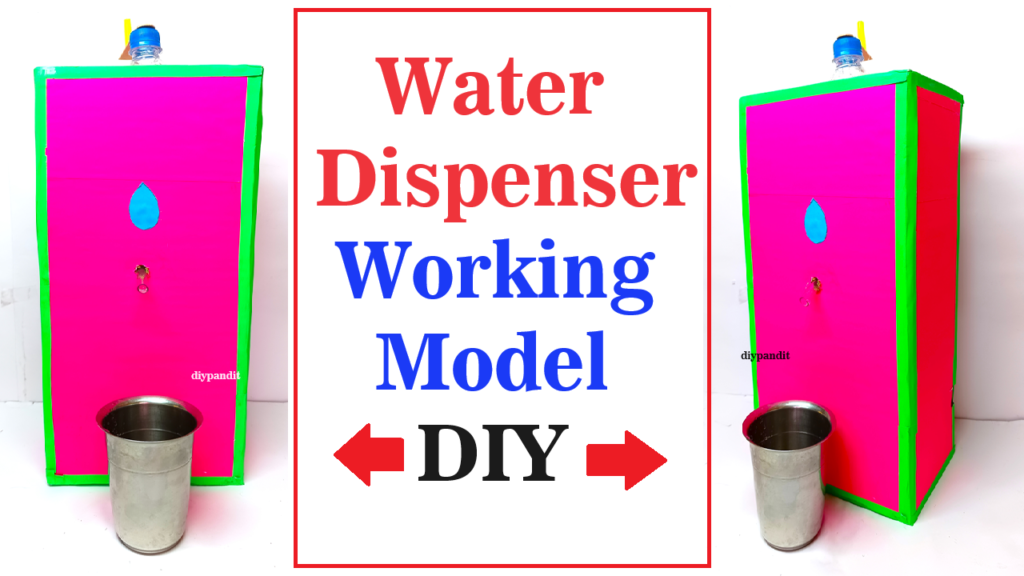
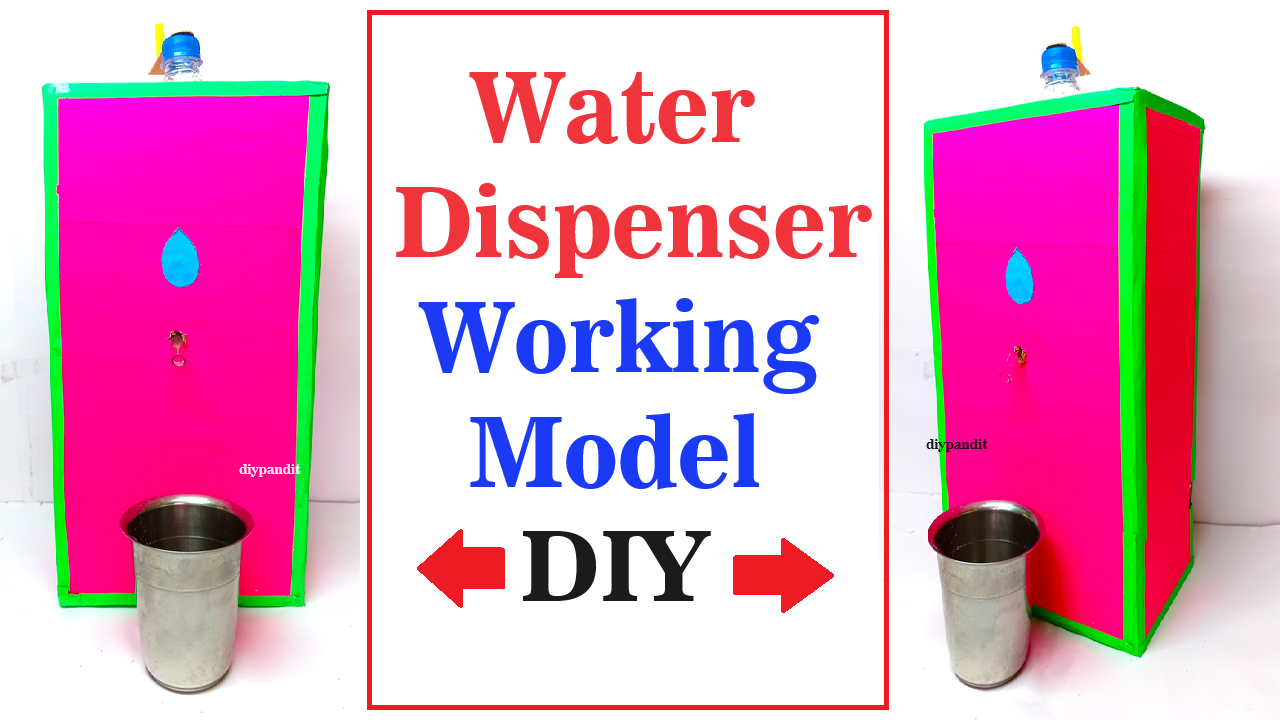
A simple water dispenser using a plastic bottle works by utilizing gravity to dispense water through a tap.
By filling the bottle and positioning it on a stand, users can easily control the flow of water using the attached tap, making it a practical and efficient model for demonstrating basic principles of fluid dynamics and gravity-driven systems.
This water dispenser model demonstrates the principles of fluid dynamics and gravity. When the valve is opened, gravity pulls the water down through the pipe, allowing it to flow out into the container.

The airtight seal around the pipe ensures that water flows smoothly without leaking.
By following these steps, you can create a functional and visually appealing water dispenser model using simple materials like a plastic bottle, cardboard, color paper, and a plastic pipe. This project will not only demonstrate scientific principles but also showcase creativity and practical skills.
Creating a working model of a water dispenser using a plastic bottle, cardboard, color paper, and a plastic pipe is a great project for a science exhibition. This model will demonstrate principles of fluid dynamics and gravity. Here’s a step-by-step guide to help you build this project:
Materials Needed:
- Plastic bottle (preferably a large one, like a 2-liter bottle)
- Cardboard
- Color paper (for decoration)
- Plastic pipe or straw
- Scissors or a craft knife
- Hot glue gun or strong adhesive
- Marker
- Ruler
- Small tap or valve (optional, but recommended for better control)
- Container or bowl (to collect the water)
Step by Step Video Instructions:
- Prepare the Plastic Bottle:
- Clean the plastic bottle and remove any labels.
- Make a small hole near the bottom side of the bottle. The hole should be just big enough to fit the plastic pipe or straw snugly.
- Insert the Plastic Pipe:
- Insert the plastic pipe or straw into the hole you made. If using a straw, you might need to use multiple straws connected together if one is not long enough.
- Seal around the pipe with hot glue or strong adhesive to prevent any leaks. Make sure the pipe is at a downward angle to allow gravity to assist in the water flow.
- Create the Dispenser Base:
- Cut a piece of cardboard to act as the base for your water dispenser. Ensure it’s large enough to support the plastic bottle and stable enough to prevent tipping.
- Cut two more pieces of cardboard to create a stand. These pieces will hold the bottle in place and allow space for a container to be placed underneath the pipe.
- Assemble the Stand:
- Attach the two cardboard pieces vertically to the base using hot glue or strong adhesive, ensuring they are spaced apart enough to fit the plastic bottle snugly between them.
- Cut a U-shaped notch at the top of each stand piece to hold the bottle in place.
- Secure the Bottle:
- Place the plastic bottle into the U-shaped notches on the stand, ensuring the pipe points downward.
- Secure the bottle to the stand using tape or additional cardboard supports if necessary.
- Add the Tap or Valve (Optional):
- If you have a small tap or valve, insert it into the pipe to control the water flow. This will make your dispenser more functional and easier to use.
- Secure it with glue and ensure it doesn’t leak.
- Decorate the Dispenser:
- Use color paper to decorate the cardboard base and stand. You can cover the entire structure to make it look more attractive.
- You can also add labels or drawings to explain the function of the dispenser for the exhibition.
- Test the Dispenser:
- Fill the bottle with water, and ensure it’s securely held in place by the stand.
- Place a container or bowl under the pipe.
- Open the tap or release your finger from the pipe to let the water flow into the container.
- Demonstrate the Function:
- Explain how gravity helps in dispensing water from the bottle through the pipe.
- Discuss the principles of fluid dynamics and how the pressure and gravity work together to allow water to flow out when the valve is opened.

