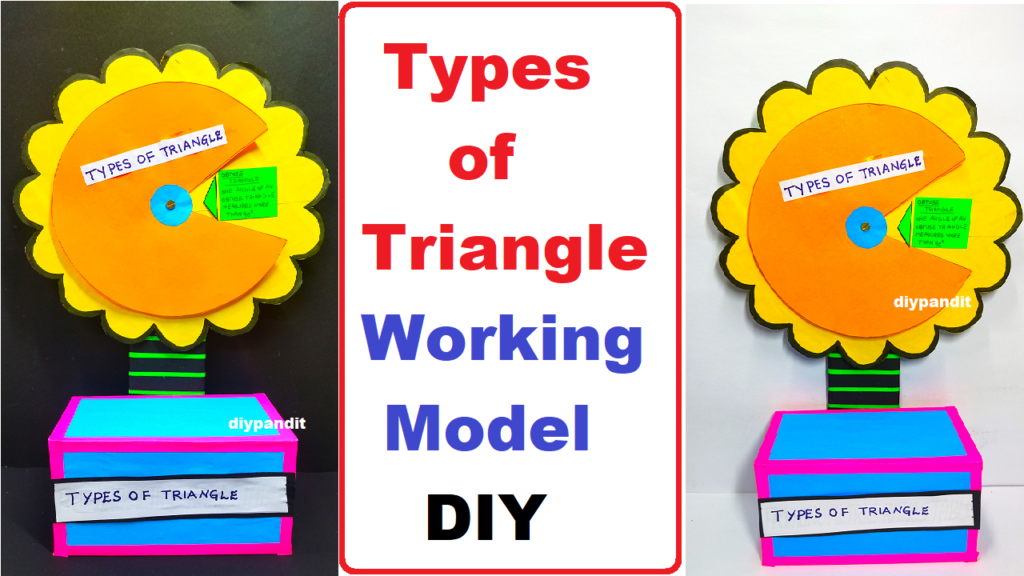
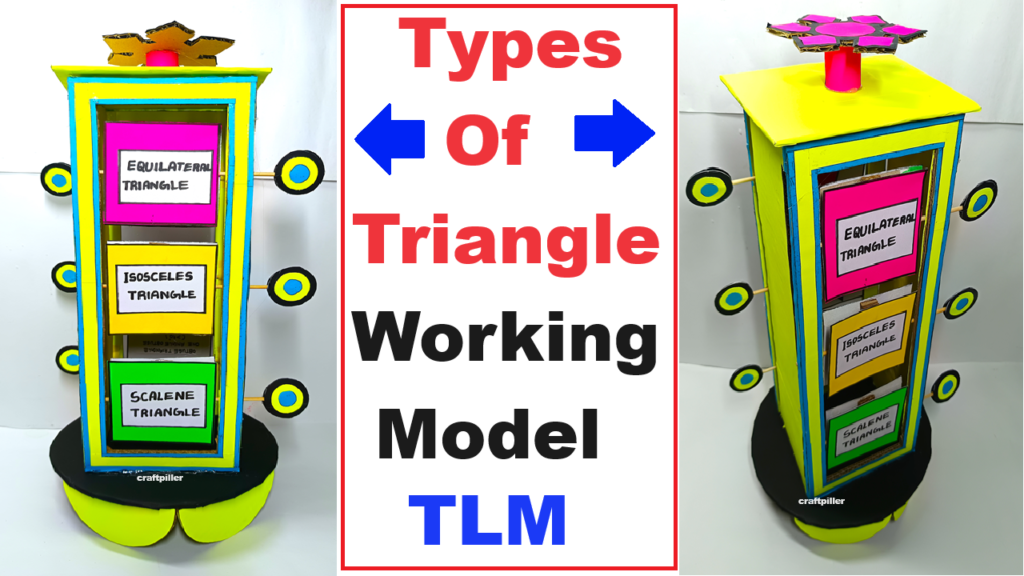
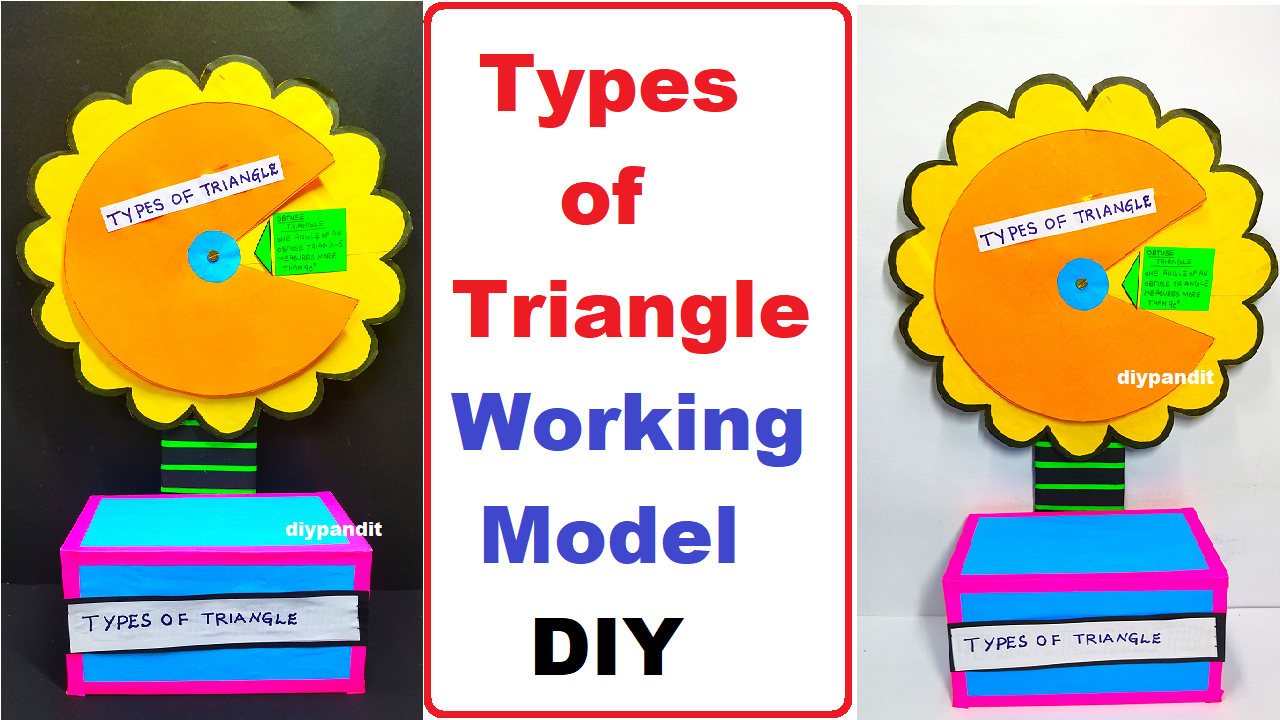
Creating a working model to showcase different types of triangles can be an engaging and educational project.
Below is a guide for creating a simple working model that illustrates various types of triangles using cardboard and other materials.

Materials:

- Cardboard
- Ruler
- Pencil
- Scissors
- Glue or tape
- Colored markers or paints (optional)
- String or yarn (optional)
Step by Step Video Instructions on Types of triangle working model science exhibition
- Cut Out Triangle Templates:
- Cut out three different types of triangles from the cardboard: equilateral, isosceles, and scalene. You can use a ruler and pencil to measure and draw these triangles. Ensure they are large enough to be visible in your model.
- Label the Triangles:
- Label each triangle with its corresponding type (equilateral, isosceles, and scalene). You can write directly on the cardboard or create small labels to attach.
- Attach Triangles to a Base:
- Glue or tape the triangles onto a larger piece of cardboard to serve as the base. Arrange them in a way that allows for easy comparison.
- Optional: Color the Triangles:
- Use colored markers or paints to differentiate the triangles visually. For example, you could color the equilateral triangle in one color, the isosceles triangle in another, and the scalene triangle in a third color.
- Create a Rotating Wheel (Optional):
- For an interactive element, consider attaching the triangles to a central point using a split pin (brad). This allows the triangles to rotate, making it easier to compare their features.
- Include Information:
- Add information about each type of triangle, such as definitions and properties, around the edges of the base or on small labels. Include details like side lengths, angles, and any other relevant information.
- Hang Labels with String (Optional):
- If you’ve created small labels, you can attach them to the corresponding triangles using string or yarn. This adds a visual element and allows viewers to easily identify each triangle.

