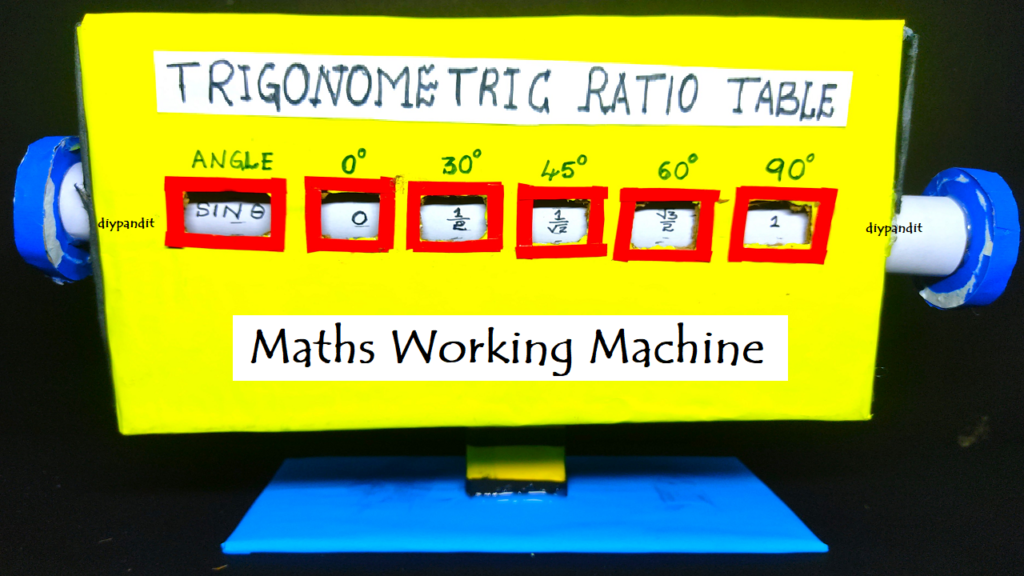
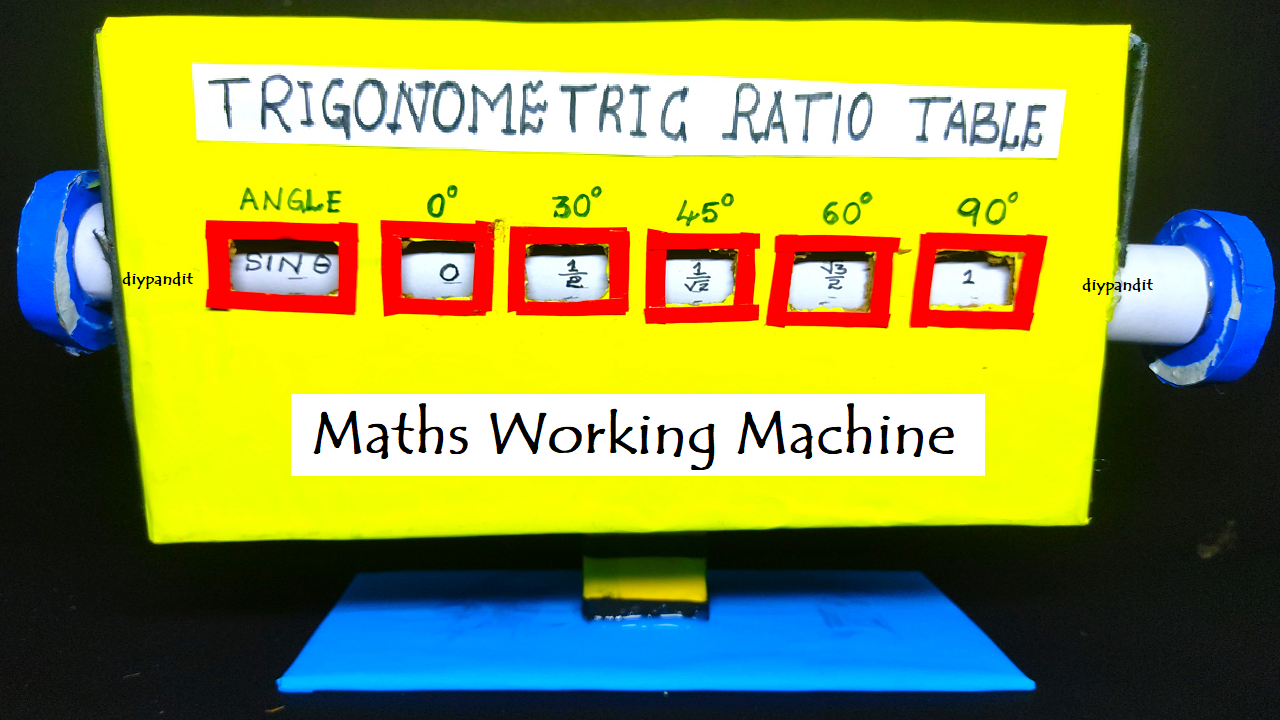
Creating a trigonometric ratios table working model with cardboard boxes can be a tactile and engaging way to illustrate the relationships between the angles and trigonometric ratios.

Below is a step-by-step guide:
Materials:
- Cardboard boxes (different sizes)
- Ruler
- Pencil
- Craft knife or scissors
- Protractor
- Compass
- String or yarn
- Split pins (brads)
- Markers or colored pencils
- Glue or tape
Step by Step Instructions trigonometric ratios table working model:
- Create Right-Angled Triangles:
- Use the cardboard boxes to create right-angled triangles. Cut out triangles from the cardboard, ensuring one angle is 90 degrees.
- Label the Sides:
- Label the sides of each triangle as follows:
- Opposite side (O)
- Adjacent side (A)
- Hypotenuse (H)
- Label the sides of each triangle as follows:
- Cut Holes for Ratios:
- For each side (O, A, H), cut out a hole near the vertex of the triangle. The sizes of the holes can represent the lengths of the sides.
- Use a Compass for Consistency:
- To make the holes consistent, use a compass to draw circles before cutting them out. The radius of the circles can represent the length of each side.
- Attach Strings for Visualization:
- Attach strings or yarn to the vertices of the triangles. Connect the opposite side hole with a string, the adjacent side hole with another string, and the hypotenuse hole with a third string.
- Create Labels for Angles:
- For each triangle, write the angle measurement near it. For example, for a 30-degree angle, write “30 degrees.”
- Create Labels for Ratios:
- For each triangle, create labels for the trigonometric ratios (sin, cos, tan, cosec, sec, cot). Write these labels near the corresponding sides.
- Color or Decorate:
- Use markers or colored pencils to color or decorate the triangles and labels.
- Attach to a Base:
- Glue or tape the triangles onto a larger piece of cardboard to serve as the base. Arrange them in a way that allows for easy observation and comparison.
- Create a Table:
- Create a table on the base or a separate piece of cardboard. Label the columns with the angles (e.g., 30, 45, 60 degrees) and the rows with the trigonometric ratios (sin, cos, tan, cosec, sec, cot).
- Attach the Triangles to the Table:
- Attach each triangle to the corresponding cell in the table using split pins (brads)

