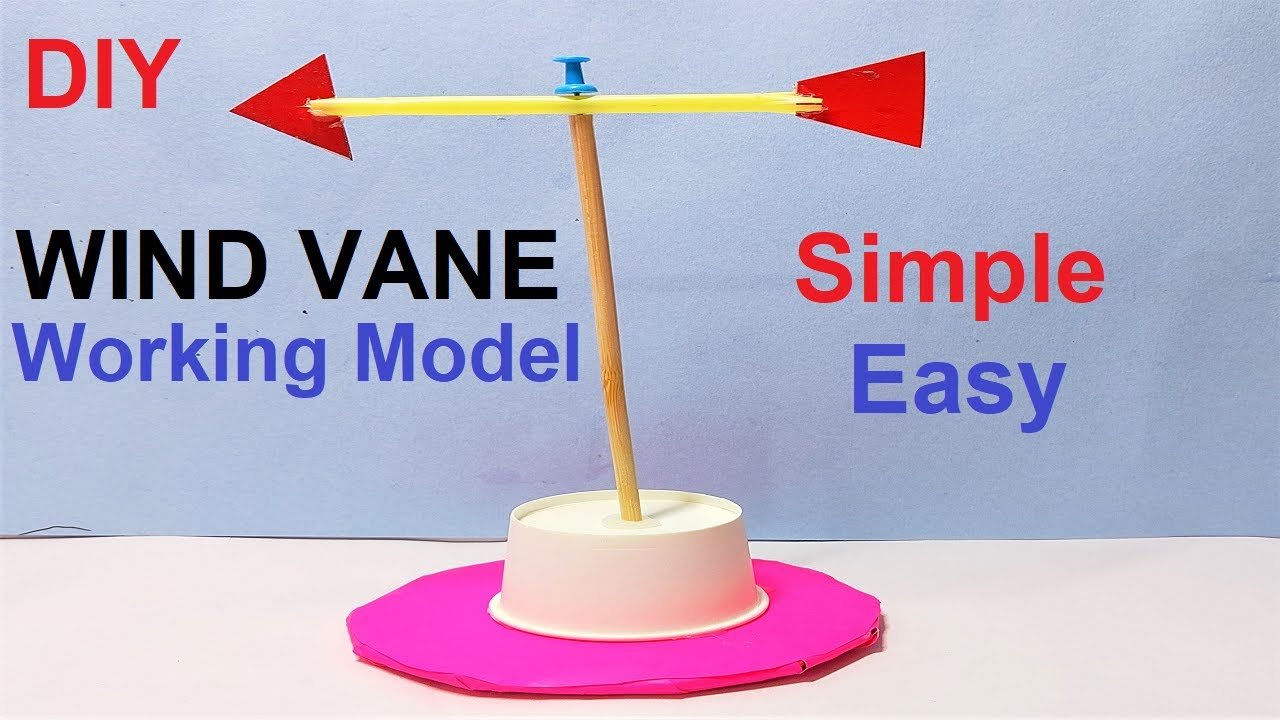
Creating a simple wind vane working model for a science exhibition using a pencil with a rubber, straw pipe, color paper, and a paper cup is a great idea.

Here’s a step-by-step guide to making it:
Materials Needed:
- Pencil with a rubber (eraser)
- Straw pipe (or a drinking straw)
- Color paper
- Paper cup
- Glue or adhesive
- Scissors
- Marker or pen
- Ruler
Step by Step Video Instructions on Wind Vane:
1. Prepare the Base:
- Start by placing the paper cup upside down on a flat surface. This will serve as the base of your wind vane.
2. Create the Wind Direction Indicator:
- Take the pencil with the rubber attached and insert it vertically into the center of the paper cup. This will be the axis around which the wind vane rotates.
- Ensure that the rubber end of the pencil is facing upwards and protruding above the top of the cup.
3. Construct the Arrow:
- Cut a small arrow shape out of color paper. This will be your wind direction indicator.
- Glue one end of the straw pipe to the back of the arrow shape.
- Insert the other end of the straw pipe onto the eraser end of the pencil, allowing the arrow to rotate freely.
4. Label the Directions:
- Use a marker or pen to label each side of the paper cup with the corresponding wind direction (e.g., North, South, East, West).
- You can also add additional labels for intermediate directions (e.g., Northeast, Southwest).
5. Testing:
- Place the wind vane outdoors in an open area where it can catch the wind.
- Observe how the arrow aligns with the wind direction as the wind blows.
- You can also use a compass to verify the accuracy of the wind vane’s readings.
Educational Value:
- Explain how a wind vane works to determine wind direction based on the orientation of the arrow relative to the compass directions.
- Discuss the importance of wind direction in weather forecasting, navigation, and other applications.