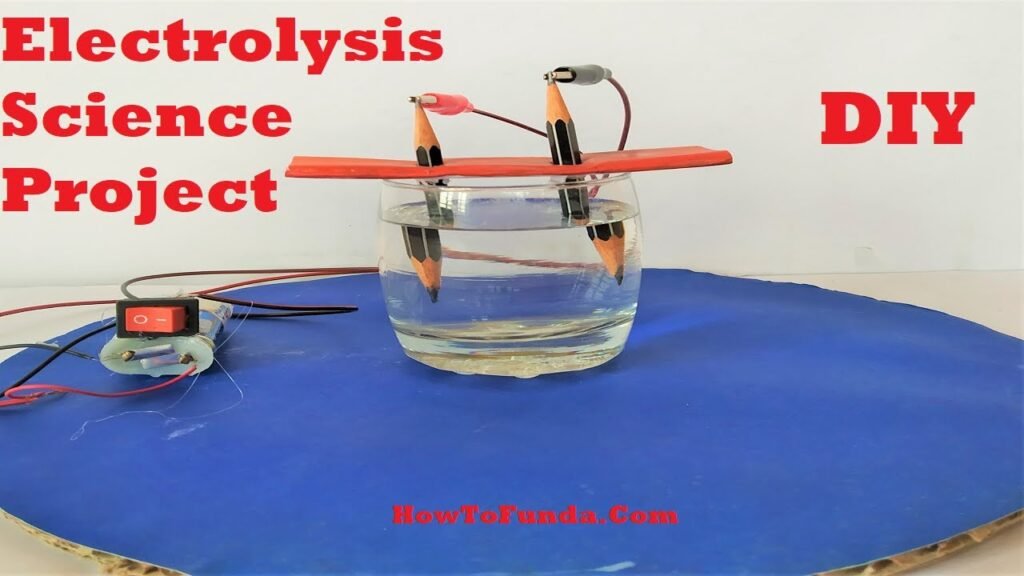
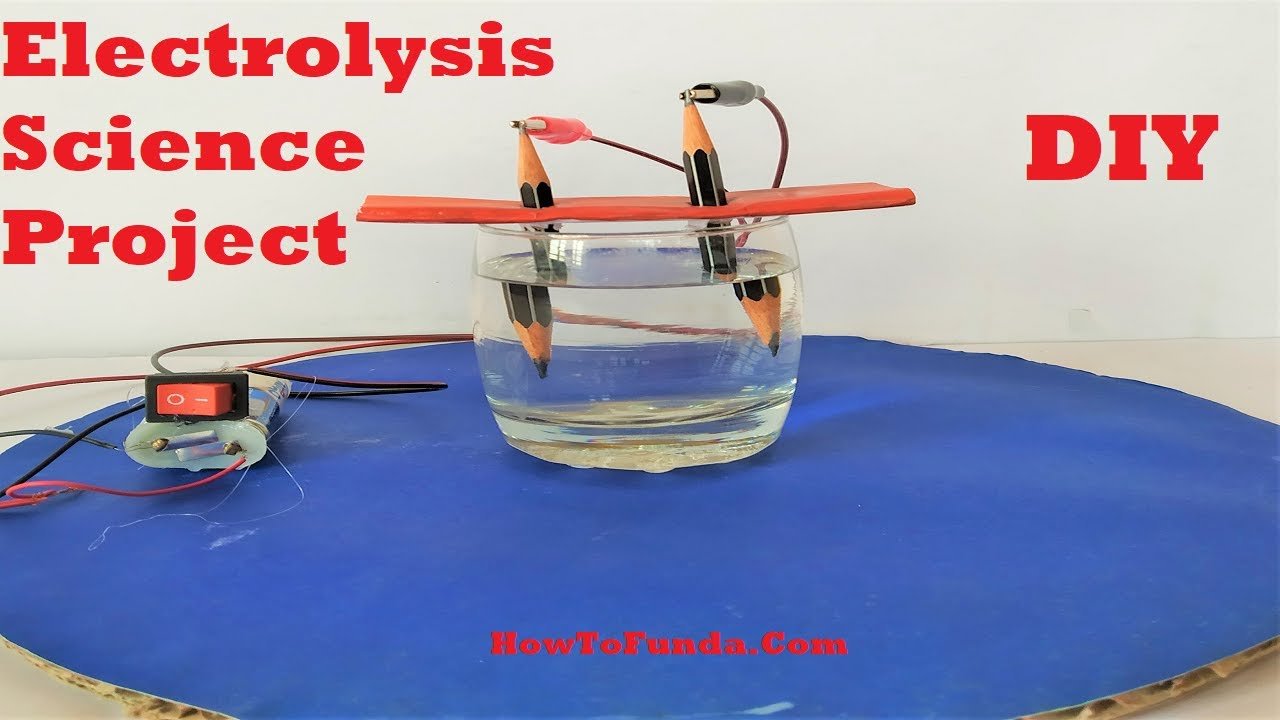
Creating a science project demonstrating the electrolysis of water using a pencil, a 9V battery, and a glass cup is a fascinating idea.

Here’s a step-by-step guide to creating this project:
Materials Needed:
- Pencil (graphite rod)
- 9V battery
- Glass cup or beaker
- Alligator clips or wires with clips
- Distilled water
- Salt (optional, for electrolyte)
Step by Step Video Instructions on electrolysis of water :
1. Setup the Electrolysis Apparatus:
- Fill the glass cup or beaker with distilled water.
- Place the pencil vertically into the water, ensuring it touches the bottom of the cup. The pencil’s graphite will act as the electrode.
2. Connect the Battery:
- Attach one end of the alligator clip or wire to the positive terminal of the 9V battery.
- Attach the other end of the clip or wire to the graphite rod of the pencil, creating the positive electrode (anode).
3. Complete the Circuit:
- Attach one end of another alligator clip or wire to the negative terminal of the battery.
- Submerge the other end of the clip or wire into the water, creating the negative electrode (cathode).
4. Optional: Add Electrolyte (Salt):
- If desired, add a small amount of salt to the water to act as an electrolyte. This will enhance the conductivity of the water and improve the electrolysis process.
5. Observations:
- Turn on the battery and observe the electrolysis process.
- Bubbles should start forming at both electrodes. These bubbles are hydrogen gas at the cathode (negative electrode) and oxygen gas at the anode (positive electrode).
Educational Value of Electrolysis of Water:
- Explain the process of electrolysis and how it separates water into its constituent elements, hydrogen and oxygen.
- Discuss the importance of electrolysis in various industrial processes, such as hydrogen production and metal refining.
- Explore the applications of electrolysis in renewable energy technologies, such as hydrogen fuel cells.

