Creating a pancreas model with labeled parts using cardboard and channa dal (split chickpeas) is a great hands-on project for learning about the anatomy of the pancreas.
Here’s a step-by-step guide:

Materials Needed:
- Cardboard (for the base and pancreas structure)
- Channa dal (for representing pancreatic lobules)
- Paints or markers (for coloring)
- Craft glue or hot glue gun
- Scissors
- Printed or handwritten labels
- Paintbrushes (if using paints)
Step-by-Step Instructions:
- Prepare the Base:
- Cut out a rectangular piece of cardboard to serve as the base for your model. This will be where you build the pancreas structure.
- Form the Pancreas Structure:
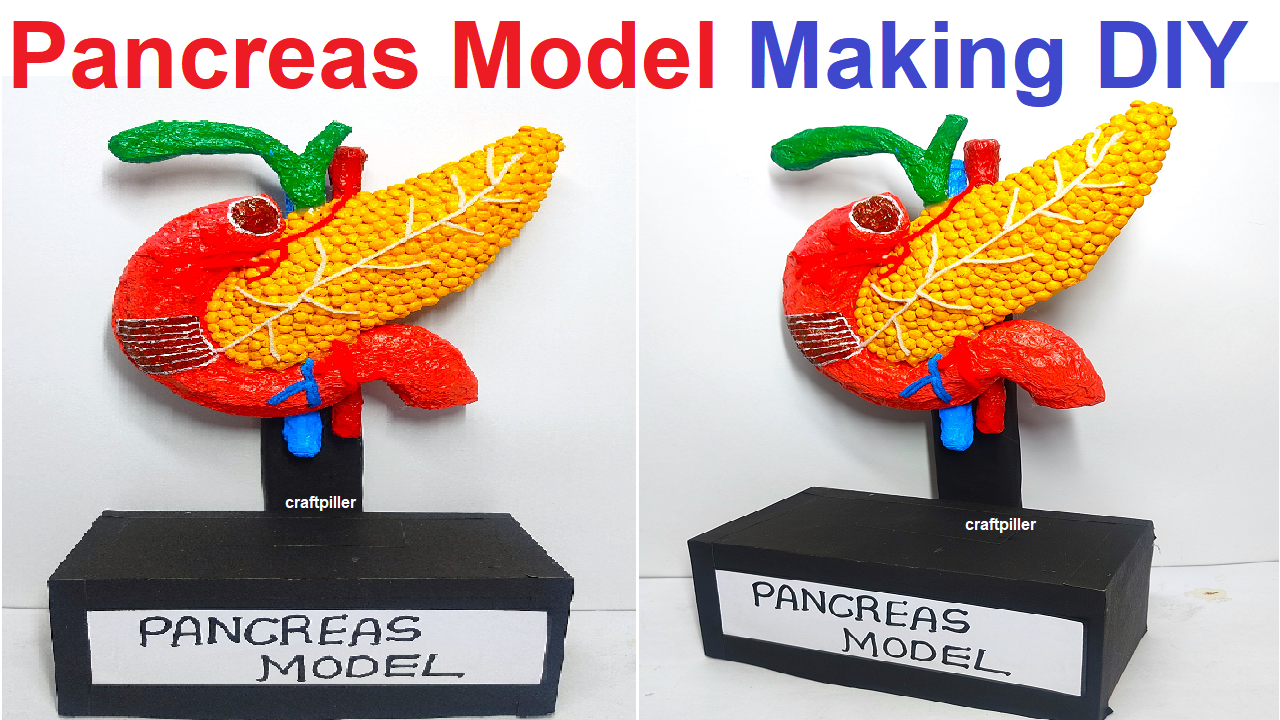
- Cut and shape a piece of cardboard into a three-dimensional representation of the pancreas. The pancreas is roughly shaped like a leaf. You may refer to a reference image for accuracy.
- Attach Channa Dal for Lobules:
- Use craft glue or a hot glue gun to carefully attach channa dal to the surface of the pancreas structure. These will represent the lobules of the pancreas.
- Color the Pancreas:
- Paint or color the pancreas structure to resemble its natural pinkish-gray color. Use a reference image for guidance.
- Label the Parts:
- Create labels for the different parts of the pancreas such as the head, body, and tail. Attach these labels to the corresponding areas on the model.
- Label the Lobules (Optional):
- If desired, label some of the channa dal pieces to represent acini (the small sac-like structures in lobules).
- Add Ducts (Optional):
- If you’d like to include the pancreatic ducts, you can use thin strips of cardboard painted to represent them. Attach these to the model.
- Add Blood Vessels (Optional):
- To represent blood vessels, you can use thin red strings or strips of paper.
- Label the Base:
- Add a label or description on the base of the model explaining the different parts of the pancreas.
- Allow to Dry:
- Let the glue and paint (if used) dry thoroughly before handling or displaying the model.
Your pancreas model made from cardboard and channa dal is now complete! This tactile model provides a hands-on learning experience for understanding the structure of the pancreas. It’s a great tool for educational purposes or for use in presentations.