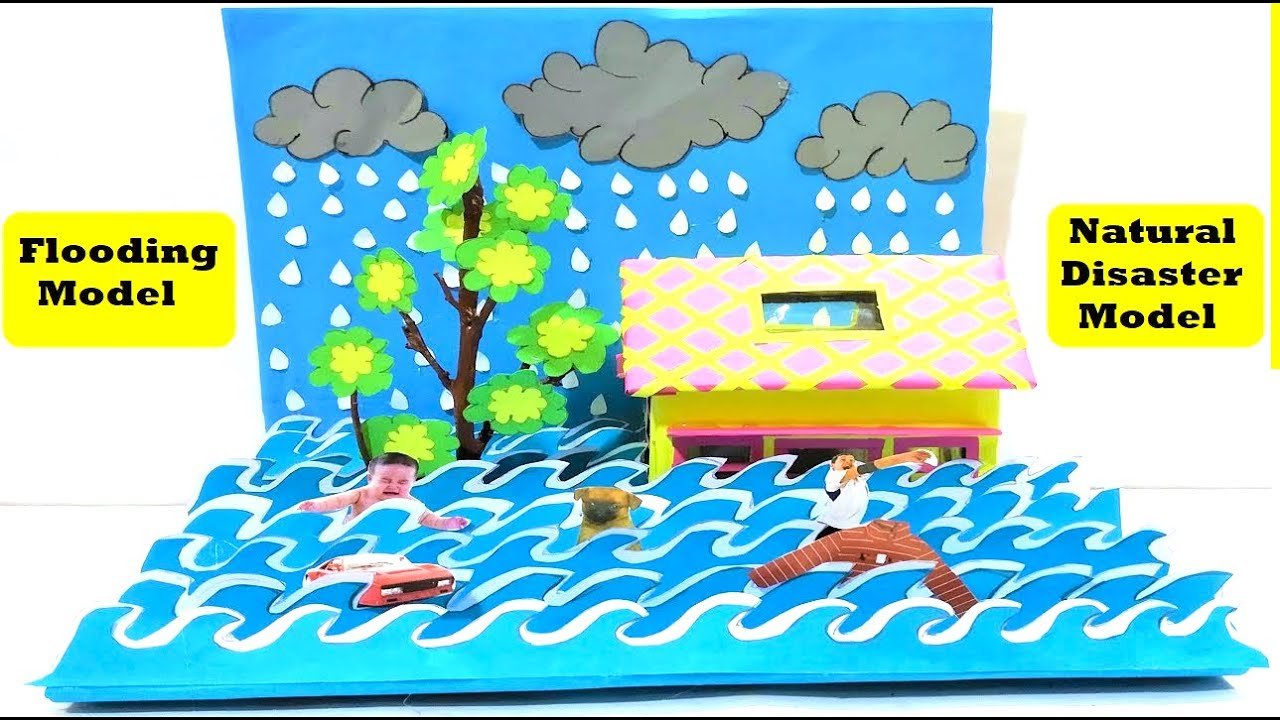
Creating a model project of a natural disaster like flooding for a social science exhibition using cardboard and colored paper can be both educational and visually engaging.

Here’s how you can make it:
Materials Needed:
- Cardboard sheets (for the base and structures)
- Colored paper or paint (for decorating)
- Scissors
- Glue or adhesive
- Marker or pen (for detailing)
- Small toy figures or houses to represent affected areas (optional)
- Clear plastic wrap or blue-colored paper (for representing water)
Step by Step Video Instructions:
- Prepare the Base:
- Cut out a large piece of cardboard to serve as the base of your model. This will provide stability and support for the structures and decorations.
- Create the Landscape:
- Use brown-colored paper or paint to create the ground or terrain of the area affected by flooding. You can create hills, valleys, or flat land depending on the geography.
- Glue the brown paper onto the cardboard base to cover the entire area.
- Build Structures:
- Cut out shapes from cardboard to represent buildings, houses, trees, and other structures in the affected area. Use different colors of paper or paint to add detail and realism to the structures.
- Glue the structures onto the base, positioning them in low-lying areas or near rivers and streams where flooding is likely to occur.
- Simulate Water:
- Cut out strips of blue-colored paper or clear plastic wrap to represent water. Arrange these strips around the base to simulate flooding in the area.
- You can layer the strips to create depth and variation in the water level, showing different stages of flooding.
- Add Detail and Effects:
- Use markers or pens to add details to your model, such as doors, windows, and roofs on the buildings. You can also add people, cars, and boats to represent the impact of flooding on communities.
- Optional: Create debris and destruction by tearing or crumpling pieces of paper to scatter around the flooded area.
- Educational Explanation:
- Use your model as an educational tool to explain the causes and effects of flooding, including heavy rainfall, overflowing rivers, storm surges, and inadequate drainage systems.
- Discuss the impact of flooding on communities, including displacement of people, damage to homes and infrastructure, loss of crops and livestock, and risk of waterborne diseases.
- Display and Demonstration:
- Once your model is complete, display it in a visible location where others can see and learn from it.
- Use the model as a demonstration tool to explain the importance of flood preparedness, emergency response plans, and community resilience in mitigating the impact of flooding.
By creating a model project of flooding using cardboard and colored paper, you can help raise awareness about the risks and impacts of this natural disaster and promote safety and resilience in vulnerable communities.

