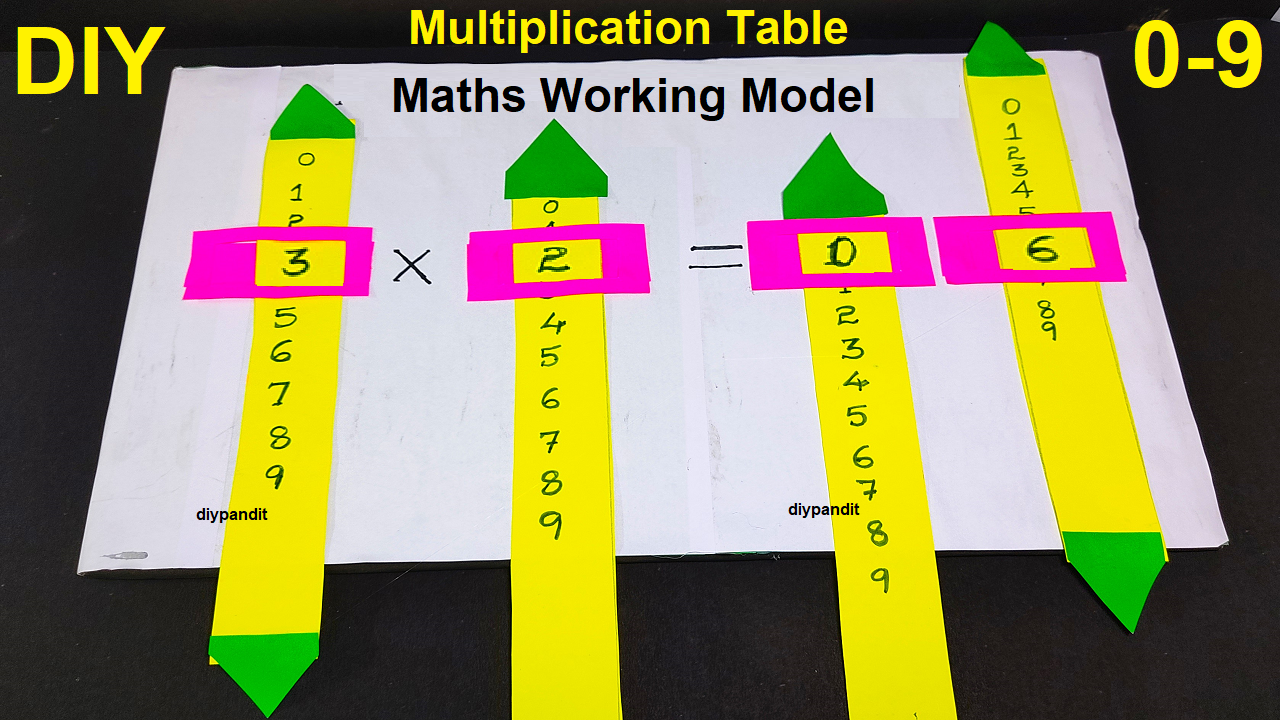
Creating a multiplication table working model using color paper can be a fun and interactive way to help visualize multiplication concepts.

Here’s a step-by-step guide:
Materials Needed:
- Colored paper (different colors for each factor)
- Scissors
- Glue
- Markers or a pen
- Cardboard or a sturdy base (optional)
Video Steps on multiplication table maths project :
- Prepare Strips:
- Cut four separate strips of colored paper, each representing a different factor in the multiplication table. For example, you could have strips for the numbers 1, 2, 3, and 4.
- The length of each strip can vary, but make sure they are long enough to accommodate the entire multiplication table.
- Label the Strips:
- On each strip, write the number it represents (e.g., 1, 2, 3, 4).
- This step ensures that learners can easily identify each strip and understand which factor it represents.
- Number Boxes:
- Cut small squares from colored paper to create number boxes.
- Write the multiplication results in each box. For example, if you’re working with the 1 strip and the 2 strip, create number boxes with the results of 1 x 1, 1 x 2, 1 x 3, etc.
- Assembly:
- Arrange the strips side by side on a flat surface or glue them onto a cardboard base.
- Place the strips in such a way that they create a grid, with the factor numbers along the top and left sides.
- Attach the number boxes to the appropriate positions within the grid.
- Once the model is assembled and any interactive elements are added, display it prominently during your presentation or exhibition.
- Consider adding labels or explanations to guide viewers in understanding the purpose of the model.
This model provides a hands-on approach to learning multiplication tables and allows learners to see the relationships between factors and their products.

