Creating a model of the parts of a plant using cardboard and colored paper is a great way to visually represent the different components of plants in a biology project.

Here’s a simplified guide to making such a model in layman’s terms:
Materials Needed:
- Cardboard sheets
- Colored paper (green, brown, yellow, and other colors for detailing)
- Scissors
- Glue or adhesive
- Pencil
- Ruler
- Markers or pens
Step by step video Instructions on parts of plants:
1. Base Preparation:
- Cut a large rectangular piece of cardboard to serve as the base of your model.
- This represents the ground or soil where plants grow.
2. Stem and Roots:
- Cut a long strip of green colored paper for the stem of the plant.
- Attach the stem vertically to the center of the cardboard base using glue.
- Draw thin lines or use markers to represent texture on the stem.
- Cut thin strips of brown colored paper for the roots.
- Attach the roots to the bottom of the stem, spreading them out horizontally.
3. Leaves:
- Cut leaf shapes out of green colored paper.
- Glue the leaves onto the stem at various intervals to represent foliage.
- Draw lines on the leaves to create veins for a realistic look.
4. Flowers:
- Cut out flower shapes from colored paper (yellow, red, etc.).
- Attach the flowers to the stem at appropriate locations.
- Draw details such as petals and a center on each flower.
5. Fruits and Seeds:
- Cut out fruit shapes (e.g., apple, tomato) or seed shapes (e.g., pea, sunflower seed) from colored paper.
- Attach them to the appropriate parts of the plant (e.g., flowers, stem) using glue.
- Add details such as seeds or segments to the fruits.
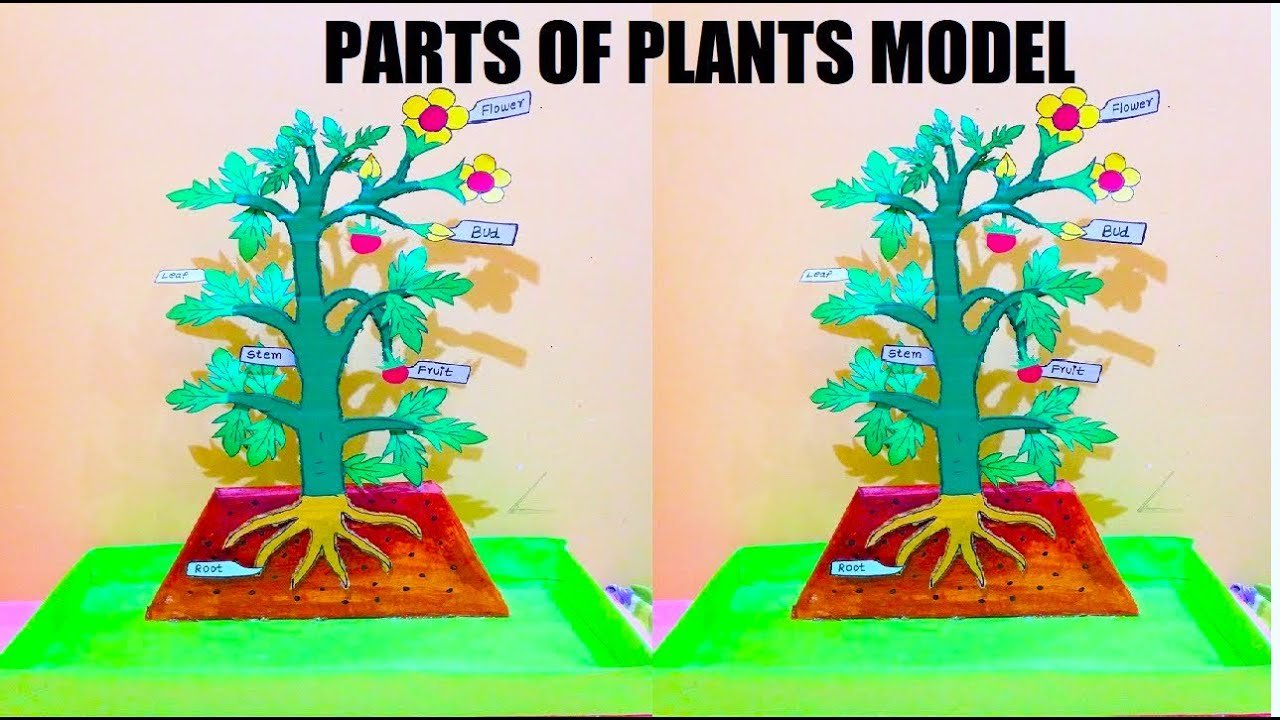
6. Labeling:
- Write or print labels for each part of the plant (e.g., stem, roots, leaves, flowers, fruits, seeds).
- Attach the labels to the corresponding parts of the model using glue or tape.
7. Display:
- Once the model is complete, place it in a visible location where it can be easily seen and admired.
- Consider adding a title or caption to the display to explain what the model represents.