The purpose of creating a working model of a microscope is to demonstrate the principles of magnification and optical imaging. Microscopes enable scientists, researchers, and students to observe and study microscopic objects, such as cells, microorganisms, and particles, which are not visible to the naked eye.
This model helps individuals understand how microscopes function and their importance in scientific discovery and education.
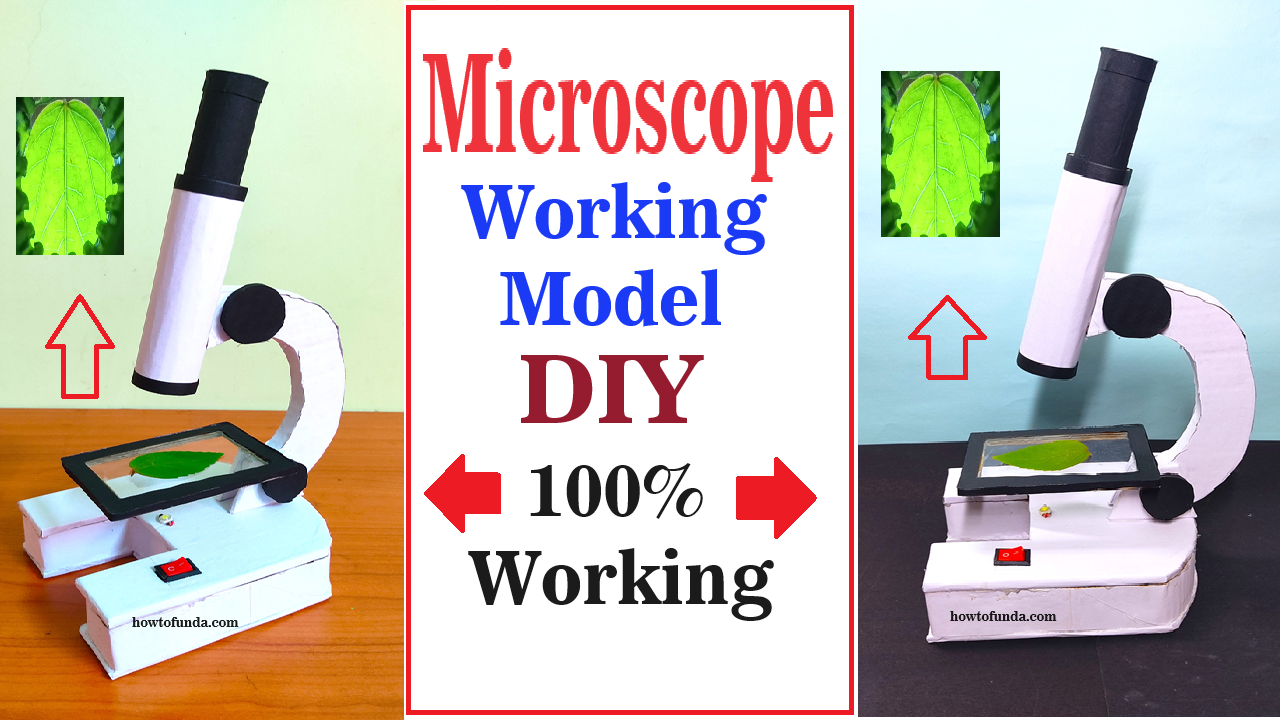
Creating a working model of a microscope for a science exhibition using cardboard and transparent sheets is a great project.
Here’s a step-by-step guide to help you build it:

Materials Needed:
- Cardboard: For the body of the microscope
- Transparent sheet: For the lenses
- Magnifying lenses: These can be obtained from inexpensive magnifying glasses
- Glue: Hot glue or strong adhesive
- Scissors/Cutter: For cutting cardboard and transparent sheets
- Tape: Clear tape
- Ruler: For measurements
- Marker/Pencil: For marking measurements
Step by Step Instructions:
1. Design the Microscope Body:
- Base and Arm: Cut out a rectangular piece of cardboard for the base and another piece for the arm. The arm should be around 12 inches tall and the base about 8×6 inches.
- Stage: Cut a small rectangular piece of cardboard for the stage (where the slide will be placed). The stage should have a hole in the center to allow light to pass through.
2. Create the Body Tube:
- Cut a strip of cardboard about 10 inches long and 2 inches wide. Roll it into a cylindrical shape to form the body tube of the microscope.
- Secure the shape with glue or tape.
3. Objective Lens Holder:
- Make a small box using cardboard that fits snugly at one end of the body tube. This will hold the objective lenses.
- Cut holes in the box to insert the magnifying lenses.
4. Eyepiece Lens:
- Attach a transparent sheet cut into a circular shape to one end of the body tube. Secure a magnifying lens to this end as well.
5. Attaching the Body Tube:
- Attach the body tube to the arm at an angle, ensuring it is stable. You may need to reinforce this with extra cardboard or glue.
6. Slide Holder:
- Create a small holder using cardboard on the stage to place your slides. This can be a simple rectangular frame that can hold a small transparent sheet or a prepared slide.
7. Light Source:
- If possible, place a small LED light or a flashlight under the stage to illuminate the sample. Alternatively, ensure your stage is transparent enough to allow external light to pass through.
8. Fine Adjustments:
- Create a simple focusing mechanism by allowing the body tube to slide up and down the arm. You can create grooves or use rubber bands to hold it in place and adjust focus.
9. Assembly:
- Assemble all parts together. Attach the arm to the base. Attach the stage to the arm. Attach the body tube to the arm at an angle. Ensure everything is securely glued and stable.
10. Testing:
- Place a sample slide on the stage. Adjust the body tube to focus on the sample. Use the light source to illuminate the sample.