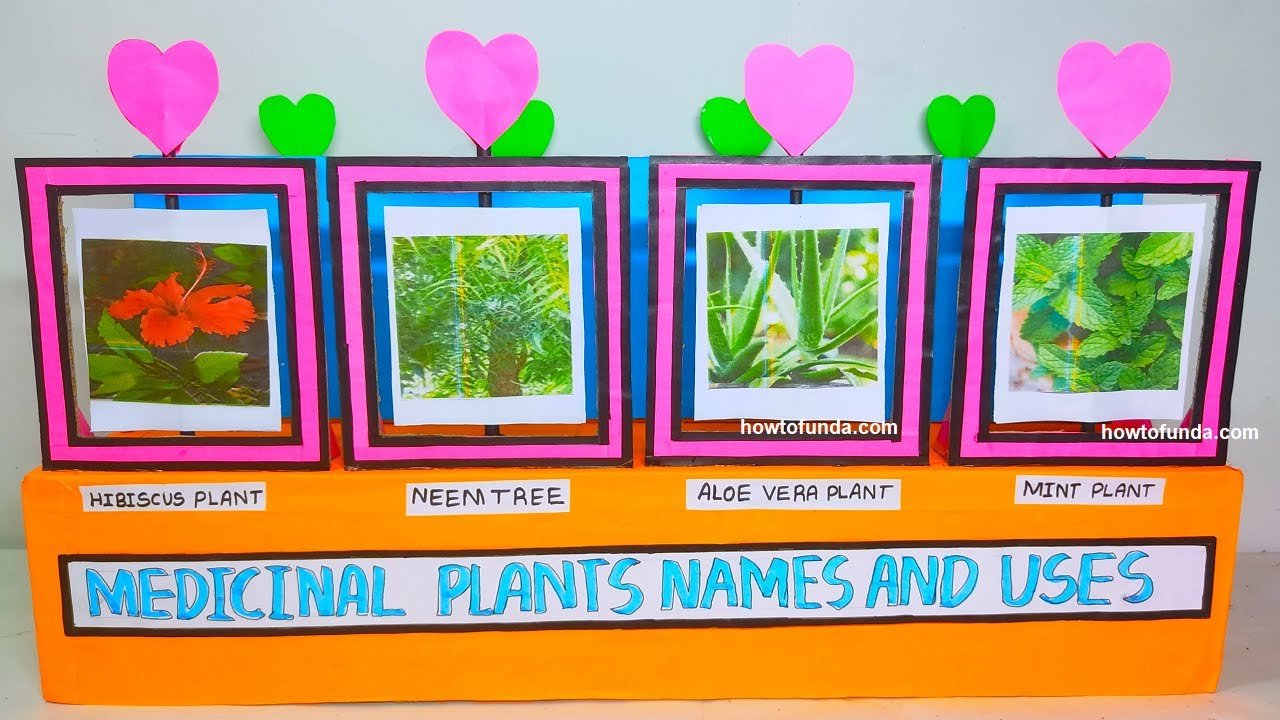
Creating a model of medicinal plants using cardboard and color paper is a great way to showcase their names and uses.

Here’s a simple DIY project to create a medicinal plant name and uses model:
Materials Needed:
- Cardboard (for the base)
- Color paper (green for leaves, brown for stems, other colors as needed)
- Markers or pens
- Scissors
- Glue
- Printouts or hand-drawn labels (optional)
- Images or drawings of medicinal plants (optional)
Step by Step Video Instructions:
- Prepare the Base:
- Take a piece of cardboard and cut it into a suitable size for your model. This will be the base where you’ll arrange your plants.
- Cut Out Plant Shapes:
- From the color paper, cut out shapes resembling leaves, stems, flowers, and roots of various medicinal plants. You can choose plants like Aloe vera, Tulsi (Holy Basil), Neem, Ginger, etc., known for their medicinal properties.
- Labeling:
- Write or print labels for each plant name and its medicinal uses. For example, write “Aloe vera” and its uses like “skin healing,” “sunburn relief,” etc. You can use a marker or print out small labels to attach to each plant model.
- Assemble the Plants:
- Arrange the cut-out parts (leaves, stems, flowers, roots) on the cardboard base to represent each plant. Use glue to attach them securely.
- Add Details:
- Use markers or pens to add details to the plants, such as veins on leaves, textures on stems, and patterns on flowers.
- Add Images or Drawings:
- If available, you can add small images or drawings of each plant next to its model to provide a visual reference.
- Display:
- Once completed, display your medicinal plant model in a visible area. You can use it for educational purposes at home, school, or community events to showcase the importance and uses of medicinal plants.
This DIY project not only teaches about medicinal plants but also encourages creativity and understanding of their importance in traditional and modern medicine.

