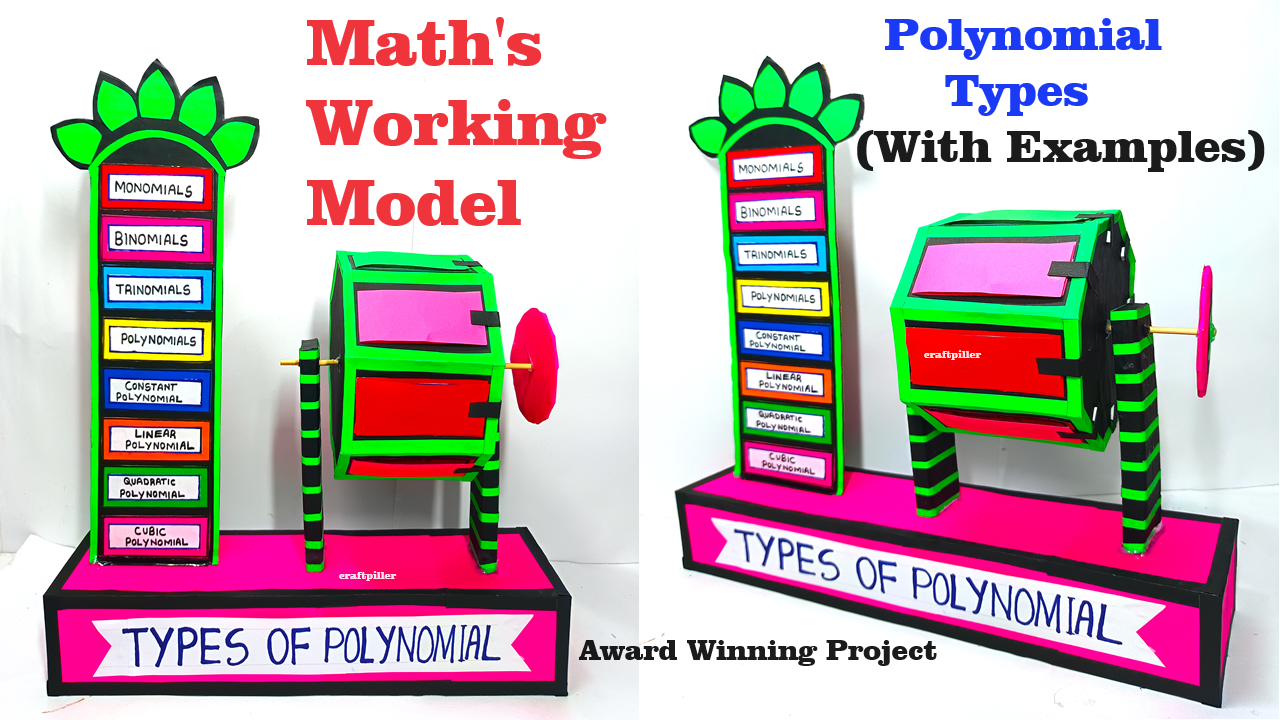
Creating a rotating model to demonstrate different types of polynomials using an octagonal (8-faced) polygon is an excellent way to visually and interactively teach mathematical concepts.
Here’s a step-by-step guide to help you build this working model:

Materials Needed:
- Cardboard – For constructing the octagonal base and faces.
- Slow-running motor – To rotate the model.
- Battery pack and wires – To power the motor.
- Hot glue gun or strong adhesive – For assembly.
- Markers and paints – For labeling and decorating.
- Scissors or craft knife – For cutting cardboard.
- Ruler and compass – For accurate measurements.
- Stand – To hold the motor and the rotating platform.
- Small dowels or sticks – To attach the octagonal faces.
- Plastic or foam balls (optional) – To represent points on the graph.
- Clear plastic sheet (optional) – To protect the faces.
Step-by-Step Instructions:
Step 1: Create the Octagonal Base
- Draw and Cut the Octagon:
- Draw an octagon on a piece of cardboard. Each side should be of equal length.
- Cut out the octagon carefully.
- Draw Smaller Octagons (Faces):
- Draw eight smaller octagons on separate pieces of cardboard. These will be attached to the main octagon base and will represent different polynomial graphs.
- Cut out each smaller octagon.
Step 2: Prepare the Polynomial Graphs
- Draw Axes:
- On each smaller octagon, draw the X and Y axes using a ruler and markers. Ensure they intersect at the center.
- Graph Different Polynomials:
- On each of the eight faces, graph a different polynomial function. Examples include:
- Linear: y=mx+by = mx + by=mx+b
- Quadratic: y=ax2+bx+cy = ax^2 + bx + cy=ax2+bx+c
- Cubic: y=ax3+bx2+cx+dy = ax^3 + bx^2 + cx + dy=ax3+bx2+cx+d
- Quartic: y=ax4+bx3+cx2+dx+ey = ax^4 + bx^3 + cx^2 + dx + ey=ax4+bx3+cx2+dx+e
- Quintic: y=ax5+bx4+cx3+dx2+ex+fy = ax^5 + bx^4 + cx^3 + dx^2 + ex + fy=ax5+bx4+cx3+dx2+ex+f
- Polynomial with more than one variable or higher degree (up to the 8th).
- Use different colors for each polynomial to make them distinct.
- On each of the eight faces, graph a different polynomial function. Examples include:
- Label the Graphs:
- Label each polynomial graph with its equation for clarity.
Step 3: Assemble the Octagonal Faces
- Attach the Faces to the Base:
- Attach each smaller octagon face to one side of the larger octagonal base using small dowels or sticks. Ensure they are evenly spaced and securely attached.
- If desired, cover each face with a clear plastic sheet to protect the graphs.
- Create a Rotating Mechanism:
- Attach the octagonal base to the motor shaft using a hot glue gun or strong adhesive. Ensure it is centered and balanced.
Step 4: Install the Motor and Stand
- Mount the Motor:
- Secure the motor to a stable stand. The stand should hold the motor and allow the octagon to rotate freely.
- Connect the Motor:
- Connect the wires from the motor to the battery pack, incorporating a switch to easily turn the motor on and off.
- Secure all connections and insulate any exposed wires.
Step 5: Testing and Final Adjustments
- Test the Rotation:
- Turn on the motor and observe the rotation of the octagonal base. Ensure the movement is smooth and stable.
- Make any necessary adjustments to the alignment of the faces or the stability of the stand.
Summary:
This rotating model will visually demonstrate different polynomial functions on each face of an octagon. As the model rotates, students can observe and compare the various polynomial graphs, enhancing their understanding of polynomial equations and their graphs. The interactive nature of this model makes it an engaging and effective teaching and learning tool.