To provide learners with an opportunity to explore the structure and composition of the solar system, including the Sun, planets, moons, and other celestial objects.
The model serves as a visual aid for understanding the relative sizes, distances, and orbital motions of these bodies.
Making the solar system planets using thermocol balls is a great hands-on project for students.
Here’s how you can do it:

Materials Needed:
- Thermocol balls in various sizes (representing the planets)
- Paints (acrylic or poster paints)
- Paintbrushes
- String or fishing line
- Scissors
- Toothpicks or wooden skewers (optional)
- Styrofoam or cardboard (for the base)
- Glue
Steps by Steps Video Instructions:
1. Plan the Sizes:
- Determine the sizes of the thermocol balls needed to represent each planet.
- The relative sizes of the planets can be scaled down, but try to maintain the proportions as accurately as possible.
2. Paint the Thermocol Balls:
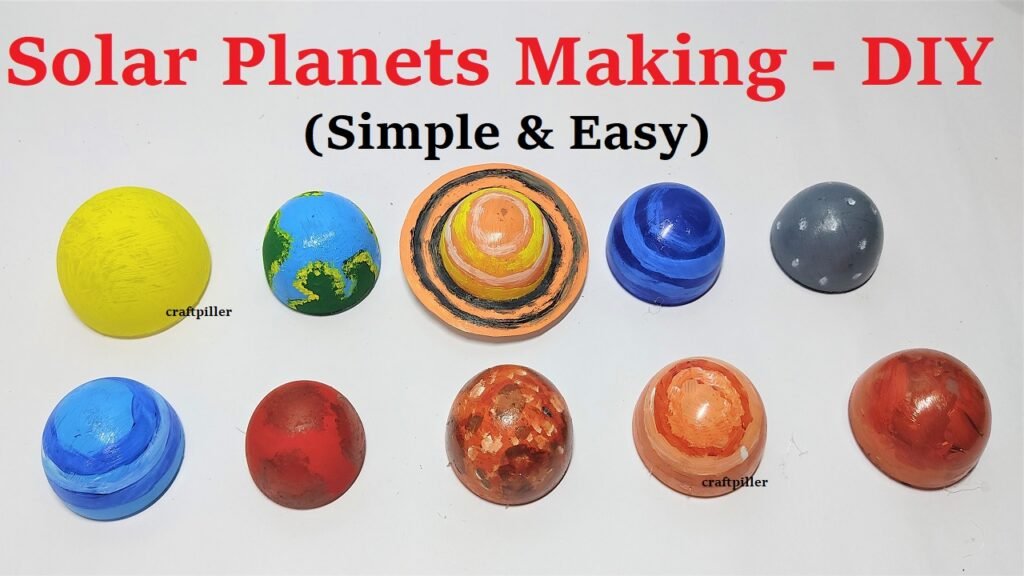
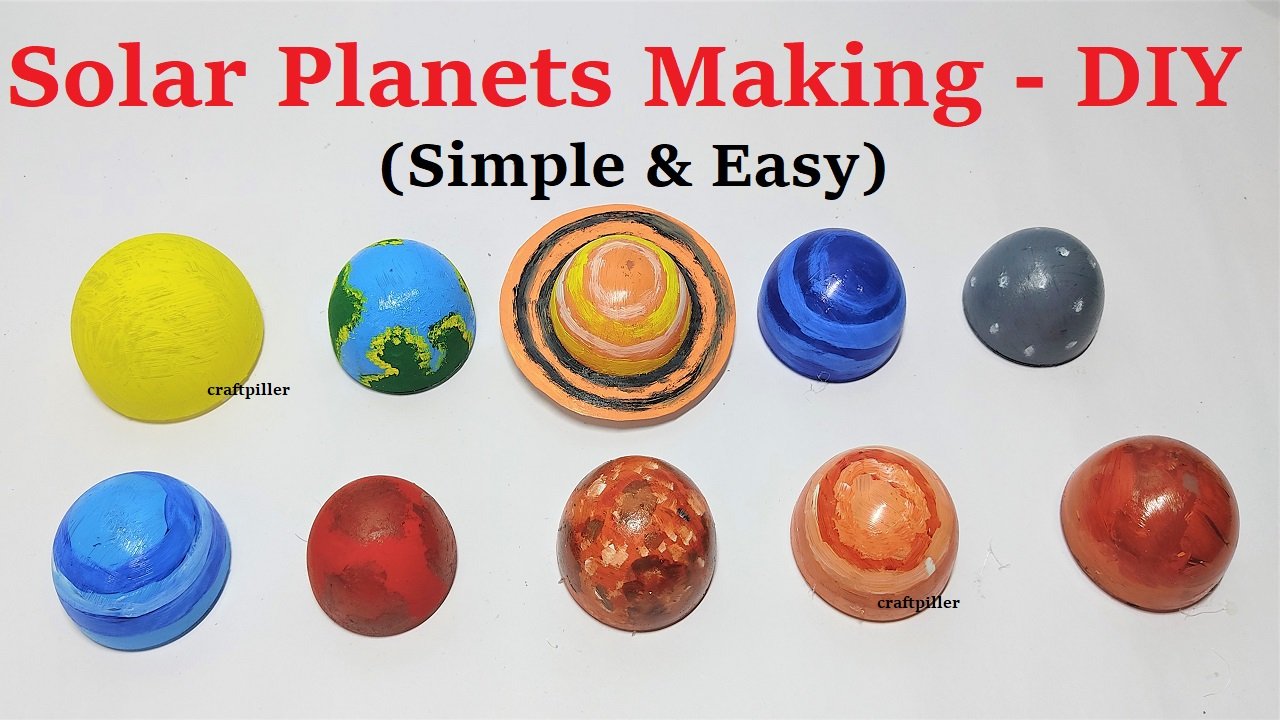
- Paint each thermocol ball to represent the colors and patterns of each planet.
- Use reference images of the planets to guide your painting.
- Here are some basic guidelines for painting:
- Mercury: Grayish-brown
- Venus: Yellow with brownish streaks
- Earth: Blue with white clouds
- Mars: Reddish-brown with dark spots
- Jupiter: Orange with bands of brown and white
- Saturn: Light yellow with rings (use string or paper to create the rings)
- Uranus: Bluish-green
- Neptune: Bluish with dark spots
3. Create Rings for Saturn (Optional):
- Cut a thin ring out of styrofoam or cardboard.
- Paint the ring to match the colors of Saturn’s rings.
- Attach the ring to Saturn using glue.
4. Allow the Paint to Dry:
- Let the paint on the thermocol balls and rings dry completely before moving to the next step.
5. Attach Strings for Hanging:
- Using a toothpick or skewer, make a small hole in the top of each thermocol ball.
- Cut a piece of string or fishing line and thread it through the hole.
- Tie a knot at the end of the string to prevent it from slipping through the hole.
- Repeat this process for all the planets.
6. Arrange the Planets:
- Lay out the planets in the correct order and relative distances from the sun.
- The order from the sun is: Mercury, Venus, Earth, Mars, Jupiter, Saturn, Uranus, Neptune.
- Use glue to attach the strings of the planets to a styrofoam or cardboard base.
- Make sure the arrangement is visually appealing and the distances between planets are somewhat accurate.
7. Hang the Model:
- Hang the completed solar system model from the ceiling or on a wall.
- Make sure it is secured properly.
Optional Enhancements:
- Add labels for each planet to identify them.
- Create a backdrop with stars and galaxies.
- Include a small LED light to represent the sun.
By following these steps, you can create a visually appealing and educational solar system model using thermocol balls.

