
Creating a biology model of a hydra can be a fascinating and educational project. The hydra is a small, freshwater organism that belongs to the phylum Cnidaria.
Here’s a step-by-step guide to help you make a hydra biology model:
Materials Needed:
- Clay or modeling putty (in various colors)
- Wire or toothpicks
- Small beads or pom-poms (for eyes)
- Cardboard or a base surface
- Acrylic paints and brushes
- Craft glue or hot glue gun
- Small scissors
- Watercolors (optional)
- Clear varnish (optional, for a glossy finish)
Video Steps of Making Hydra Project:
- Research and Reference:
- Gather information about the anatomy of a hydra. Look at pictures or diagrams for reference. Understand its basic structure and features.
- Create the Body:
- Take a piece of clay or modeling putty and shape it into an elongated, tubular body. This will be the main structure of the hydra.
- Add Tentacles:
- Using small pieces of clay, form tentacle-like structures around the upper part of the body. Hydras typically have multiple tentacles.
- Add Mouth and Tentacle Buds:
- Create a small mound near the center of the tentacles to represent the mouth. Around the mouth, attach tiny bumps to symbolize tentacle buds.
- Add Eyes:
- Attach small beads or pom-poms on the body to represent the hydra’s eyes. Place them near the tentacles.
- Texture and Detail:
- Use a toothpick or wire to create texture on the body and tentacles. Add lines or small ridges to mimic the natural texture of a hydra.
- Painting:
- Paint the hydra using acrylic paints. Choose appropriate colors for the body, tentacles, and eyes. Refer to your research for accurate coloring.
- Fine Details:
- Use fine brushes to add details like small spots, lines, or patterns on the body. This will give the model a realistic appearance.
- Base and Support:
- Attach the hydra to a piece of cardboard or a base surface using craft glue or a hot glue gun. This provides stability for your model.
- Optional Watercolor Wash:
- If you want to add a translucent effect, dilute some watercolors and apply a wash over the body and tentacles. Allow it to dry.
- Varnish (Optional):
- To give your model a glossy finish, apply a thin coat of clear varnish. Allow it to dry completely.
- Labeling (Optional):
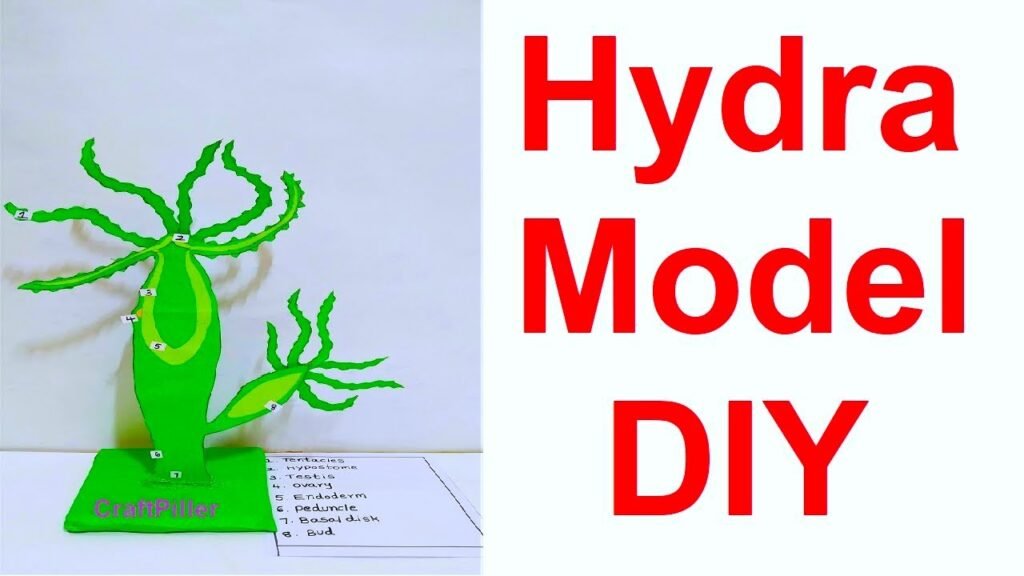
- If this is for an educational purpose, create labels for the different parts of the hydra and attach them near the respective areas.
- Display and Presentation:
- Place your hydra model in a suitable location where it can be observed and admired. If presenting, be ready to explain the anatomy and features of the hydra.