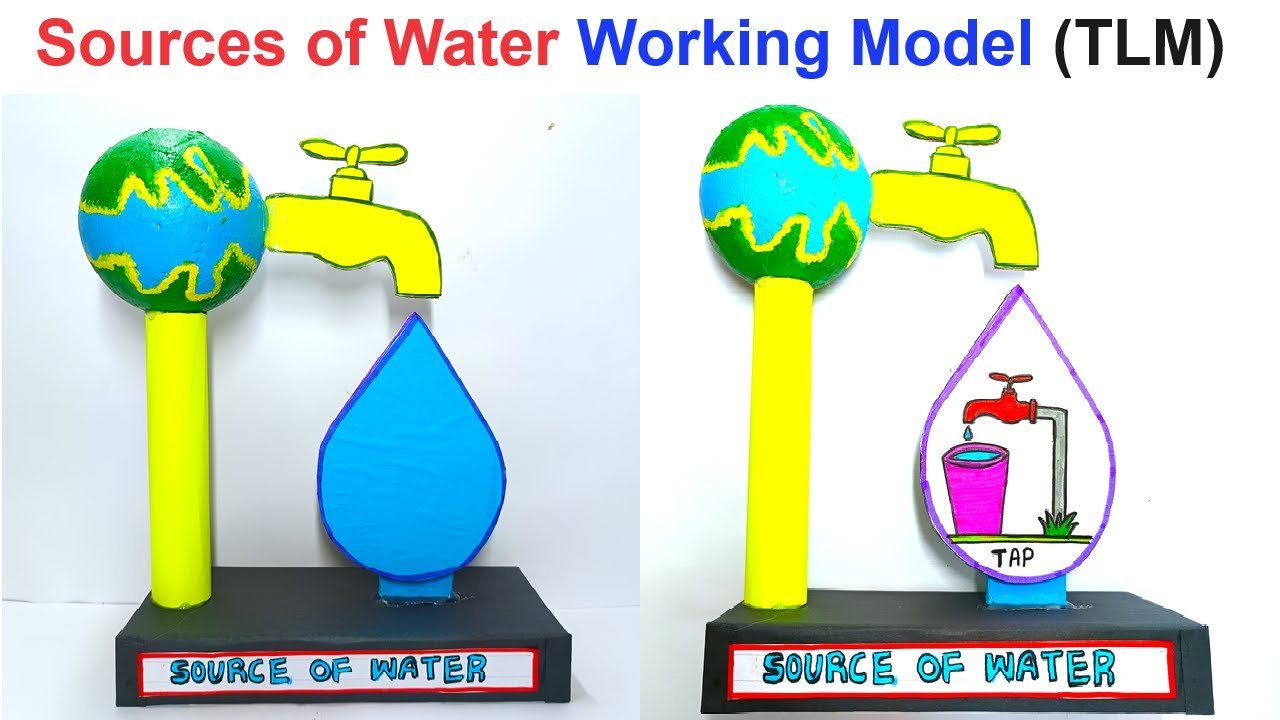
Creating a working model of the sources of water using a teaching-learning material (TLM) approach is a great way to visually demonstrate the different natural sources of water (like rivers, lakes, underground water, and rain) and how water can be collected and used.
This model can also incorporate the idea of drawing water through a water tap, which adds a practical element to the project.

Here’s a step-by-step guide to creating this model using simple materials, including a concept of the Earth’s surface with its water sources and a water tap to simulate how water is drawn for everyday use.
Objective:
To create a model that visually demonstrates the major sources of water (like rivers, lakes, groundwater, and rain), and shows how water is accessed via a water tap for daily activities.
Materials Needed:
- Cardboard or Styrofoam sheet (for the base)
- Paint and markers (for decorating the earth’s surface and adding details)
- Scissors, glue, tape (for assembly)
Steps to Create the Sources of Water Model:
Educational Value:
- This model illustrates the different natural sources of water (rain, rivers, lakes, and groundwater) and how water is accessed for daily use.
- It teaches students about the water cycle, groundwater systems, and the practical importance of managing water resources.
- It demonstrates a simple hydraulic system, where water is drawn from natural sources and delivered through taps.
This TLM model of water sources will be visually engaging, functional, and a great way to understand how we obtain and use water in our everyday lives!

