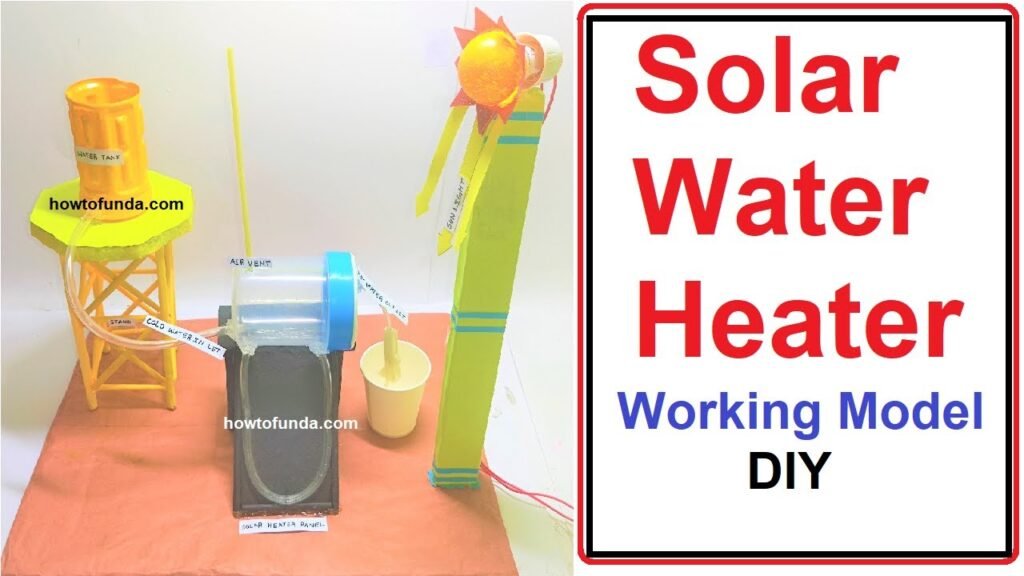
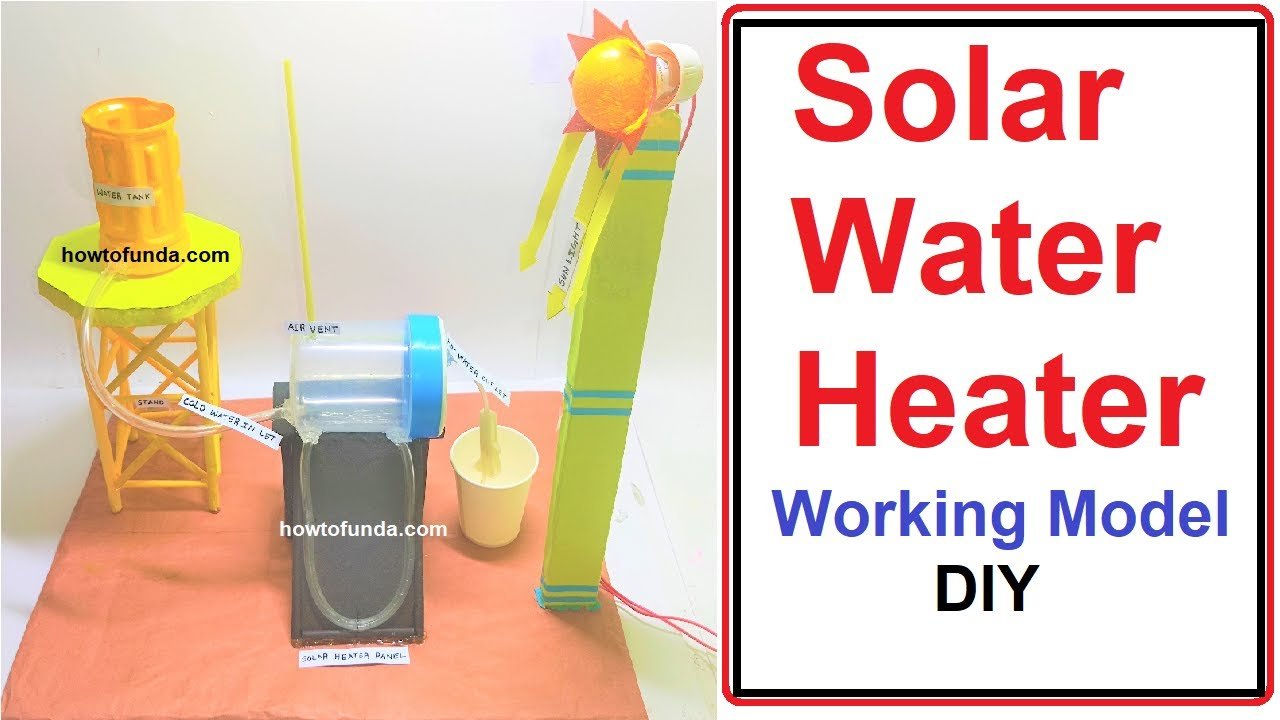
A solar water heater works on the principle of converting solar energy into thermal energy to heat water.

Creating a working model of a solar water heater using cardboard, a plastic container, tubes, and a bulb to represent the sun is a great way to demonstrate the principles of solar heating.
Here’s a step-by-step guide to make this project:
Materials Needed
- Cardboard (for the base and the solar collector)
- Plastic container (for the water tank)
- Plastic tubes (for water circulation)
- Small water pump (optional, for water circulation)
- Bulb (to represent the sun)
- Aluminum foil (to increase reflectivity)
- Black paint (to absorb heat)
- Glue and tape
- Scissors and cutter
- Stand (to elevate the water tank)
Step by Step Video Instructions
Step 1: Prepare the Base
- Cut a piece of cardboard to serve as the base of your model. It should be large enough to hold the solar collector and the water tank.
- Cover the base with aluminum foil to reflect light and improve efficiency.
Step 2: Create the Solar Collector
- Cut a piece of cardboard to make the solar collector. It should be inclined to face the bulb (sun).
- Paint the collector black to maximize heat absorption.
- Attach the plastic tubes to the collector in a serpentine pattern using glue or tape. These tubes will carry the water and absorb heat from the sun (bulb).
Step 3: Prepare the Water Tank
- Take the plastic container and paint it black to absorb heat.
- Make two holes at the top of the container for the inlet and outlet of the water tubes.
Step 4: Connect the Tubes
- Insert one end of the plastic tube into the bottom of the water tank (inlet).
- Run this tube through the solar collector, ensuring it is securely attached.
- The other end of the tube should return to the top of the water tank (outlet).
Step 5: Create the Stand
- Make a stand using cardboard to elevate the water tank above the solar collector. This height difference helps in the natural circulation of water through the principle of thermosiphon (hot water rises, cold water sinks).
Step 6: Add the Bulb
- Position the bulb above the solar collector to act as the sun. Ensure it can shine directly onto the black-painted collector.
- The bulb should be securely fixed and placed at a suitable height to simulate sunlight.
Step 7: Assembly
- Place the water tank on the stand.
- Connect the tubes from the water tank to the solar collector.
- Ensure all connections are tight and there are no leaks.
- Fill the water tank with water.
Step 8: Testing the Model
- Turn on the bulb to simulate the sun shining on the solar collector.
- Observe the water heating process. The water in the collector should heat up, rise, and return to the tank, while cooler water from the tank flows into the collector.

