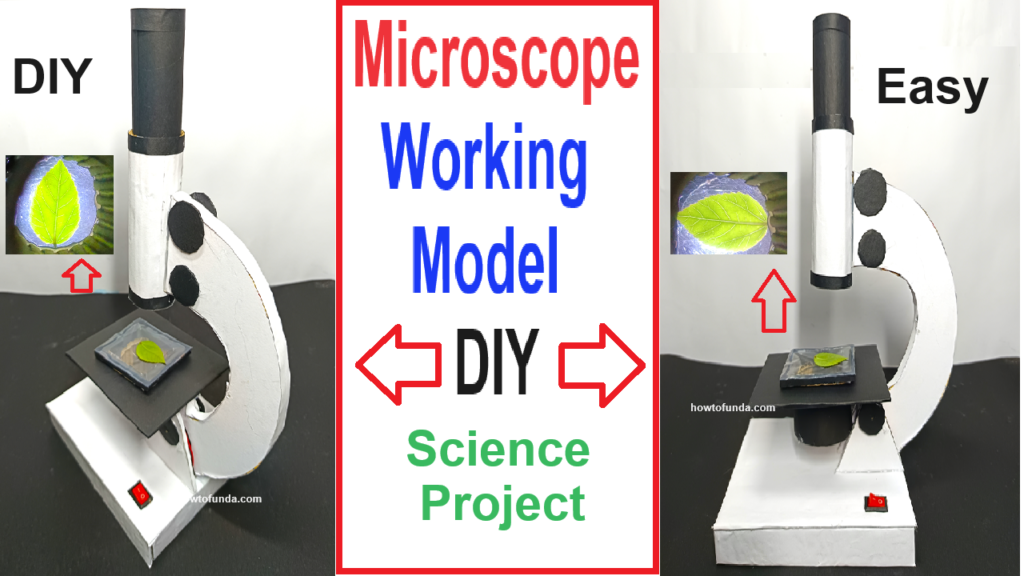
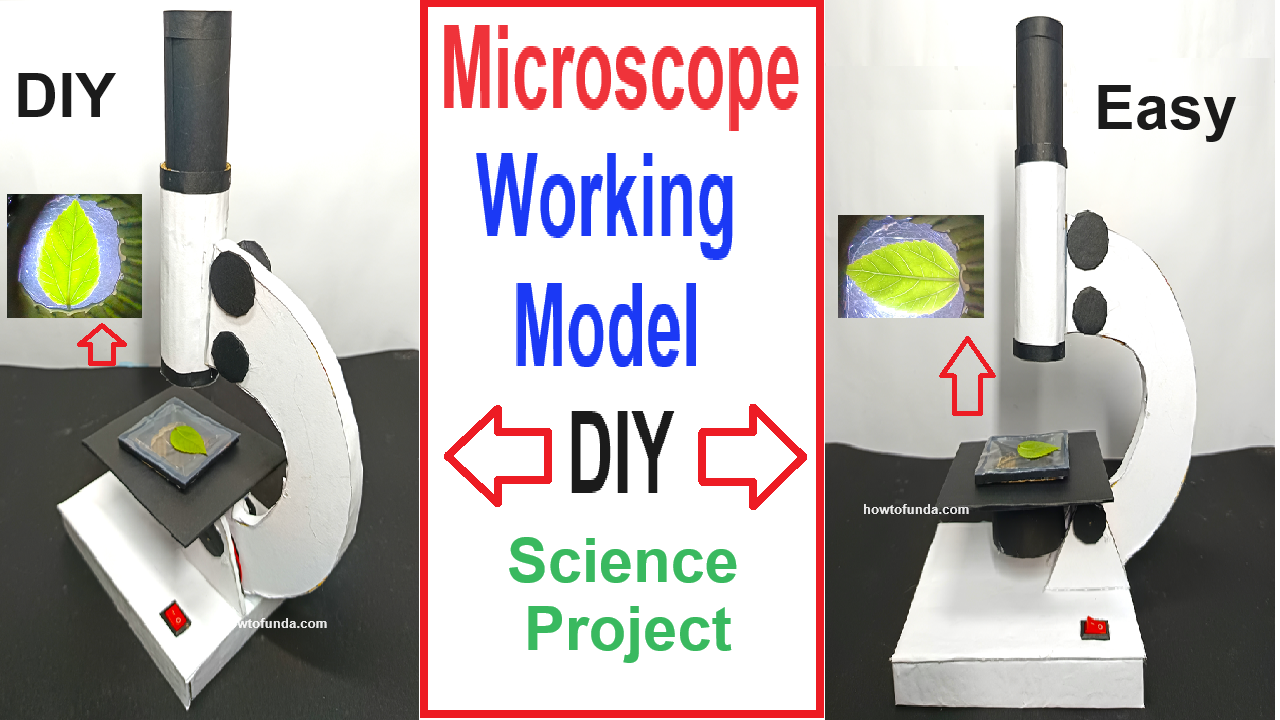
Get ready to zoom into a hidden universe! With just cardboard, lenses, and LED light, we’re going to build a microscope that actually works!
Creating a working model of a microscope using cardboard, a transparent sheet, an LED light, and a 9V battery is an exciting and educational project.

Here’s how you can make this simple yet functional microscope model:
Materials Needed:
- Cardboard: For constructing the frame of the microscope.
- Transparent Sheet (Plastic or Glass Slide): For holding the specimen to be viewed.
- Magnifying Glass Lens: A small lens to provide magnification (you can use a lens from an old magnifying glass or toy).
- LED Light: To illuminate the specimen.
- 9V Battery: To power the LED light.
- Battery Holder and Switch: For connecting the battery to the LED.
- Wires: To connect the battery to the LED.
- Tape and Glue: For assembling the parts.
- Scissors or a Craft Knife: For cutting the cardboard.
- Rubber Bands: Optional, for securing parts in place.
Step-by-Step Video Instructions:
1. Creating the Microscope Frame:
- Cut the Cardboard: Cut out the main parts of the microscope frame from cardboard:
- Base: A sturdy rectangle to support the microscope.
- Arm: A vertical piece to hold the lens and slide holder.
- Stage: A horizontal piece where the specimen slide will rest, with a small hole in the center for light to pass through.
- Assemble the Frame: Glue or tape the arm vertically onto the base. Attach the stage horizontally on the arm, making sure it’s high enough to allow space underneath for the LED light.
2. Making the Lens Holder:
- Cut the Lens Holder: Cut a small piece of cardboard to create a holder for the magnifying glass lens. It should fit snugly around the lens and be attached to the arm above the stage.
- Attach the Lens: Glue the lens(transparent paper) securely into the holder. The lens should be positioned directly above the hole in the stage, where the specimen will be placed.
3. Setting Up the Slide Holder:
- Slide Holder Construction: Cut two small slits in the stage to create a simple holder for the transparent sheet (slide). The sheet should be able to slide in and out easily.
- Prepare the Slide: Cut a small piece of the transparent sheet to act as the slide. You can place small objects or thin samples between two layers of the sheet if needed.
4. Installing the LED Light:
- LED Placement: Attach the LED light under the stage so that it shines up through the hole in the stage and illuminates the specimen.
- Wiring: Connect the LED light to the 9V battery using wires. Attach a switch to the circuit so that you can turn the light on and off.
- Battery Placement: Secure the 9V battery to the base of the microscope, making sure the wires are neatly arranged.
5. Finishing Touches:
- Focus Mechanism (Optional): If you want to add a simple focus mechanism, you can create a sliding system using rubber bands or additional cardboard pieces that allow the lens holder to move up and down slightly.
- Test the Microscope: Place a specimen on the slide, insert it into the slide holder, and turn on the LED light. Look through the lens to see the magnified image of the specimen.
Display and Demonstration:
- Explain the Parts: Use labels or a poster to explain the different parts of the microscope model, including how the lens magnifies the image and how the light illuminates the specimen.
- Interactive Element: Allow viewers to use the microscope to view different specimens, demonstrating how the lens and light work together to magnify objects.
This simple microscope model is an excellent way to introduce the basic principles of microscopy, combining hands-on construction with practical observation.

