
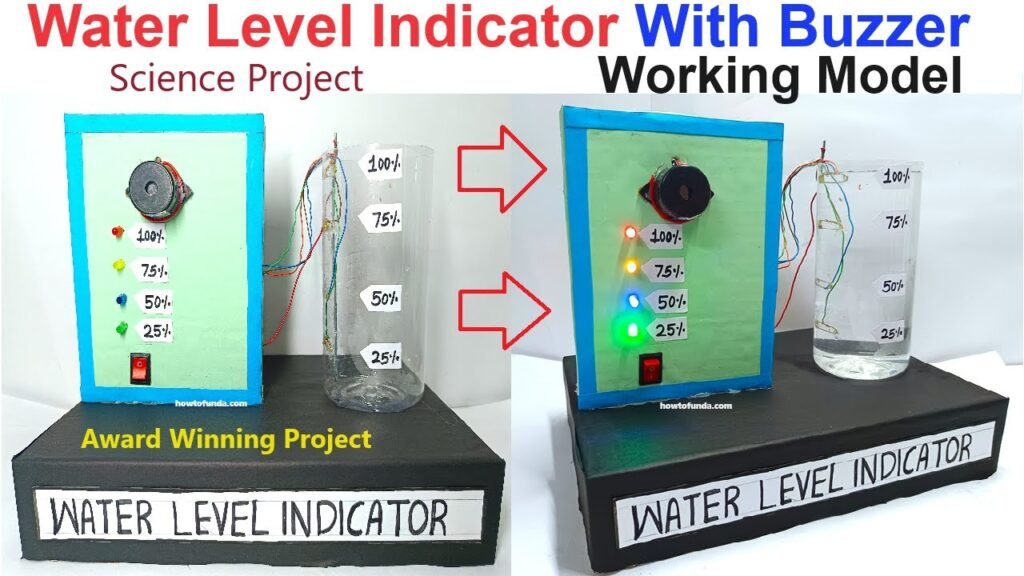
Creating a water level indicator with different LED lights and a buzzer to signal various water levels is a great hands-on project.
Below are the detailed instructions to build your working model using cardboard, color paper, a plastic bottle, and a 9V battery.
Materials Needed
- Cardboard
- Color paper
- Plastic bottle
- 4 LEDs (different colors for 25%, 50%, 75%, 100% levels)
- 9V battery
- Wires
- Buzzer
- Resistors (appropriate values for LEDs)
- Conductive materials (metal strips, wires, or aluminum foil)
- Glue
- Scissors
- Tape
- Markers or paint
- Small switch (optional)
Step-by-Step video Instructions
1. Base and Structure
- Base:
- Cut a large piece of cardboard to serve as the base. Ensure it’s sturdy enough to support the structure.
- Water Tank:
- Use a plastic bottle to represent the water tank. Cut the top part if needed for easy access.
2. Water Level Indicators
- Conductive Materials:
- Cut 4 strips of conductive material (metal strips, wires, or aluminum foil) and attach them vertically inside the plastic bottle at different heights to represent 25%, 50%, 75%, and 100% water levels.
- Connecting Wires:
- Connect wires to each of the conductive strips. These wires will run out of the bottle and connect to the LEDs.
3. LED and Buzzer Setup
- LED Indicators:
- Attach LEDs to the cardboard base or a vertical cardboard stand. Use different colors for each water level (e.g., green for 25%, yellow for 50%, orange for 75%, red for 100%).
- Connect resistors in series with each LED to prevent them from burning out.
- Connect the other ends of the wires from the conductive strips to the corresponding LEDs.
- Buzzer:
- Connect the buzzer to the 100% water level wire so it sounds when the water reaches the top level.
4. Electrical Connections
- Power Supply:
- Connect all the LEDs and the buzzer to a common ground wire.
- Connect the positive ends of the LEDs and the buzzer to the 9V battery.
- Switch (Optional):
- If using a switch, connect it between the battery and the rest of the circuit for easy control.
5. Integration and Final Touches
- Assembly:
- Secure the plastic bottle to the cardboard base.
- Attach the vertical stand with the LEDs next to the bottle.
- Hide the wires using tape or cover them with color paper for a clean look.
- Decoration:
- Use color paper and markers to decorate the base and structure, labeling the water levels and corresponding LEDs.
Testing and Functionality
- Filling the Bottle:
- Gradually fill the plastic bottle with water.
- Observe as the water level rises and each LED lights up at the corresponding level (25%, 50%, 75%, 100%).
- The buzzer should sound when the water reaches the 100% level.
- Demonstration:
- Explain how the conductive strips detect the water level and complete the circuit, lighting up the LEDs.
- Highlight how the buzzer provides an audible alert when the tank is full, demonstrating a practical water level indicator.
By following these steps, you will create a functional water level indicator model that visually and audibly indicates the water levels, making it an excellent project for a science exhibition.