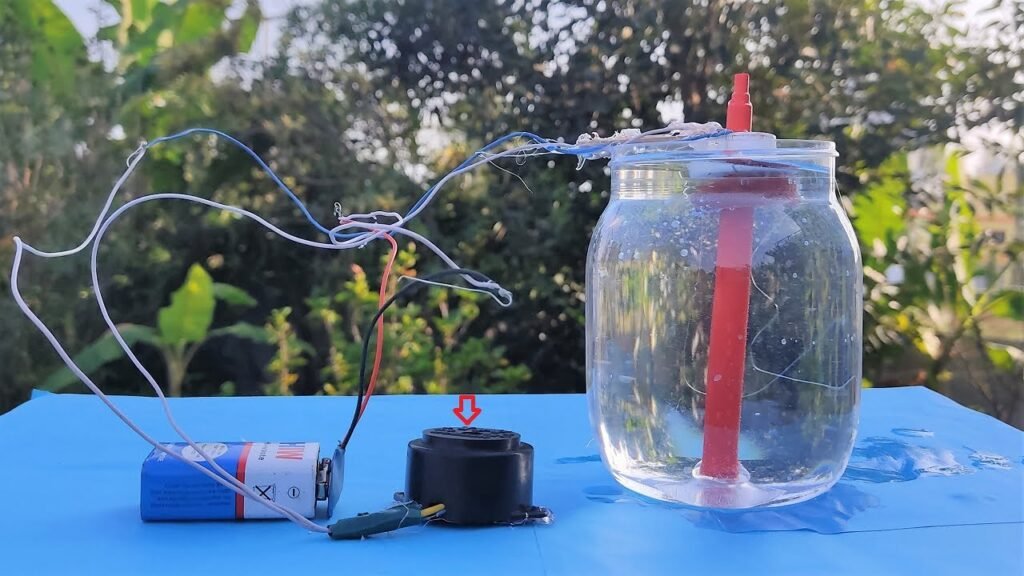
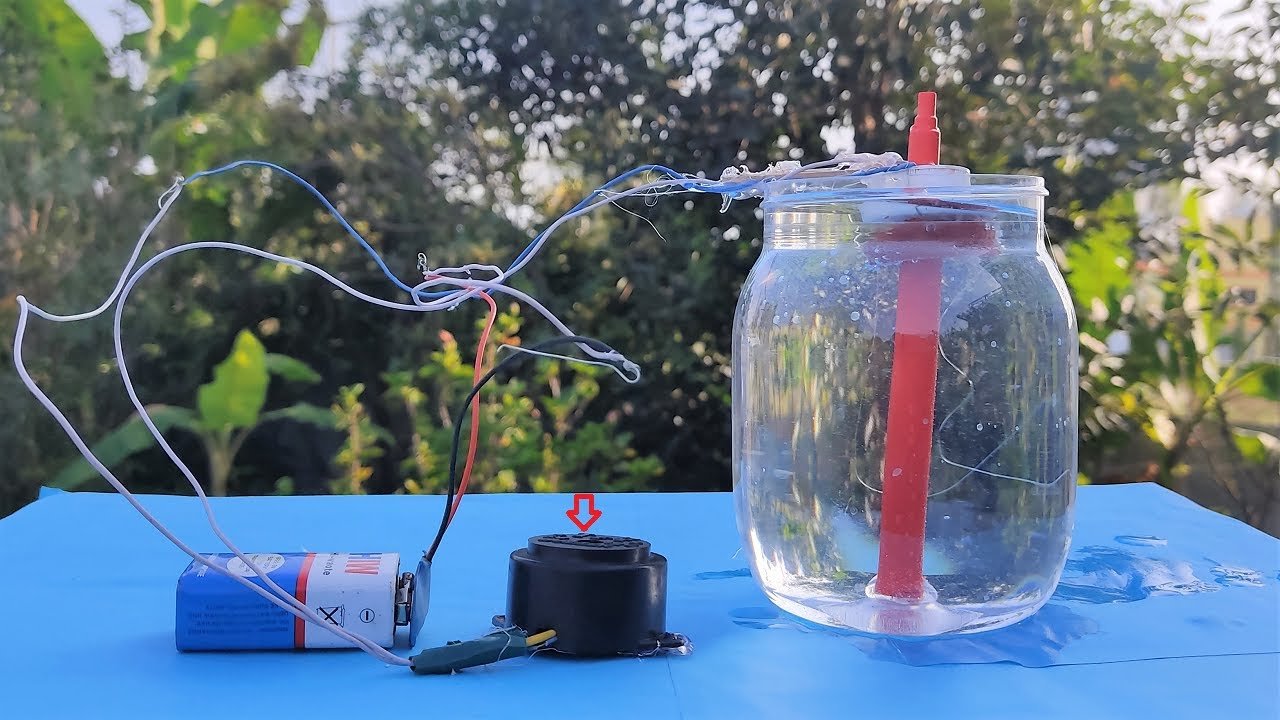
In this post I have provided the detailed instruction on how to make water level indicator alarm working model for inspire science project with explanation
This simple water overflow alarm effectively demonstrates how basic electrical components and the conductive properties of water can be used to create a practical device for monitoring and alerting about water levels.

Creating a water level indicator alarm working model using a plastic bottle, bottle cap, and sketch pen is an excellent way to build a simple device that can detect water levels and trigger an alarm when the water reaches a specific point.
Here’s a step-by-step guide to making the model:
Materials you will need:
- Plastic bottle (500 ml or 1-liter size)
- Bottle cap
- Sketch pen (non-permanent type with a removable ink cartridge)
- Piezoelectric buzzer or small speaker
- Wires and connectors
- 9V battery or AA/AAA batteries with battery holder
- Battery snap connector or terminal connector
- Hot glue gun or adhesive putty
- Water
Step-by-step instructions:
- Prepare the plastic bottle:
- Rinse the plastic bottle thoroughly to remove any residue or contaminants. Cut off the bottle’s top portion, leaving the bottom section to act as the water reservoir.
- Create the water level sensor:
- Take the bottle cap and drill a small hole in its center.
- Disassemble the sketch pen and remove the ink cartridge.
- Insert the ink cartridge through the hole in the bottle cap so that the pen’s writing tip extends inside the bottle.
- Secure the ink cartridge in place using hot glue or adhesive putty, ensuring an airtight seal around the hole.
- Attach the piezoelectric buzzer:
- Attach the piezoelectric buzzer or small speaker to the side of the bottle using hot glue or adhesive putty. This will act as the alarm.
- Connect the wires:
- Connect one wire from the piezoelectric buzzer to the bottle cap (connected to the ink cartridge) using wires and connectors.
- Connect the other wire from the piezoelectric buzzer to the wooden board or base to complete the circuit.
- Optional: Add food coloring (for visual effect):
- If you want to make the water level more visible, you can add a few drops of food coloring to the water inside the bottle.
- Power the water level indicator alarm:
- Connect the piezoelectric buzzer’s wires to the battery snap connector or terminal connector.
- Connect the 9V battery or AA/AAA batteries to the battery snap connector or terminal connector to power the water level indicator alarm.
- Test the water level indicator alarm:
- Place the water level indicator in an area where you want to monitor water levels, such as a tank or reservoir.
- In normal conditions, the water level is below the probes, so the circuit remains open, and the buzzer is off.
- As water fills the container and reaches the level of the probes, the water, being a conductive medium, creates a bridge between the two probes.
- This bridge completes the circuit, allowing current to flow from the battery through the buzzer.
- The buzzer is activated, emitting a sound to alert that the water has reached the maximum level.
This model provides a simple and effective way to detect water levels and trigger an alarm when the water reaches a specific point. It’s a fun and educational project to understand the concept of water level sensing and how it can be used to create a basic water level alarm system.
#waterlevelindicator #wateralarm #workingmodel #scienceproject #diy #howtofunda #inspire award #inspire

