
Introduction
The water cycle, also known as the hydrological cycle, describes how water moves continuously through the environment. It involves processes such as evaporation, condensation, precipitation, and collection. Understanding the water cycle is essential for learning about climate, weather patterns, and water conservation.
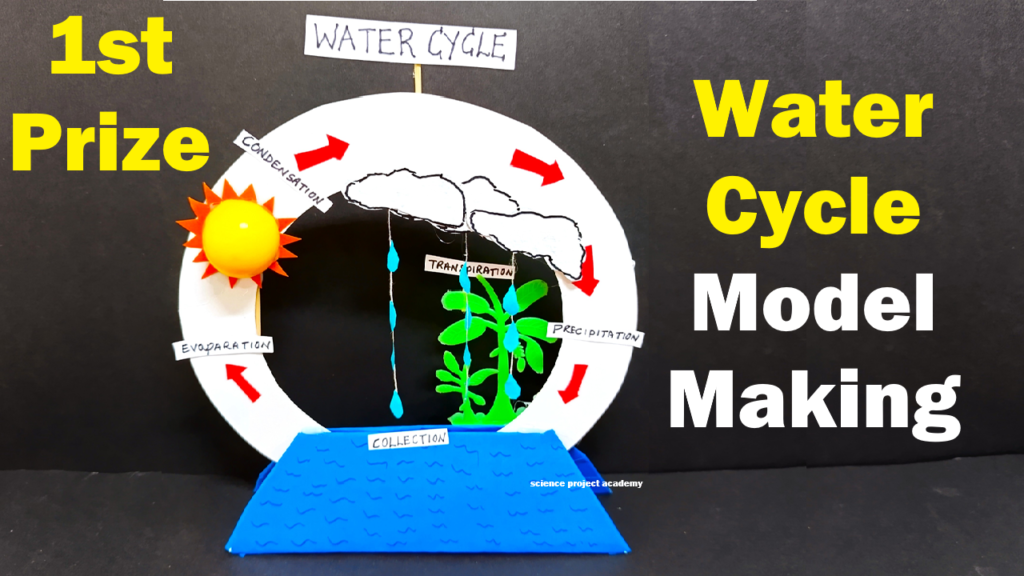
This Water Cycle Working Model is a simple, easy DIY science exhibition project made using circular cardboard, color papers, plastic sheet, and other materials. The model visually demonstrates how water moves through different stages of the water cycle in a circular flow.
Aim of the Project
The objectives of this project are:
- To understand the stages of the water cycle
- To demonstrate the continuous movement of water in nature
- To create a low-cost, simple science model for exhibitions
- To promote awareness about water conservation
Materials Used
- Circular cardboard (for base)
- Transparent plastic sheet (to represent clouds or water vapor)
- Blue color paper or paint (for water bodies)
- Cotton or tissue paper (for clouds)
- Small water container or bottle cap (for lakes or collection)
- Glue, tape, and scissors
- Marker pens for labeling
- Optional: small LED light (to represent sunlight)
Concept of the Water Cycle
The water cycle involves four main stages:
- Evaporation: Water from oceans, lakes, and rivers turns into water vapor due to sunlight.
- Condensation: Water vapor rises and cools, forming clouds.
- Precipitation: Water falls back to the Earth as rain, snow, or hail.
- Collection: Water collects in rivers, lakes, oceans, and underground reservoirs, completing the cycle.
Construction of the Model
- Prepare a circular cardboard base and color the outer edge blue to represent water bodies.
- Place a small bottle cap or container on the base to represent a lake or pond.
- Use cotton or tissue paper to make clouds above the water body.
- Attach a transparent plastic sheet above the clouds to show water vapor and sunlight evaporation.
- Draw arrows on the cardboard to indicate the flow of the water cycle: evaporation, condensation, precipitation, and collection.
- Optional: Add a small LED to represent sunlight causing evaporation.
- Label all parts clearly using marker pens or small paper tags.
Working of the Model
- Water in the bottle cap represents lakes or oceans.
- Heat (simulated by a small LED light or sunlight) causes water to “evaporate” and rise toward the plastic sheet (clouds).
- Condensation occurs as water collects in cotton clouds.
- Precipitation is represented by small drops of water falling back into the collection area.
- Arrows and circular base show the continuous flow of water, completing the water cycle.
Educational Importance
- Makes an abstract concept visual and understandable
- Encourages hands-on learning for students
- Perfect for explaining during a science exhibition or viva
- Highlights the importance of water conservation
Advantages of the Model
- Low-cost and easy to make
- Interactive and visually appealing
- Safe for students of all ages
- Can be built using recycled or easily available materials
Conclusion
The Water Cycle Working Model is a simple and effective DIY project for science exhibitions. Using circular cardboard, cotton, plastic sheets, and a small water container, students can demonstrate evaporation, condensation, precipitation, and collection clearly. This model helps students understand the continuous movement of water in nature and the importance of conserving this vital resource.