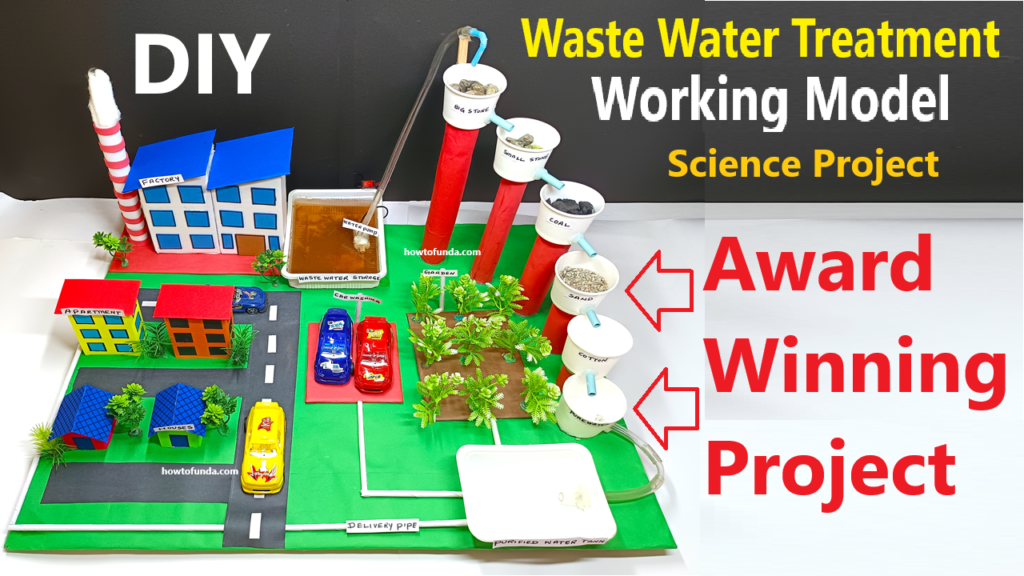
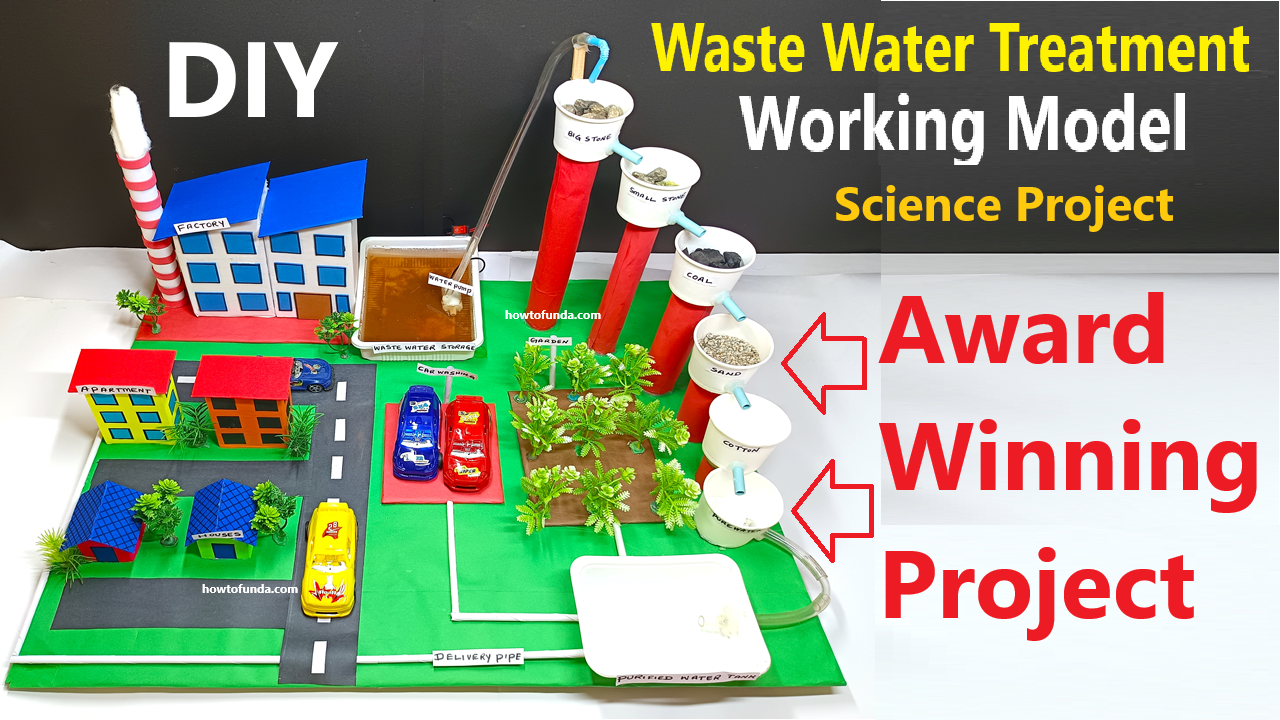
Creating a wastewater treatment working model for a science project exhibition is a great way to demonstrate the basic principles of water purification. The model can simulate the process of filtering and treating wastewater to make it clean and reusable.

Here’s a step-by-step guide to building a simple water purification model:
Materials Needed:
- Plastic bottles (3 large bottles or similar containers)
- Gravel (small pebbles)
- Sand (fine)
- Activated charcoal (for filtration)
- Cotton balls or filter paper
- Dirty water (you can use a mixture of water, soil, food coloring, and small debris)
- Small pieces of sponge (optional, for better filtration)
- Tubing (plastic or rubber to simulate pipes)
- Water pump (optional, if you want to demonstrate active water movement)
- Large container or basin (for collecting the purified water)
- Tape or glue (to connect components)
- Scissors/cutter (to cut the bottles)
- Labels or markers (to explain different stages)
Video Steps to Build the Model:
1. Design the Treatment Process
The treatment process in your model will follow the basic steps of real wastewater treatment: sedimentation, filtration, and disinfection. Here are the stages you can simulate:
- Primary Filtration (removal of large particles)
- Sedimentation (allowing particles to settle)
- Secondary Filtration (using sand, gravel, and charcoal)
- Disinfection (using activated charcoal to remove bacteria and chemicals)
2. Prepare the Filter Bottles
- Bottle 1 (Sedimentation Tank):
- Cut the bottom off of a plastic bottle. Invert it so the neck points downward.
- Place a few layers of cotton or sponge at the neck of the bottle.
- Add a layer of gravel on top of the cotton or sponge.
- Above the gravel, add a layer of sand. This bottle will act as the primary sedimentation tank where larger debris will settle.
- Bottle 2 (Filtration Tank):
- Cut another plastic bottle similarly and invert it.
- Add a layer of cotton balls or filter paper at the bottom of the bottle neck.
- Above the cotton, place a layer of activated charcoal. This layer will absorb harmful chemicals and organic compounds.
- Add another layer of sand, followed by a layer of gravel on top. This will act as the secondary filtration system.
- Bottle 3 (Disinfection Tank):
- In the third bottle, place activated charcoal at the neck and fill the rest of the bottle with clean gravel and sand.
- Optionally, you can add a small amount of diluted bleach or chlorinated water to simulate disinfection (in real life, chlorine or UV light is often used).
3. Set Up the Model
- Connect the Bottles: Stack the bottles vertically, with the first bottle (sedimentation tank) at the top, followed by the second (filtration tank), and finally the third (disinfection tank). You can tape them together or secure them with a stand.
- Create a Drainage System: Use tubing or cut small holes in the bottom of each bottle to allow water to flow from one bottle to the next. Ensure that the flow goes through all the layers of materials in each bottle.
- Collecting Tank: Place a container or basin under the final bottle to collect the purified water.
4. Run the Model
- Add Dirty Water: Pour the dirty water (containing soil, debris, and other contaminants) into the top bottle (the sedimentation tank).
- Observe the Process:
- In the first bottle, large particles will settle to the bottom as the water slowly flows through the gravel and sand.
- In the second bottle, finer particles and some chemicals will be filtered out by the sand and charcoal.
- In the third bottle, the activated charcoal will help remove any remaining contaminants, leaving cleaner water.
- Collect Clean Water: The water that drips out from the final bottle should be much cleaner than the original dirty water.
5. Optional Enhancements
- Water Pump: If you want to demonstrate the active movement of water through pipes, you can attach a small water pump between bottles to move water through the system.
- Add More Stages: You can simulate biological treatment by adding a small container with plant roots or beneficial bacteria that break down organic matter in the water.
- Label the Process: Use labels or small signs to explain each stage (e.g., sedimentation, filtration, disinfection) to make the model more educational for an exhibition.
Key Concepts:
- Sedimentation: The process where large particles settle to the bottom due to gravity.
- Filtration: The process of passing water through layers of gravel, sand, and activated charcoal to remove smaller particles and contaminants.
- Disinfection: The process of killing or removing harmful bacteria and chemicals, often done in real-life systems using chlorine or UV light.
This model demonstrates the essential steps of wastewater treatment in a simple and hands-on way. It’s a great way to show how everyday water can be cleaned and reused using basic natural and chemical processes.

