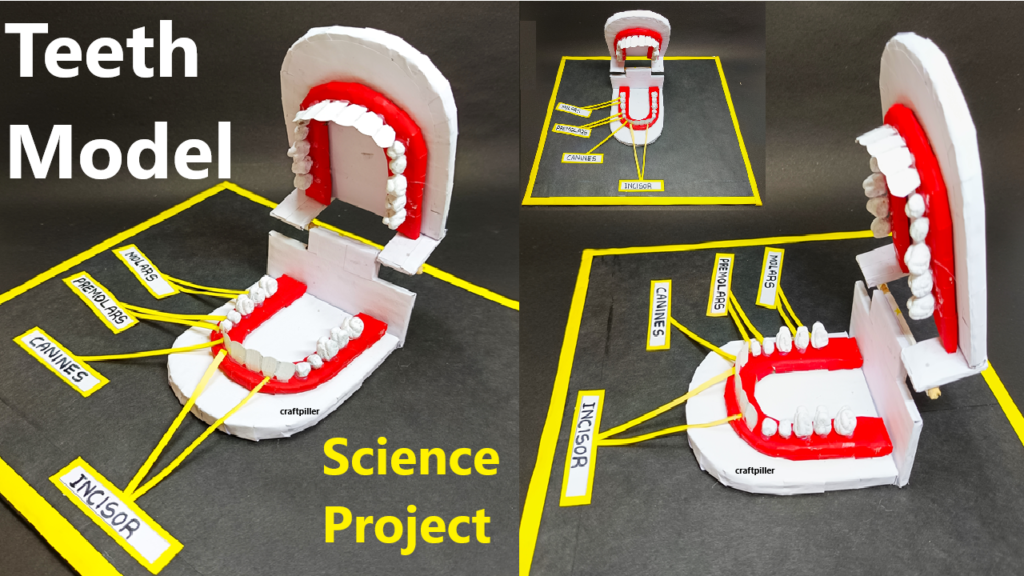
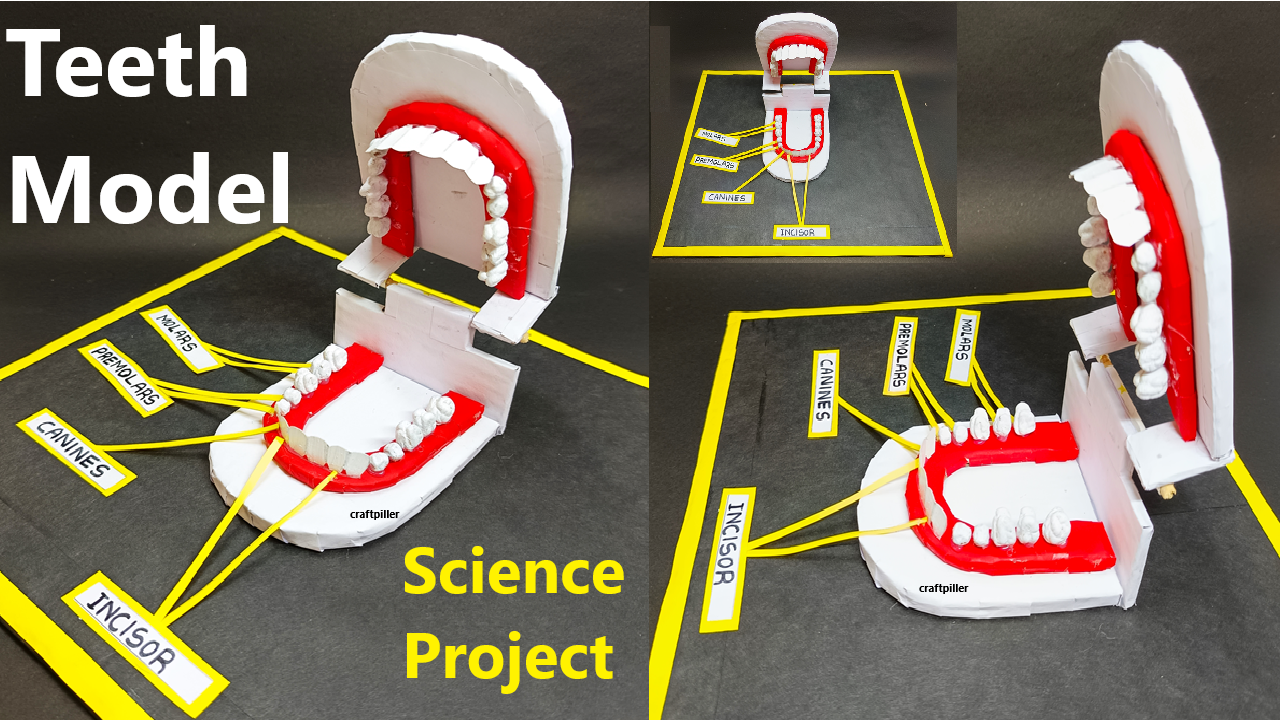
This teeth model will be an engaging and informative exhibit for your science project. It showcases creativity while effectively demonstrating the structure of human teeth.
Creating a teeth model for a science project exhibition using simple materials like channa dal, kabul dal, paint, cardboard, and colored paper is a fun and creative activity. Here’s how you can do it step by step:

Materials Needed:
- Channa Dal and Kabul Dal: To represent different types of teeth (e.g., incisors, canines, molars).
- Cardboard: For the base of the model.
- Color Paper: To make the tongue and gums.
- Paints: White (for teeth), red/pink (for gums and tongue).
- Glue: Strong adhesive to stick the dal.
- Scissors: For cutting cardboard and color paper.
- Pencil and Ruler: To draw the outline.
- Brush: For painting.
Steps to Create the Teeth Model:
1. Create the Base Structure
- Cut a large oval or rectangular piece of cardboard to represent the jaw’s cross-section.
- Divide the cardboard into two parts to show the upper and lower jaws.
2. Paint the Gums
- Paint the upper and lower sections of the cardboard red or pink to represent the gums.
- Let it dry completely before moving to the next step.
3. Attach Teeth
- Position the Teeth:
- Place the channa dal to represent the smaller, sharper teeth (incisors and canines).
- Use the kabul dal for the larger, flat molars at the back.
- Glue the Dal:
- Glue each piece in the correct position, simulating the arrangement of human teeth.
- Make sure the size and placement resemble an actual dental layout.
4. Add the Tongue
- Cut an oval shape from red or pink color paper for the tongue.
- Position the tongue on the lower jaw and glue it in place.
5. Paint the Teeth
- Once the glue dries, paint the channa dal and kabul dal white to give them the appearance of teeth.
- Apply a second coat if necessary to ensure even coverage.
6. Final Touches
- Use a black marker or paint to outline the gumline for a realistic look.
- Add labels if desired (e.g., incisors, canines, premolars, molars).

