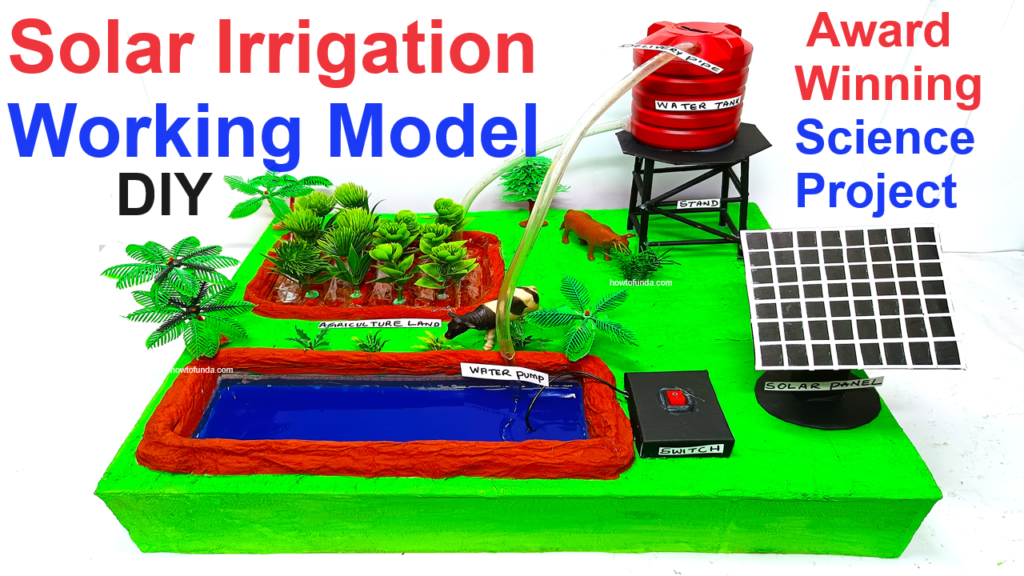
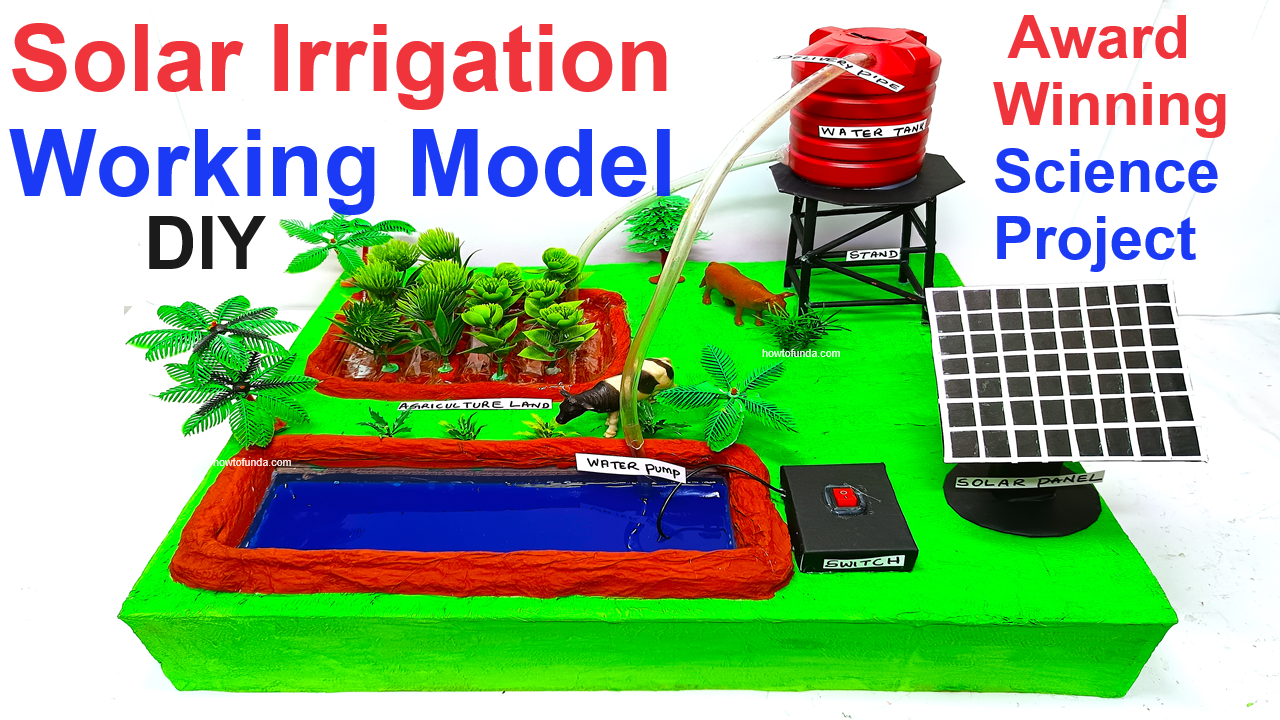
Creating a solar-powered agriculture (irrigation) working model is a great way to demonstrate sustainable farming practices.

This model will show how solar energy can be used to pump water from a well and irrigate plants.
Here’s how you can create this model:
Materials Needed:
- Solar Panel: A small solar panel to power the water pump.
- Water Tank with Stand: A small container to act as the water tank, mounted on a stand to simulate height.
- Water Pump: A small electric water pump that can be powered by the solar panel.
- Tray for Plants: A shallow tray with soil and small plants to demonstrate irrigation.
- Tubing: Thin plastic tubes to transport water from the well (water source) to the tank and then to the plants.
- Well: A small container to simulate a well or water source.
- Switch: To control the water pump.
- Wires: To connect the solar panel to the water pump and switch.
- Cardboard or Foam Board: For the base and other structural elements.
- Glue, Tape, and Scissors: For assembly.
- Small Gravel or Sand: For the base of the tray to support the plants.
- Markers and Labels: For labeling the different parts of the model.
- Optional: Battery: A small rechargeable battery to store solar energy for continuous operation.
Step-by-Step Video Instructions:
1. Preparing the Base:
- Base Structure: Use a sturdy piece of cardboard or foam board as the base of your model. This will hold all the components.
- Well: Place a small container at one corner of the base to act as the well. This will be the water source.
2. Setting Up the Water Tank and Stand:
- Tank and Stand: Place the water tank on a stand (which could be made from stacked pieces of foam board or a small wooden block) at a height higher than the tray. This height simulates gravity-fed irrigation.
- Connect Tubing: Attach one end of a tube to the water pump, which will be placed inside the well. The other end of the tube should be connected to the water tank at the top.
3. Setting Up the Solar Panel and Pump:
- Solar Panel: Position the solar panel in a spot on the base where it can receive light. If indoors, you can simulate sunlight with a strong light source.
- Wiring: Connect the wires from the solar panel to the water pump. Include a switch in the circuit to turn the pump on and off. Optionally, connect the solar panel to a rechargeable battery before the pump to allow for energy storage.
- Pump Placement: Place the pump inside the well so that it can draw water when powered by the solar panel.
4. Setting Up the Irrigation Tray:
- Plant Tray: Place a shallow tray filled with small plants and soil next to the water tank.
- Irrigation Tubing: Connect a tube from the bottom of the water tank to the tray. You can poke small holes in the tubing to simulate drip irrigation, ensuring the water drips evenly across the tray.
5. Operation:
- Test the Solar Power: Place the model in sunlight or under a bright light source to power the solar panel. When the solar panel receives enough light, it should power the pump, drawing water from the well and pumping it into the water tank.
- Gravity Irrigation: As the water tank fills, gravity will cause the water to flow down through the irrigation tube into the plant tray, watering the plants.
- Switch Control: Use the switch to control the water flow, demonstrating how the system can be turned on or off.
6. Final Touches:
- Labeling: Use markers and labels to identify key parts of the model, such as the solar panel, water pump, water tank, well, and irrigation system.
- Decorate the Base: You can add small decorative elements like tiny pebbles, grass, or miniature farm equipment to make the model more visually appealing.
This model is an excellent way to illustrate the potential of renewable energy in agriculture, particularly in areas where electricity may be scarce.

