
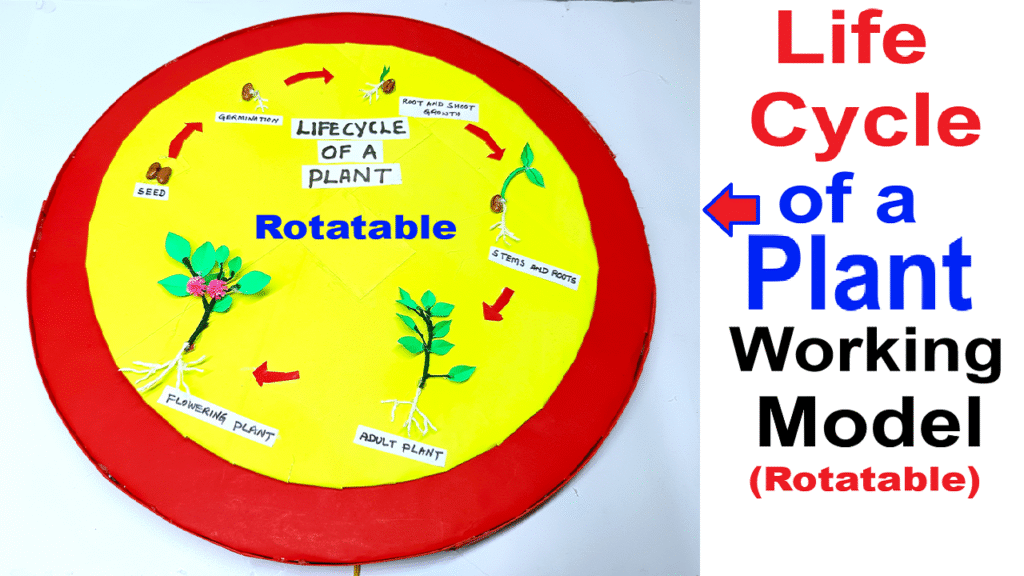
Life Cycle of a Plant (Step by Step)
- Seed – Every plant starts as a tiny seed. Seeds have a baby plant inside them.
- Germination – When we plant the seed in soil and give it water and sunlight, it begins to sprout.
- Seedling – A small baby plant with tiny leaves comes out of the soil.
- Young Plant – The seedling grows bigger, with more roots, stems, and leaves.
- Adult Plant – The plant becomes fully grown. It may have flowers and fruits.
- Pollination – Flowers are pollinated by wind, insects, or animals, helping the plant make new seeds.
- Fruiting – The plant produces fruits that hold seeds inside.
- New Seeds – The seeds from the fruit fall on the ground or are spread by animals, and the cycle starts again.
To demonstrate the stages of a plant’s life cycle in a rotatable, colorful, and interactive way, helping students and visitors easily understand how plants grow.
How to Make (Step-by-step):
Step 1: Make the Base
- Take a sturdy cardboard sheet (square or circular) as the base.
- Paint it green or cover with color paper for a neat look.
Step 2: Create Rotating Circle
- Cut a large circular disc from cardboard (approx. 25–30 cm diameter).
- Divide it into 8 equal pie sections using a scale and pencil.
Step 3: Add the Life Cycle Stages
- In each pie section:
- Paste pictures or hand-drawn illustrations of each life cycle stage.
- Write short labels like “Seed”, “Germination”, “Seedling”, etc.
Step 4: Add 3D Touch
- Use clay or thermocol for:
- Seed shape
- Sprouting seedling
- Mini flower
- Tiny fruit
- Paste them in each stage for visual effect.
Step 5: Attach Spinner Wheel
- Make a smaller pointer wheel or arrow.
- Fix the arrow to the center of the circular chart using:
- A thumb pin, split pin, or nut-bolt.
- Make sure it rotates freely over the circle.
Step 6: Add Labels on Base
- Label your model:
"Life Cycle of a Plant – Rotating Model"
with bright and neat letters.