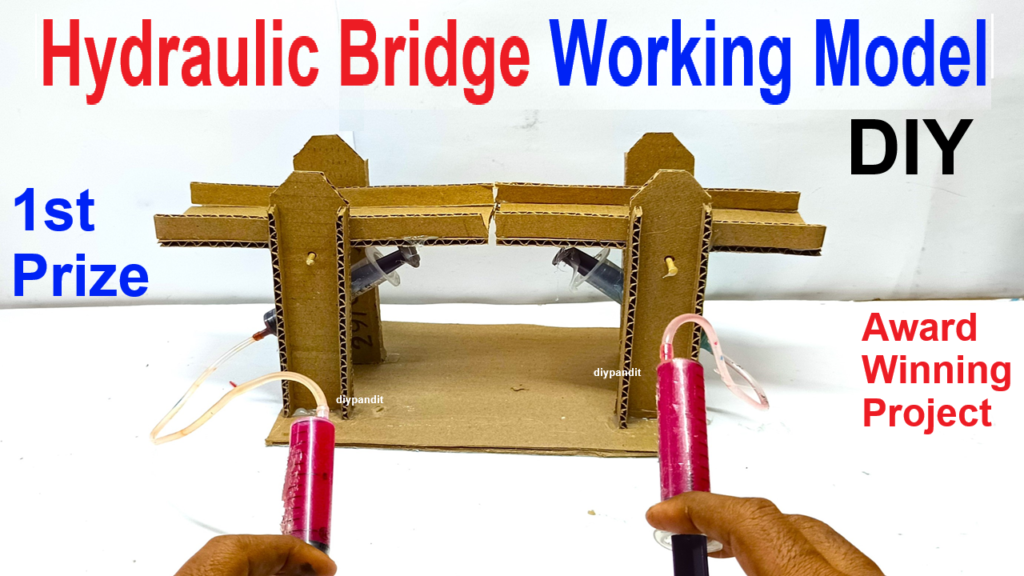
Tired of generic school projects that get lost in the crowd?
This year, ditch the basic volcano and build a miniature hydraulic bridge that will blow your teachers away. We’re talking real engineering, simplified, and guaranteed to make your science fair project unforgettable. Ready to dominate?
Imagine the satisfaction of seeing your own hands create a moving, functional bridge!
This video guides you through building a stunning miniature hydraulic bridge, unlocking the secrets of real-world engineering.
You’ll not only have an amazing project for school, but also a deeper understanding of how the world around us works.
A hydraulic bridge working model can be a fascinating project to demonstrate hydraulic principles in a simple, interactive way.
This model shows how hydraulic pressure can lift sections of a bridge, similar to real-life drawbridges that allow ships to pass through.

Materials
- Cardboard or Foam Board: For the bridge deck and supports.
- Syringes (4-6): To act as hydraulic pistons. Two will control the bridge lift.
- Flexible Plastic Tubing: To connect syringes and transfer hydraulic fluid.
- Water: As the hydraulic fluid.
- Small hinges: To attach bridge sections so they can lift.
- Strong Tape or Glue: To hold components together.
- Wooden Sticks or Skewers: For added support to the bridge structure.
- Scissors and Paint (optional): For decorating the bridge.
Steps to Build the Hydraulic Bridge Model
- Build the Bridge Deck:
- Cut a piece of cardboard into a rectangle to serve as the main bridge deck. Divide it into two parts if you want a drawbridge style, or leave it intact for a lifting bridge style.
- Attach small hinges in the middle of the bridge deck (if it’s divided) or where it will lift, allowing it to move upwards.
- Construct the Support Towers:
- Create two vertical towers from cardboard or foam board to hold the bridge deck. Attach them on either side of the bridge to support the structure.
- Set Up the Hydraulic System:
- Attach a syringe on each side of the bridge deck, close to where it hinges, so it can push up the bridge deck when activated. Connect each of these syringes with plastic tubing to a second set of syringes, which will serve as controllers.
- Fill each syringe and the tubing with water to ensure smooth hydraulic movement. Remove any air bubbles from the system.
- Connect the Hydraulic Pistons:
- Fix the syringes attached to the bridge deck firmly in place with tape or glue. Attach the ends of the tubing to the controller syringes, which can be placed away from the bridge for easy access.
- Test the System:
- Press down on the control syringes to push water into the bridge deck syringes, which will lift the bridge deck. Releasing pressure will lower the bridge deck back to its original position.
- Decorate (Optional):
- Paint the bridge to make it look realistic, and add details like road markings, railings, or decorative elements to give it a completed look.
Explanation
- Hydraulic Principle: Explain how pressing on the control syringes forces water through the tubing, transferring force to the syringes attached to the bridge. This force lifts the bridge deck using hydraulic pressure.
- Application: This model demonstrates how real hydraulic bridges and heavy machinery use fluid pressure to lift or move heavy objects efficiently.
Let me know if you’d like any further customization or details on this hydraulic bridge model!

