Objective:
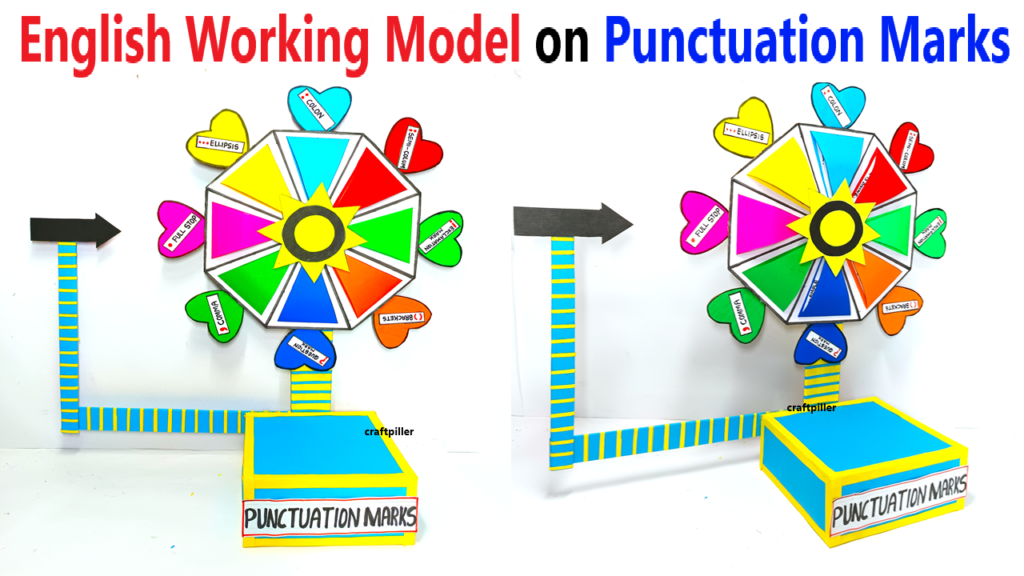
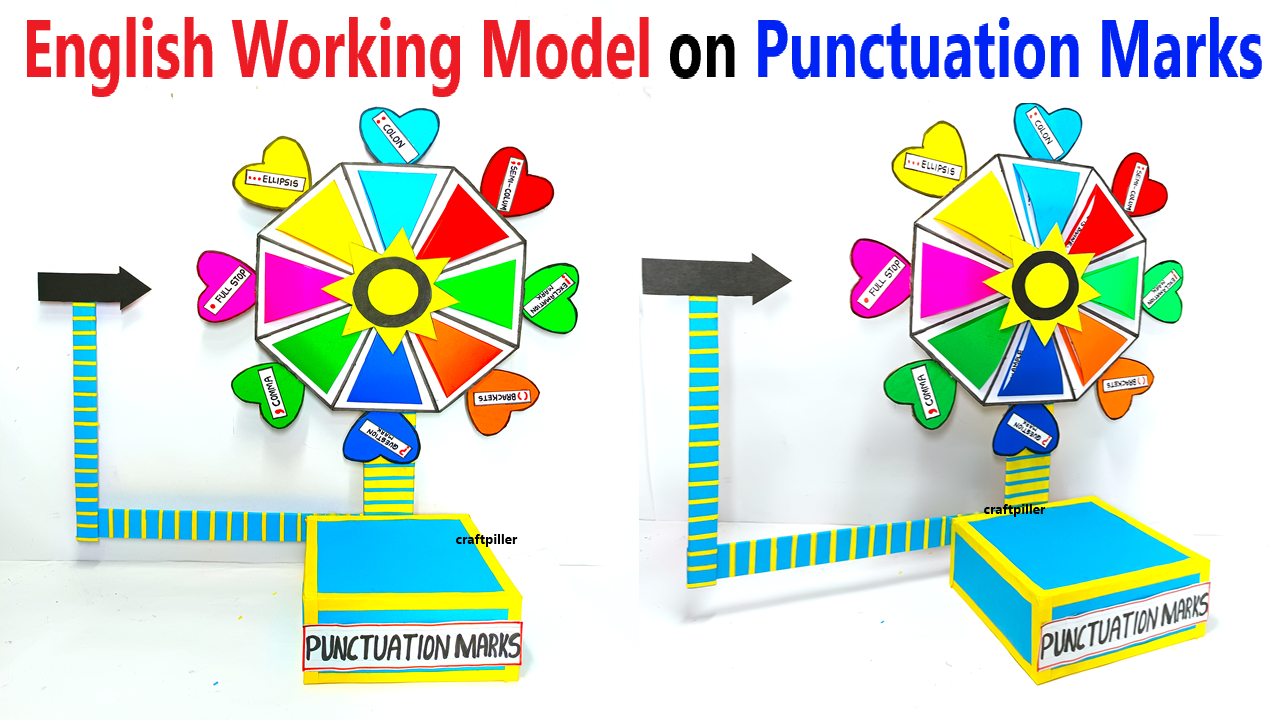
To create an interactive model that helps students learn different punctuation marks and their uses. The model will feature a rotating mechanism with an arrow pointer that highlights a punctuation mark, allowing for easy reference and learning.

Materials Required:
- Cardboard (for the base and rotating disk)
- Color paper (for creating the arrow, punctuation marks, and decorative elements)
- Scissors
- Glue or tape
- Brass fastener or paper clip (to allow rotation)
- Markers (for labeling punctuation marks and their functions)
- Ruler (for precise measurements)
Steps to Build the Model English Working Model on Punctuation Marks:
- Prepare the Base:
- Cut a large circle from the cardboard to act as the base for the rotating mechanism.
- This will serve as the rotating disk that holds the punctuation marks.
- Create the Rotating Disk:
- Cut a slightly smaller circle from another piece of cardboard. This will be the disk where the punctuation marks will be placed.
- Attach the center of this disk to the base using a brass fastener or paper clip, allowing the disk to rotate easily.
- Design the Arrow Pointer:
- Cut out a triangle or arrow shape from the color paper. This will serve as the pointer to indicate which punctuation mark is selected.
- Attach the arrow to a small piece of cardboard or a stiff paper strip to ensure it stays upright when rotating.
- Attach the other end of the pointer to the edge of the rotating disk using glue or tape.
- Add Punctuation Marks:
- On the edge of the rotating disk, space out punctuation marks such as:
- Period (.)
- Comma (,)
- Question mark (?)
- Exclamation mark (!)
- Colon (:)
- Semicolon (;)
- Quotation marks (” “)
- Apostrophe (‘)
- Ellipsis (…)
- Write or print each punctuation mark on color paper and glue them to the edge of the rotating disk.
- Optionally, include brief descriptions of their usage near each punctuation mark.
- On the edge of the rotating disk, space out punctuation marks such as:
- Create the Rotation Mechanism:
- Ensure the disk rotates freely by adjusting the fastener. If needed, add a small washer or reinforce the rotation with a bit of tape around the fastener.
- Ensure the pointer remains aligned with the edge of the disk so that it points to a punctuation mark when it rotates.
- Final Assembly:
- Once the disk is ready and the pointer is attached, you can decorate the base of the model with additional color paper to make it visually appealing.
- Optionally, you can add small labels or descriptions around the base of the model explaining each punctuation mark’s function.
How It Works:
- Interactive Learning:
- When students rotate the disk, the arrow pointer will indicate a punctuation mark.
- You can either read aloud or provide a written explanation of how the selected punctuation mark is used in writing.
- Reinforcing the Concept:
- Students can take turns rotating the disk and selecting punctuation marks.
- The teacher or student can explain the function of each punctuation mark as the arrow points to it.
Example of Punctuation Mark Descriptions:
- Period (.): Used at the end of a declarative sentence to indicate a full stop.
- Comma (,): Used to separate items in a list or to create a pause in a sentence.
- Question Mark (?): Used at the end of a direct question.
- Exclamation Mark (!): Used to express strong emotions or commands.
- Colon (:): Used to introduce a list or a quote.
- Semicolon (;): Used to link closely related independent clauses.
- Quotation Marks (” “): Used to enclose direct speech or a quotation.
- Apostrophe (‘): Used to show possession or to form contractions.
- Ellipsis (…): Used to indicate an omission or a trailing off of thought.

