
An elevator lift is a modern machine used to carry people or goods up and down in buildings. It is also called a lift. Elevators are very useful in tall buildings, offices, hospitals, and shopping malls, where climbing stairs would be difficult or time-consuming.
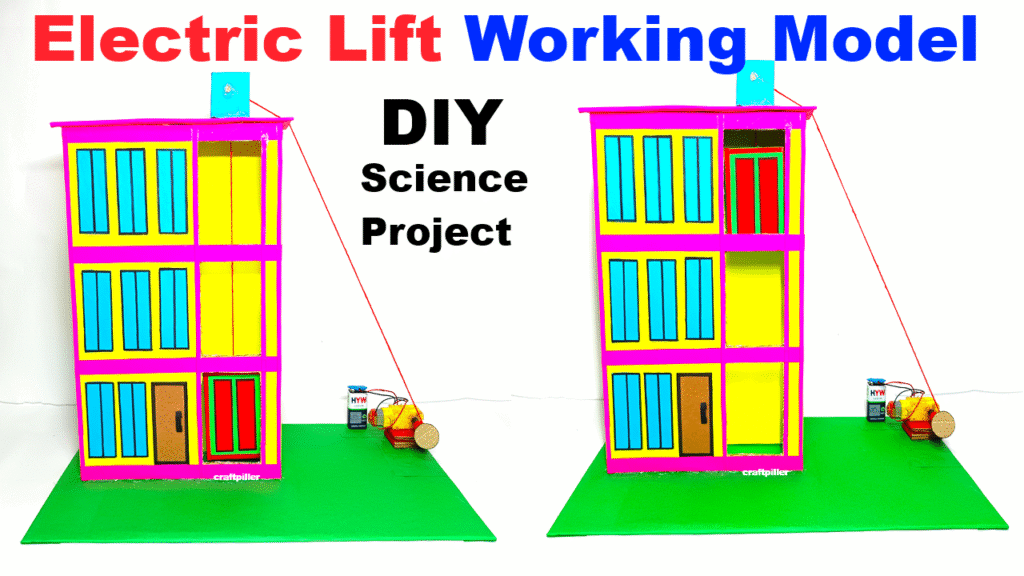
This model shows how a motorized elevator (lift) works using simple materials. The cardboard is used to make a multi-story house, and a robo motor + woolen thread is used to raise and lower the lift cabin.
Materials Required:
- Cardboard sheets or box (to make a 2–3-floor house structure)
- Robo motor / DC gear motor (6V–12V)
- Woolen thread or strong string
- Small cardboard box or plastic cap (for the lift cabin)
- Pulley (or bottle cap with hole) – optional but helpful
- Battery (9V) + battery clip + switch
- Glue gun / Fevicol, scissors, tape
- Color paper / sketch pens for decoration
- Optional: LED light for floor indication
Video Step-by-Step Instructions:
1. Make the Building (Lift Shaft):
- Cut cardboard to make a 3-wall building frame (open front).
- Divide it into 2 or 3 floors, each with a cut-out for the door.
- Paint or cover with color paper for a neat look.
2. Create the Lift Cabin:
- Use a small cardboard box or plastic cap to make the elevator cabin.
- Punch two holes and tie woolen thread to both sides.
3. Attach the Motor:
- Fix the robo motor at the top of the cardboard shaft.
- Attach the woolen thread to the motor shaft (directly or via a small pulley or straw roll).
- When the motor rotates, it will wind/unwind the thread, moving the lift up/down.
4. Electrical Connection:
- Connect the motor to a 9V battery through a switch.
- You can also use a DPDT switch to reverse the direction (up/down).
5. Mount the Lift:
- Hang the cabin inside the shaft, guided by vertical woolen threads on both sides.
- Turn ON the switch: cabin goes up or down based on motor rotation.
Decoration & Presentation:
- Decorate each floor: draw windows, doors, and floor numbers.
- Add labels like “Ground Floor”, “1st Floor”, “Lift in Use”
- Place miniature people or furniture inside to make it engaging.