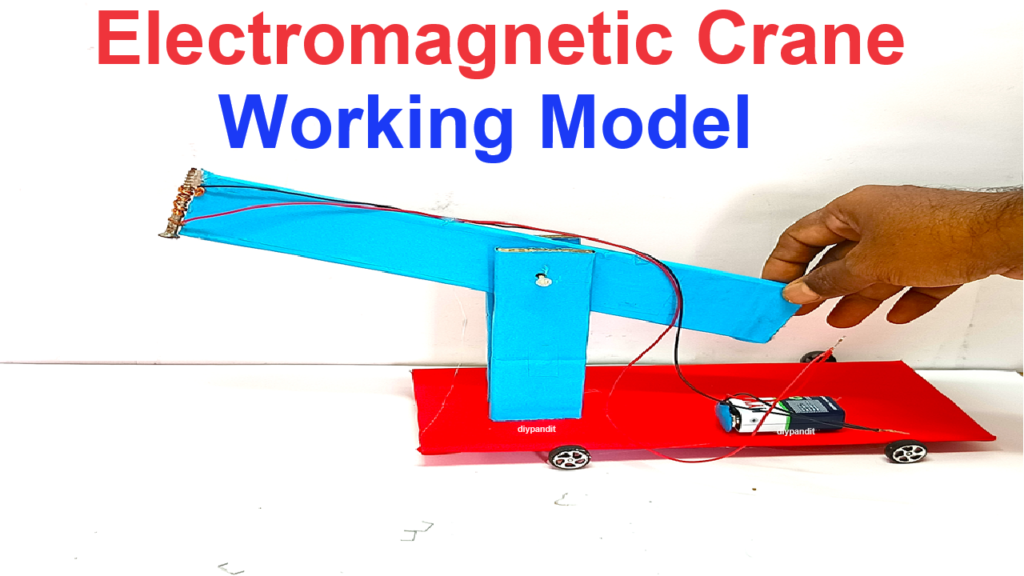
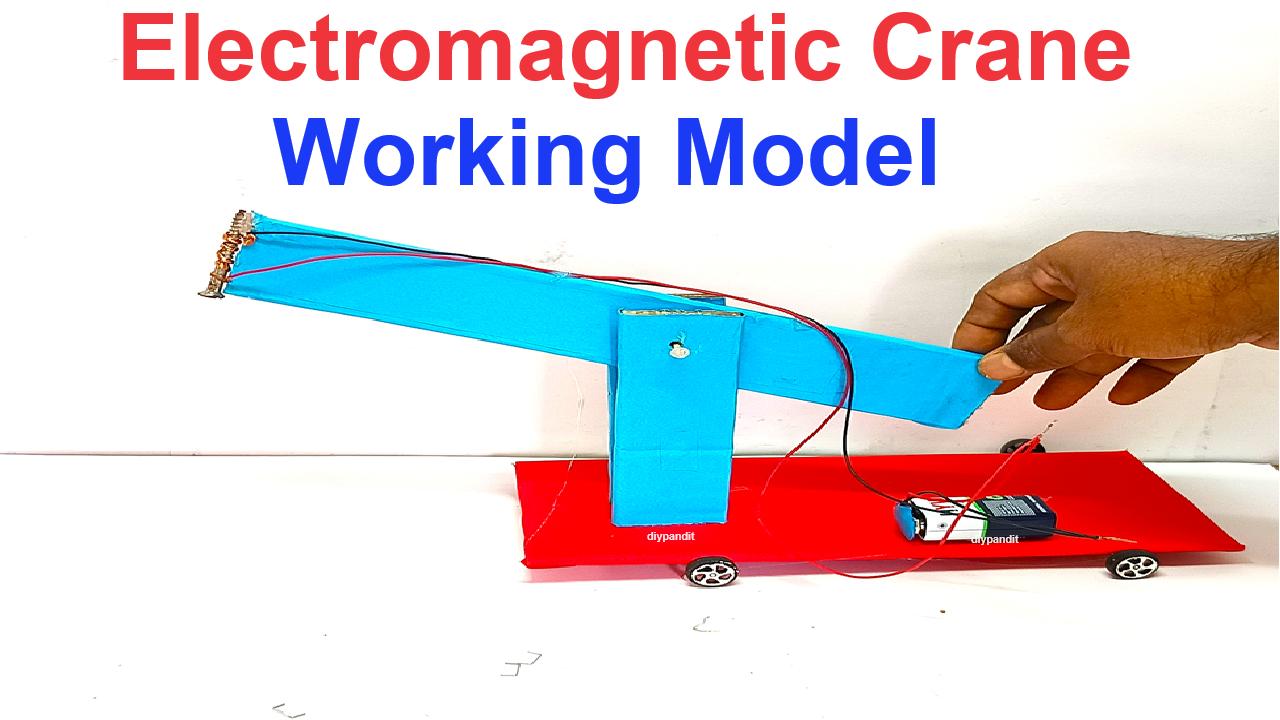
Introduction to the Electromagnetic Crane:
An electromagnetic crane is a device that uses the principles of electromagnetism to lift and move metal objects. The basic concept involves converting electrical energy into magnetic energy using an electromagnet.

Working Principle:
The electromagnet is made by wrapping insulated copper wire around an iron core (in this case, a nail). When an electric current flows through the wire, it creates a magnetic field around the iron core, turning it into a magnet. This magnetic field can attract and hold onto ferromagnetic materials (like iron, steel, or nickel). By controlling the current flow, you can turn the electromagnet on and off, allowing you to pick up and release objects.
Applications:
Electromagnetic cranes are commonly used in industries such as scrap yards, recycling plants, and manufacturing facilities, where they are used to move large, heavy metal objects. The ability to turn the magnetism on and off makes these cranes incredibly versatile and efficient.
Making of working model of an electromagnetic crane
Creating a working model of an electromagnetic crane is an exciting project that demonstrates the principles of electromagnetism and its application in lifting heavy objects. Here’s how you can make the model and an introduction to explain its working.
Materials Needed:
- Insulated copper wire: About 26-28 gauge wire is ideal.
- Iron nail (about 3-4 inches long): This will be the core of the electromagnet.
- 9V battery: To power the electromagnet.
- Battery connector: To easily connect the battery to the wire.
- Small metal objects (like paper clips or small nails): To demonstrate the lifting power of the electromagnet.
- Wooden or plastic base: To hold the structure steady.
- Cardboard or foam board: To build the crane’s arm.
- String: To connect the electromagnet to the crane’s arm.
- Glue gun or tape: For assembling the parts.
- Scissors or wire cutter: To cut the wire and other materials.
- Switch (optional): To control the electromagnet.
Step-by-Step Instructions:
- Create the Electromagnet:
- Wrap the copper wire tightly around the iron nail, leaving about 6 inches of wire free at both ends. The more turns of wire you have around the nail, the stronger the electromagnet will be.
- Ensure that the wire is neatly coiled and doesn’t overlap excessively. Leave enough wire at both ends to connect to the battery.
- Build the Crane Arm:
- Cut a piece of cardboard or foam board to create the crane arm. The arm should be long enough to hold the electromagnet and allow it to swing freely.
- Attach the crane arm to a vertical support (also made from cardboard or foam board) fixed to the base. This support will hold the crane arm above the base.
- Attach the Electromagnet:
- Tie the iron nail (electromagnet) to one end of the crane arm using string. The electromagnet should hang freely and be able to move up and down.
- Connect the Electromagnet to the Power Source:
- Connect the two free ends of the copper wire to the battery terminals using the battery connector. If you’re using a switch, connect it in series with one of the wires so you can easily turn the electromagnet on and off.
- When the battery is connected, the electric current will flow through the wire, creating a magnetic field around the iron nail and turning it into an electromagnet.
- Test the Electromagnet:
- Place some small metal objects (like paper clips or small nails) on the base.
- Turn on the switch (if you added one) or directly connect the battery to see the electromagnet pick up the metal objects.
- When you disconnect the battery, the electromagnet will lose its magnetism, and the objects will drop.
- Final Assembly:
- Ensure all parts are securely attached and that the crane arm moves smoothly. The crane should be able to pick up and drop metal objects by turning the electromagnet on and off.

