
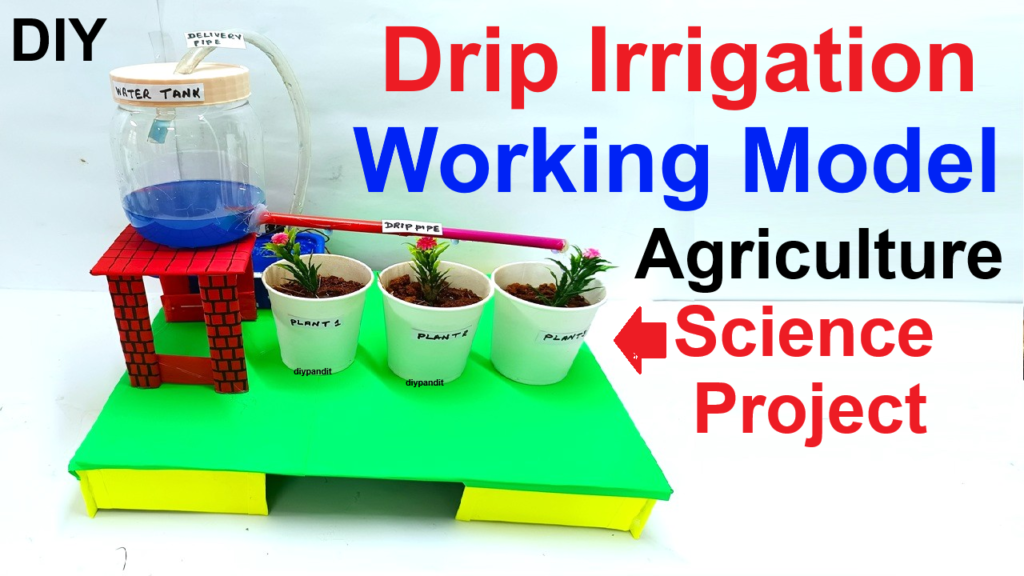
This model will demonstrate how drip irrigation works using paper cups, a DC water pump, a plastic bottle, and a plastic tray. It will show how water is supplied directly to plant roots in a controlled manner, saving water and promoting efficient irrigation.
Materials Required:
Paper cups (to represent water tanks and plant pots)
DC water pump (to pump water)
Plastic bottle (to store water)
Plastic tray (to collect excess water)
Small pipes/tubes (IV tube or straws) (for drip system)
Battery (9V or 12V) & switch (to power the pump)
Soil & small plants/seeds (for demonstration)
Glue, scissors, and tape
Steps to Make the Model:
1. Set Up the Water Tank
- Take a plastic bottle and cut a small hole near the bottom to attach the DC water pump outlet.
- Place the bottle upside down on a stand or hang it to act as a water tank.
- Fill the bottle with water.
2. Connect the Drip Irrigation Pipes
- Attach small plastic tubes (IV tube/straws) to the DC water pump outlet.
- Make tiny holes in the pipes to allow water to drip slowly.
- Place these pipes above paper cups filled with soil and small plants.
3. Power the Water Pump
- Connect the DC water pump to a 9V or 12V battery using wires.
- Attach a switch to control water flow.
- When the switch is ON, the pump will draw water from the bottle and release it slowly through the pipes.
4. Use a Plastic Tray to Collect Excess Water
- Place a plastic tray under the paper cups to catch any extra water.
- This shows how drip irrigation prevents water wastage.