Introduction
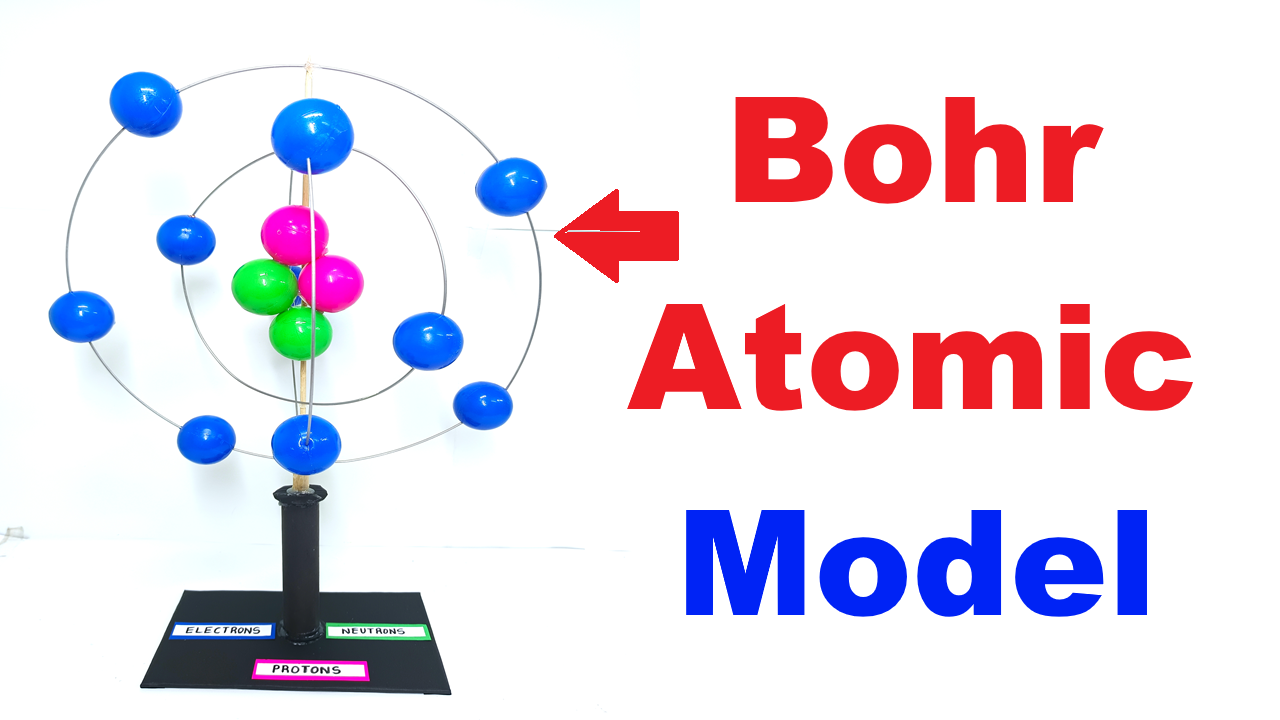
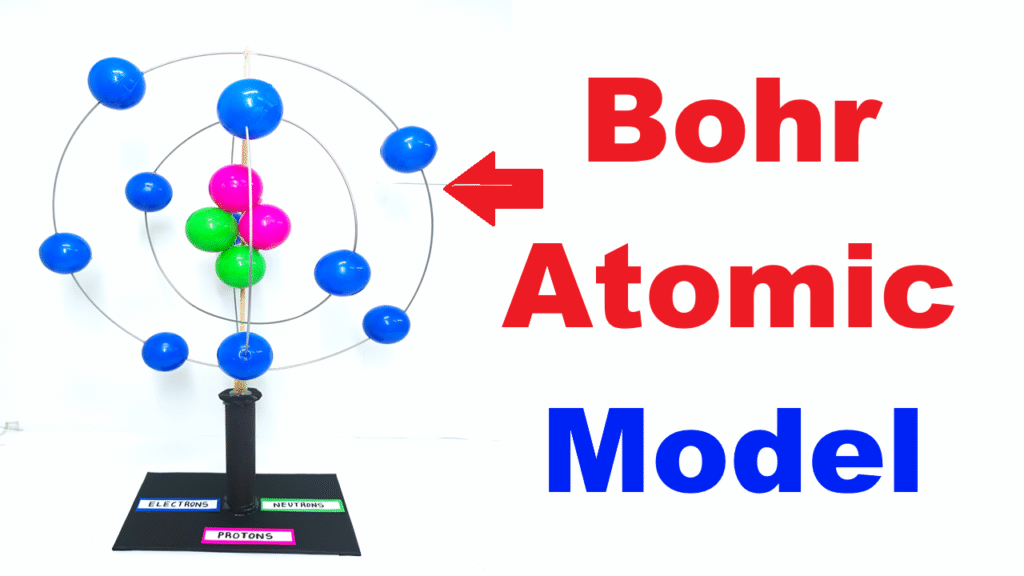
The Bohr Atomic Model, proposed by Danish physicist Niels Bohr in 1913, explains the structure of an atom in a simple way. According to this model, an atom has a positively charged nucleus at the center, and electrons revolve around it in fixed circular orbits, similar to how planets orbit the Sun. This DIY model helps students visualize the arrangement of protons, neutrons, and electrons in an atom.
Materials Required
- Plastic balls (different colors: red for protons, white for neutrons, blue/yellow for electrons).
- GI metal wire (to form circular orbits).
- Cardboard or wooden base (for support).
- Glue or tape (for fixing).
- Small stick or straw (to hold the nucleus in place).
- Markers and labels.
Video Construction Steps
- Nucleus Formation:
- Take a few plastic balls and paint/mark them as protons (positive) and neutrons (neutral).
- Glue them together to form a central cluster, representing the nucleus.
- Electron Orbits:
- Bend GI metal wires into circular loops of different sizes.
- Fix them around the nucleus using glue or by attaching them to a straw/rod.
- These loops represent the energy levels (shells) where electrons move.
- Electrons:
- Use smaller plastic balls for electrons.
- Fix them on the GI metal wire loops at equal spacing to represent revolving particles.
- Base Setup:
- Mount the entire structure on a cardboard/wooden base.
- Add labels like Nucleus, Electrons, Orbits (K, L, M shells) for clarity.
Conclusion
This Bohr Atomic Model DIY project using GI metal wires and plastic balls is an excellent way to understand atomic structure visually. It not only explains subatomic particles but also demonstrates the concept of energy levels in atoms, making it perfect for a science exhibition.