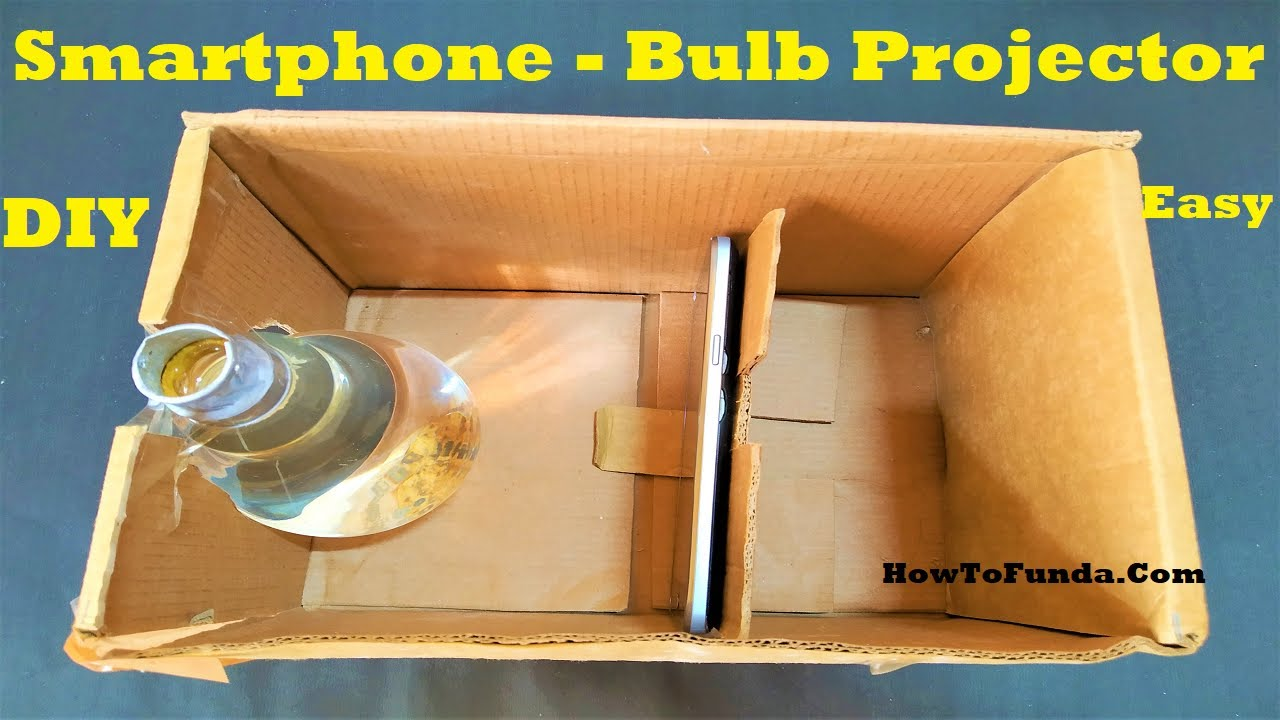
Creating a simple projector working model at home using a big bulb filled with water, a mobile phone, and a cardboard box can be an exciting project.
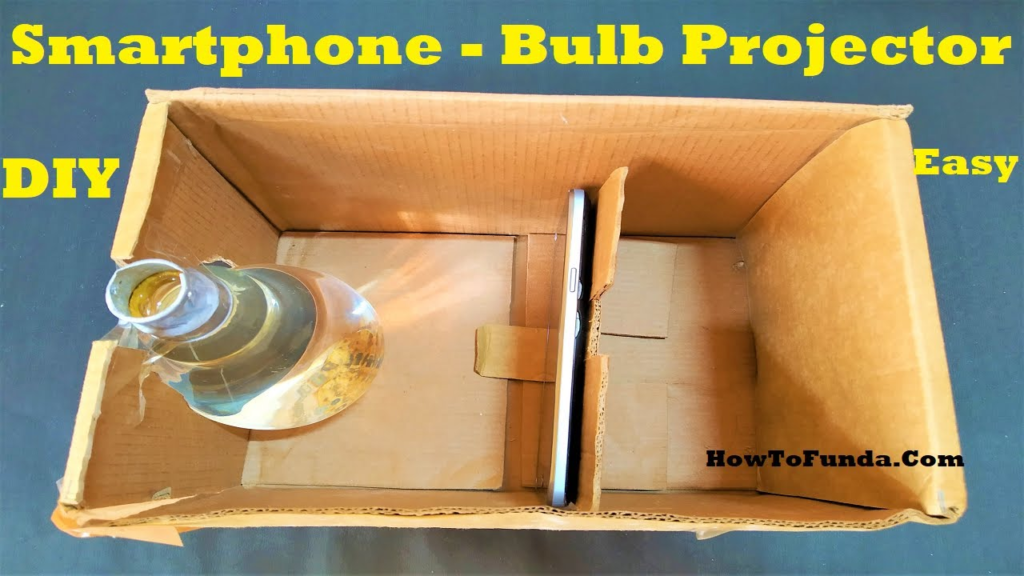
This approach, often known as a water lens projector, utilizes the principle of refraction to magnify and project images onto a surface. Follow these step-by-step instructions:
Materials Needed:
- A large cardboard box
- Big bulb or flashlight
- Mobile phone with videos or images to project
- Water
- Plastic or glass container (for the water-filled bulb)
- Magnifying glass or lens
- Cutter or scissors
- Tape
- Ruler
- Pencil
- Black paper or cloth (optional, for light control)
Instructions to Make Mobile Phone Projector:
Step 1: Choose a Suitable Box
- Select a large cardboard box that can comfortably house your mobile phone and allow for adjustments to focus and image size.
Step 2: Cut Openings
- Cut a rectangular opening on one side of the box. This will serve as the projection screen.
- On the opposite side, cut a smaller hole for the water-filled bulb to emit light into the box.
- Cut a small opening on the top for the mobile phone’s camera to capture images.
Step 3: Prepare the Water-Filled Bulb
- Fill a plastic or glass container with water.
- Submerge the big bulb into the container, making sure it is filled with water. Seal the opening of the bulb with tape or a cap to prevent water leakage.
Step 4: Place the Mobile Phone
- Insert your mobile phone through the top opening, ensuring the camera aligns with the lens.
- Adjust the position until the phone is secure, and the lens captures a clear image.
Step 5: Secure the Water-Filled Bulb
- Place the water-filled bulb inside the box through the opening you cut for it. This will serve as the light source.
Step 6: Adjust the Focus
- Move the mobile phone back and forth or adjust its position until the image on the screen is in focus. You can also use the phone’s focus adjustment feature.
Step 7: Control Light Exposure (Optional)
- To enhance the projection quality, cover the openings with black paper or cloth to control light exposure. This step helps create a darker environment inside the box.
Step 8: Dim the Ambient Light
- To improve image clarity, dim the lights in the room where you are using the projector.
Step 9: Test and Enjoy
- Turn on the mobile phone and project videos or images onto the screen. Experiment with different sizes and distances to find the optimal setup.