
Introduction to Earthquake Alarm School Project:
The Earthquake Alarm School Project is an engaging and educational endeavor that allows students to explore the principles of earthquake detection and early warning systems.
This project aims to introduce students to basic concepts in seismology, sensor technology, and the importance of early earthquake warnings for public safety.
By creating a simple earthquake alarm model, students will gain hands-on experience in designing, building, and understanding the functionality of a basic seismic detection system.
Project Objectives:
- Learn about Earthquakes:
- Understand the science behind earthquakes, including their causes, types of seismic waves, and their potential impact on communities.
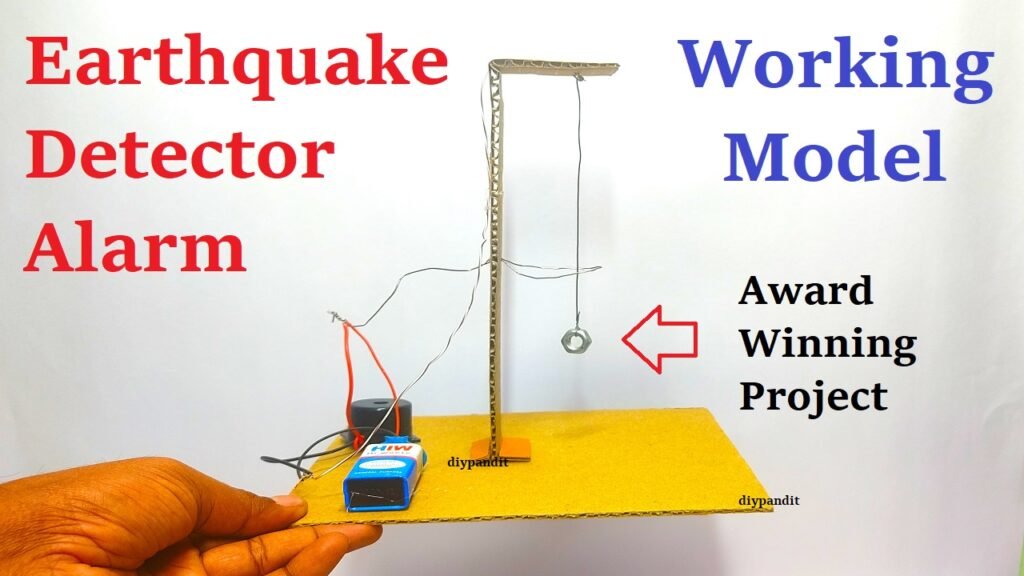
- Explore Seismic Sensors(Simulated with Hanging Metal Inside the Ring shaped wire):
- Introduce students to different types of seismic sensors used to detect ground motion during an earthquake.
- Hands-on Construction:
- Engage students in a practical and creative activity where they construct a simple earthquake alarm model using easily accessible materials.
Materials Needed:
- Hanging Metal (bolt or small hard ball)
- Buzzer or LED: Alert device for signaling an earthquake.
- Battery Holder and Batteries: Power source for the model.
- Wires, Breadboard, and Connectors: For building the circuit.
- Container or Platform: To simulate the ground where the model is placed.
let’s simplify how the earthquake alarm model works:
1. Detector:
- Imagine a tiny sensor that can feel when the ground shakes. In our model, this is like a little earthquake detector.
2. Switch:
- This sensor is connected to a switch. When there’s no shaking, the switch is open (like a door being closed).
3. Buzzer or Light:
- We have a buzzer or a light waiting to do something. But it’s not doing anything until the switch opens.
4. Shaking Happens:
- Now, if there’s an earthquake and the ground shakes, our sensor feels it. It quickly opens the switch.
5. Connection Made:
- When the switch opens, it’s like turning on a button. Electricity can now flow through the system.
6. Buzzer or Light Turns On:
- Because the switch is now open, it activates our buzzer or light. The buzzer makes a sound, or the light starts shining.
7. Alert:
- The buzzer sound or the shining light is our signal that there’s been some shaking.
In Simple Terms:
- The detector feels the ground shaking, opens a switch, and that lets the buzzer make noise or the light shine. It’s like a little alarm that tells us when there’s an earthquake.